
A huge majority of the users of Microsoft Windows often won’t dare to venture near the command prompt; for them, a symbol of the dark days of DOS. In the world of software development, the terminal is an indispensable part of working with the OS and developing advanced software. This tutorial will introduce you to using the shell – using the Ubuntu terminal as an example – and the basics of making it useful to you.
Why Terminal?
The terminal (or console/shell) is a core part of the Ubuntu distribution and other Unix-based operating systems such as OSX, Debian, and even SteamOS, and it’s in fact really powerful. Most of the GUI-based interaction you have with the OS can be done via (and often just is automated by the GUI from) the terminal instead. It includes a vast number of additional libraries and packages compared to the Windows command prompt and new packages are simple to install. The terminal is even loaded with compiler tools for Python and C, and can host text editors in the mix (see later). It also simply isn’t possible to use certain tools needed for software development without the terminal. Let’s see how this all works.
This first part in a two-part tutorial series is an introduction to the terminal, and some basic commands. Follow along to part 2 for more advanced commands and options.
The Basics – launching, commands and manual pages
Let’s begin by launching the terminal.
- Click the Ubuntu Launcher icon in the top-left corner of your screen or press the “Super Key” (That’s the, ahem, Windows button)
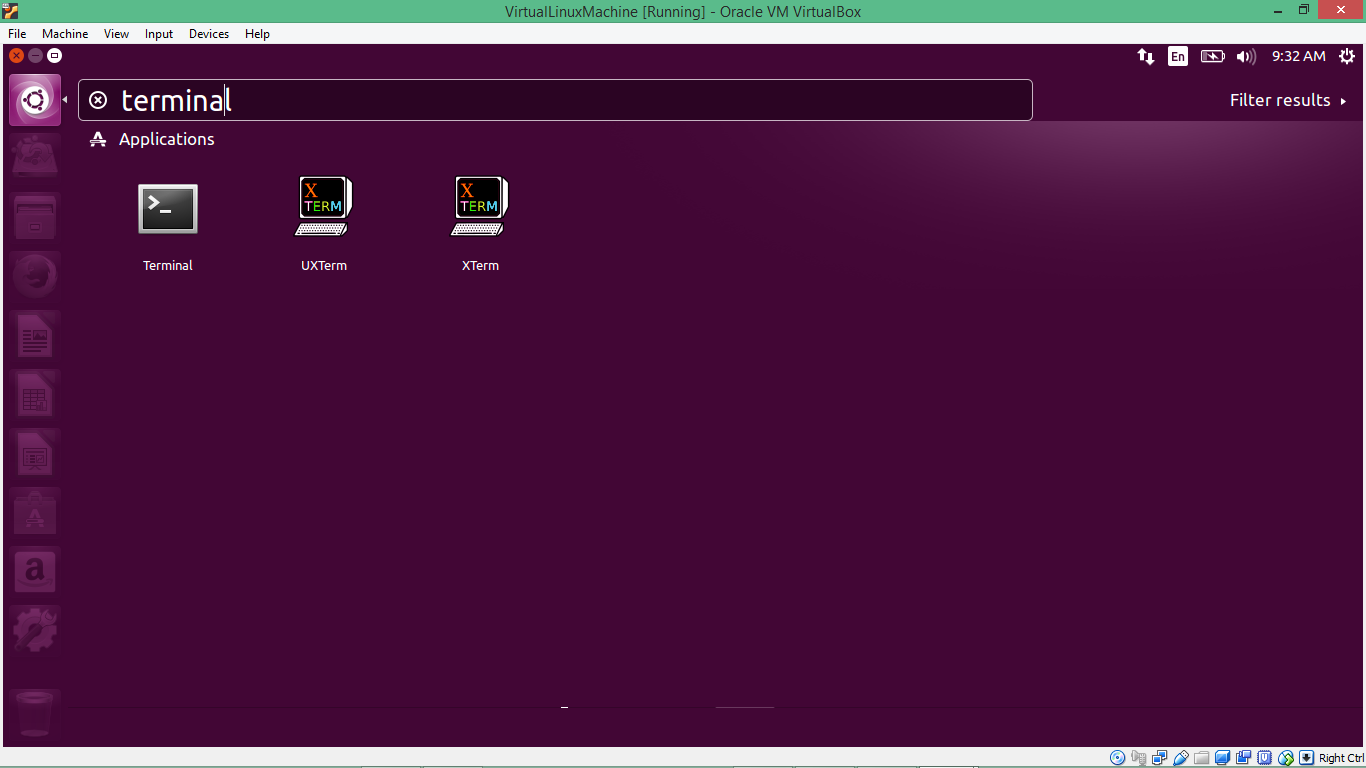
Launching Ubuntu terminal.
- Type “Terminal” and click the first result to launch the terminal. You’ll see a prompt similar to the one shown. It’ll be in the form username@PC-name:~$. The Dollar symbol at the end denotes the user state (either normal ($) or superuser (#)) which is discussed later.
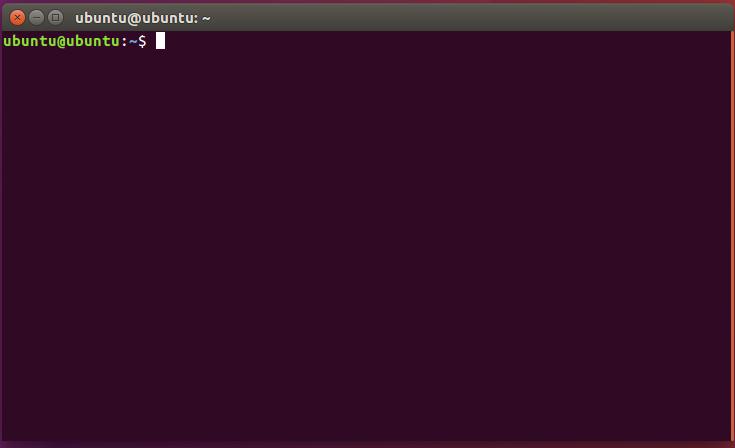
The Ubuntu terminal prompt.
Any command you type will be in the form <command> <argument> <flags> for the most part. The command is the instruction to the terminal; the “verb” if you will. The argument is the “object” – what file/folder/object the command will act on. Some commands have no arguments, others take many. Finally, the flag is the “adjective” – how the command will execute on the file/folder/object specified by the argument. Note that the flag might be before the argument. In each of these examples, when typing terminal commands, press enter at the end of each one.
- For example, type ifconfig -v eth0. We’ll explain what this means later. You should see something similar to below. The command is “ifconfig”. The flag is “-v” and the argument is “eth0”. This means the ifconfig command is acting on ‘interface’ –help with the verbose (-v) flag. Don’t worry if this is confusing for now.
Executing ifconfig.
The easiest way to get help is by the –help flag. Issue this after a command to get written help or to find out what the command is for. Manual pages are even more useful, and offer detailed explanations on commands. To access it, prepend the command you’re using with man.
- Try this out. Type ifconfig –help and man ifconfig once you’ve tried the first command. You’ll see the help and man pages explain command usage as shown. Press “q” once you’re done reading the man pages to go back to the terminal prompt.
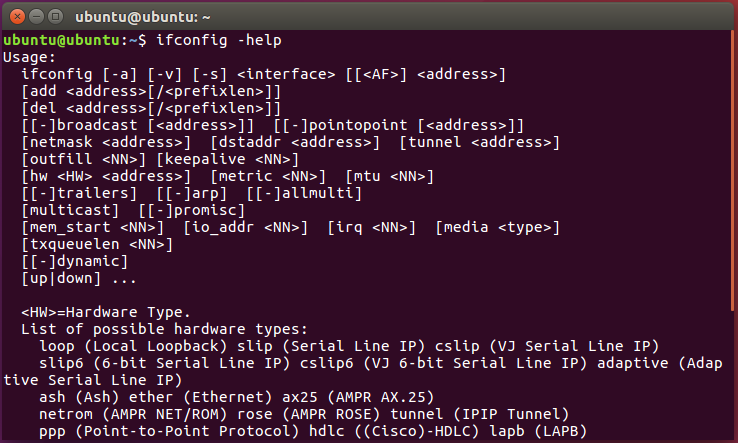
Extract of the –help result.
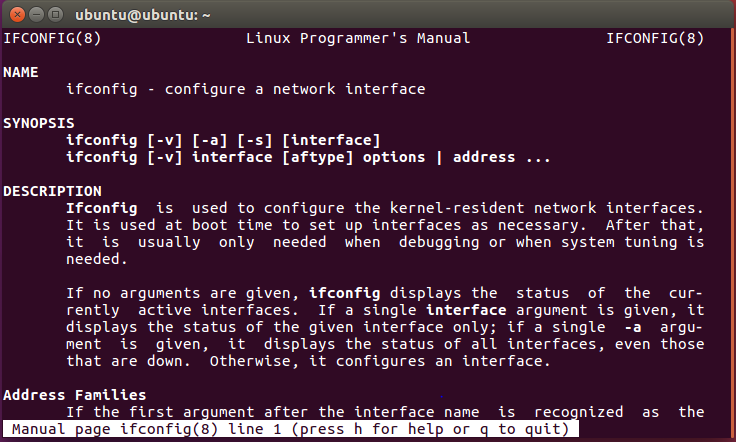
Extract of the man pages for ifconfig.
This gives you an idea of what the ifconfig command does, but we’ll return to give you a full explanation in part 2 of the tutorial.
File & folder management
Let’s look at some basic file and folder editing commands that are the bread and butter of the Terminal.
- Let’s show the contents of the folder or directory which we’re currently in. Make sure you’re back at the :~$ prompt, and type ls . You’ll see Terminal list the folder contents like in the image below. The colour-coding matters: Dark blue are folders, light blue are links, white are images, red are Ubuntu archives and green means the file can be executed.

Using ls on a folder to see its contents.
- Let’s switch from one folder to another. We want to go into the “Downloads” folder. To do this type cd Downloads. The terminal is case sensitive so watch your spelling. You’ll see the terminal prompt become username@PC-name:~/Downloads$ to tell you which folder you’re in. Issue ls in Downloads and you’ll see this folder’s contents.

Using cd to switch to the downloads folder.
- To go straight to a subdirectory (a folder in a folder, say) you’d type cd ~/main_folder_name/sub_folder_name/ replacing the folder names with your desired folder names. This saves having to issue cd for each subdirectory. To go up one directory, type cd .. which will, for example take you from your Downloads folder back to your Home folder.
- Now let’s do some folder gymnastics. We’ll create a folder called “test”. Make sure you’re back in your home folder (username@PC-name:~$). Type mkdir test and press enter.
- Nothing should appear to happen, but the directory has been created, and we can confirm this by issuing ls:
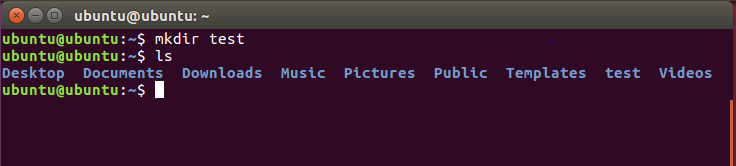
Confirming the existence of the “test” directory
- The rm command is basically the opposite of mkdir. We’ll show this by deleting our test folder. From your home folder (use ls to confirm that the “test” folder is there) type rm -r test and press enter.
- Again nothing should appear to happen but the folder is now gone. Type ls to check this.
That’s a very small sliver of the useful commands Linux offers, but after this, at least the principle of working in the terminal should be familiar to you. To see more configuration commands, follow along to our next tutorial where we discuss further commands.
Have you tried the Linux terminal? Thought of any other useful commands that would be good for a Linux starter? Comment with your views on this article in the comments section below, and follow Hyperion Hub developments in the future if you’d like to see more articles like these for the South African market.
