
In a previous post we built a machine learning model which could classify images of house numbers from Google Street View. Since then you may have worked to improve this model, or developed your own model for a different kind of task. Often when we are getting started in machine learning we learn how to build a model and how to improve it – but how do we go from this stage, to getting it working in the real world?
Python is the language of choice for many machine learning systems, but when it comes to the application in which we want to use our model, it is more common to encounter other languages – such as Javascript for web apps. We need to be able to access the model from within its intended application, and when these are coded in different languages, it seems like a problem. It is possible to program for machine learning using a language like Javascript, but you are more limited in what you can achieve, and the process is much harder as it doesn’t have all the useful libraries developed for Python.
This tutorial will demonstrate how to create an API for a machine learning model, using Python along with the lightwork framework Flask. This API will act as an access point for the model across many languages, allowing us to utilise the predictive capabilities through HTTP requests.
Requirements and Setup
For this tutorial we will be using the Python 3 language, so check that this is installed by opening up your terminal and running the following command.
python -v
Now we can set up a new directory for our project and navigate into it.
mkdir flask-tutorial
cd flask-tutorial
You can also optionally use a virtual environment for this project, with the following two lines of code which create our virtual environment and then activate it.
virtualenv flask-tutorial-env
source flask-tutorial-env/bin/activate
The libraries that we will be using include Flask to build our API, scikit-learn and numpy for our model, and scipy for reading new image files. We can install all of these with pip, a tool for simple installation of Python packages.
pip install flask scikit-learn numpy scipy
Before we begin, we also need a machine learning model to work with. We will be using the model created in our previous image classification tutorial – but don’t worry if you haven’t completed this. In the previous post, we built a working model and were using it to output predictions for test images. But, our model only existed inside the Python file. We can use the file format .pkl to pickle our model, which means to persist it by saving to disk. You can pickle any kind of object within Python such as lists, dataframes, and dictionaries, and then unpickle them to load them back from memory, exactly as they were. This is useful with machine learning models, as it means we do not need to constantly retrain our models each time we want to use them.
Open the Python file from our previous tutorial (If you didn’t follow along previously, you can get the complete source code here) and add the following lines to save your model as a .pkl file
from sklearn.externals import joblib
joblib.dump(clf, 'model.pkl')
Once you have run the file and generated a model.pkl file, make sure it is saved in the working directory for this project.
Building an API
Now we’re ready to build our API. Let’s start with a simple skeleton Flask application. Create a new Python file api.py with the following code:
import flask
from flask import Flask

app = Flask(__name__)

if __name__ == '__main__':
    app.run(host='0.0.0.0', port=8000, debug=True)
The first two lines import our library, and then we create an instance of this class using the parameter __name__ because this will be the only module in our application, and this defines where the application should look for related files (such as templates, which we will create shortly).
The last two lines are what gets our API running. We will run our app on host 0.0.0.0 as we want to run it locally on our machine, and you can use any available port, in this case we have chosen 8000. You can also set the debug parameter to True if you would like to see the debugger statements printed to the terminal. These two lines should remain at the bottom of our code in this file, with everything else going in between.
You can now go back to the terminal and start running the API with the following command:
python api.py
You should get the following output:
* Running on http://0.0.0.0:8000/ (Press CTRL+C to quit)
* Restarting with stat
* Debugger is active!
* Debugger PIN: 103-316-823
Now you could open a web browser and navigate to http://localhost:8000 where you will see a ‘404 URL not found’ page, as our application doesn’t do anything yet!
So let’s set up an index page for the application to open with. In our api.py file we can add the following code to route our application to the file ‘index.html’ upon entry. We also need to import ‘render_template’ which is what we use to return the html files.
import flask
from flask import Flask, render_template

app = Flask(__name__)

@app.route("/")
@app.route("/index")
def index():
   return flask.render_template('index.html')

if __name__ == '__main__':
    app.run(host='0.0.0.0', port=8000, debug=True)
In our project directory we will add a folder called ‘templates’ and within this create our ‘index.html’ file. This can contain a simple header for now.
<html>
  <head>
    <title>SVHN Model as a Flask API</title>
    <meta charset="utf-8">
    <meta name="viewport" content="width=device-width, initial-scale=1">
  </head>
  <body>
    <h1>Google Street View House Number Predictor</h1>
  </body>
</html>
Our api.py file detects saved changes by itself so we do not need to restart it manually when testing again. We can simply refresh our page in the browser and now see our loaded webpage.
So we have a basic app serving a simple webpage. Now we need to create an endpoint to which our web page can send an image file uploaded by the user, to then process and make a prediction for, before sending this back to be displayed to the user.
API endpoint for predictions
Let’s head back into our file api.py. The first thing we want to do is to load our saved model when the app starts running.
from sklearn.externals import joblib

if __name__ == '__main__':
    model = joblib.load('model.pkl')
    app.run(host='0.0.0.0', port=8000, debug=True)
Then, underneath our index routing section, we can create the endpoint for predictions.
from flask import Flask, render_template, request

@app.route('/predict', methods=['POST'])
def make_prediction():
    if request.method=='POST':
        return render_template('index.html', label="3")
What we have done here is create an endpoint ‘/predict’ for HTTP POST requests. We will be sending this request from our index page. Currently we just return the label “3” for simplicity, though we will be building our actual predictor shortly. We’ve also added one more element to our list of imports, for requests.
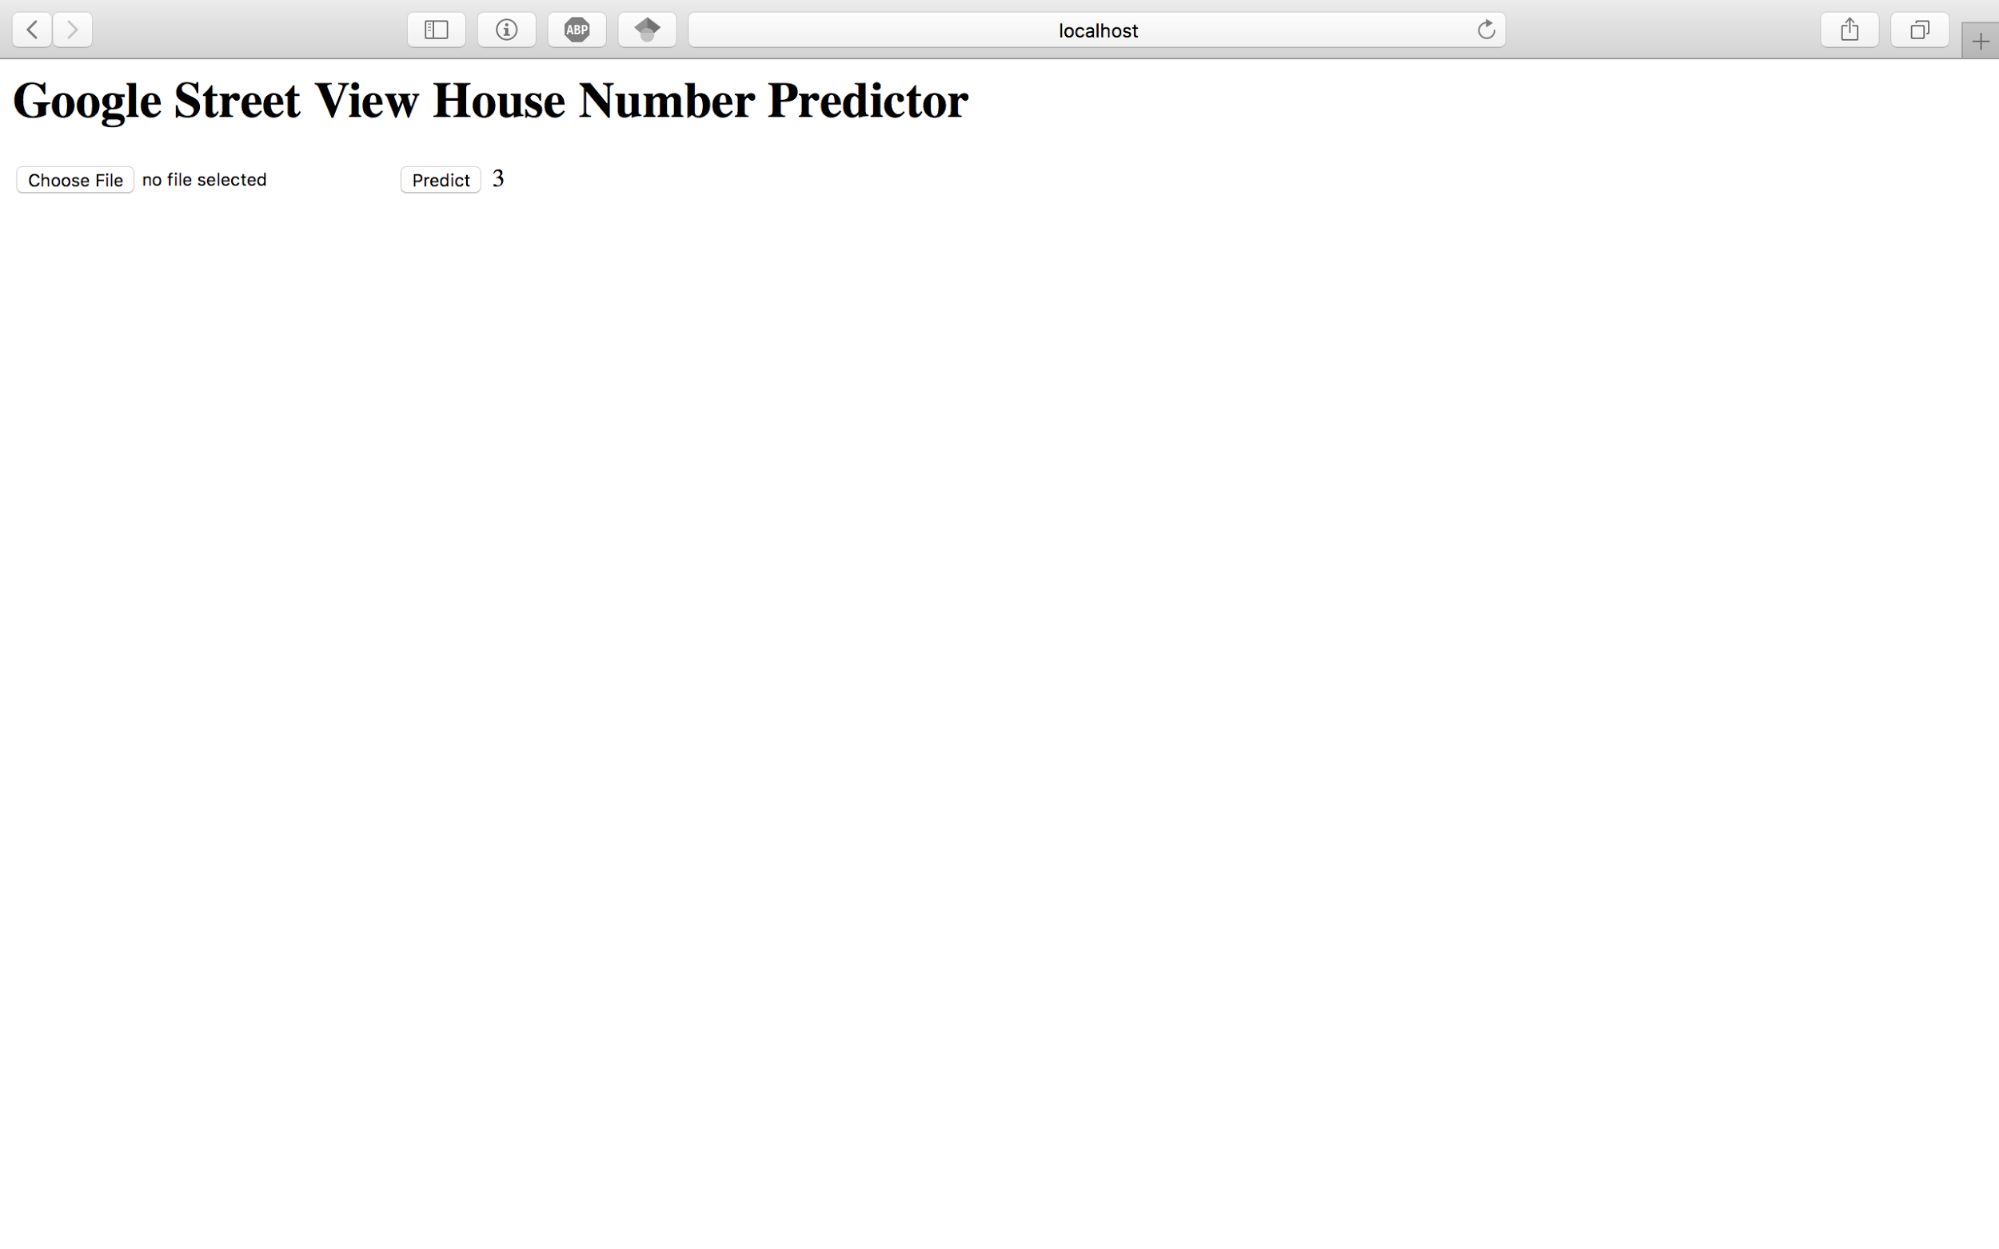
Now going over to our index.html file, we need to add some code which will execute our HTTP request. Currently we have a blank page with just a header. Let’s add a form which will contain a file chooser, and a ‘Predict’ button. The user can upload a 32×32 .png file and click ‘Predict’, to then receive the predicted label.
<form action="/predict" method="post" enctype="multipart/form-data">
     <input type="file" name="image" value="Upload">
     <input type="submit" value="Predict"> {% if label %} {{ label }} {% endif %}
</form>
Our form action routes our application to the ‘/predict’ endpoint, with the POST method. We are using the ‘multipart/form-data’ format to send our data, and this helps us know how to deal with the data when receiving it back in the API.
The two inputs within our form are firstly the file chooser, and secondly the ‘Predict’ button.
We also have some code using syntax not normally found in HTML files: {% if label %} {{ label }} {% endif %}. This is jinja syntax, and it is used to access the variables returned from our HTTP request within the HTML file. Here we are checking that the label exists, and if it does we display it next to the ‘Predict’ button.
Now you can refresh the page in your browser, click ‘Predict’ and your page should look like this, with the label 3 displayed.
Now we want to make a real prediction. In our api.py file, we need to access the image file uploaded by the user and use our model to make a prediction for its label.
import numpy as np

from scipy import misc

@app.route('/predict', methods=['POST'])
def make_prediction():
    if request.method=='POST':
        file = request.files['image']

        if not file:
            return render_template('index.html', label="No file")
        img = misc.imread(file)
        img = img[:,:,:3]
        img = img.reshape(1, -1)

        prediction = model.predict(img)
        label = str(np.squeeze(prediction))
        if label=='10':
            label='0'
        return render_template('index.html', label=label, file=file)
The first thing we do is look for the image file in the data received from the HTTP request. If it doesn’t exist, we will return the label “No file” to be displayed in our index page.
If the image does exist, we use the imread function to read it in as an array of pixels (as this is how we represented images when building the model). As .png files are often stored with 4 colour channels instead of the 3 we were using for the RGB representation, we will only take the first 3. The fourth channel is an Alpha channel for transparency, but this is irrelevant here, so we can just exclude it. Then we reshape our matrix as its a single image, and make our prediction on the image.
The prediction is generated as a 1D array holding 1 value, so we use the squeeze function to get the actual number out, and convert it to a string before we return it to the index page. We also need to perform one last check to test whether the label is ‘10’. As you may remember, the Street View House Number dataset used the label ‘10’ to represent the number ‘0’, so our model did the same. But when displaying the label to the user, if their image contained the number ‘0’ we want the label to match.
Let’s refresh our web page one more time and test it with a real image. You can find some examples to use in the GitHub repo for this project. Let’s test it by uploading ‘test-2.png’, and as you will see, it accurately predicts the label 2. The model we created was around 76% accurate on our testing data, so it will not generate the correct labels all of the time.
We have now created an end-to-end machine learning application. With a little bit of styling you could turn it into a nice looking web app which shows the uploaded image along with the prediction. The complete working source code is available at this repository.
Find out more about the courses offered at HyperionDev, including our popular online bootcamps in Full Stack Web Development, Mobile Development and Software Engineering. For more articles like this once, take a look at the HyperionDev blog.
This post was contributed by Ellie Birbeck.
