
HTML stands for Hyper Text Markup Language. It is the standard markup language used by developers to create web pages. It is a simple, useful way to structure content. HTML is typically used together with JavaScript and Cascading Style Sheets (CSS). These three technologies are the cornerstone of web development. This HTML beginner tutorial will introduce you to a few basic concepts, including tags, attributes and elements.
Getting started with HTML
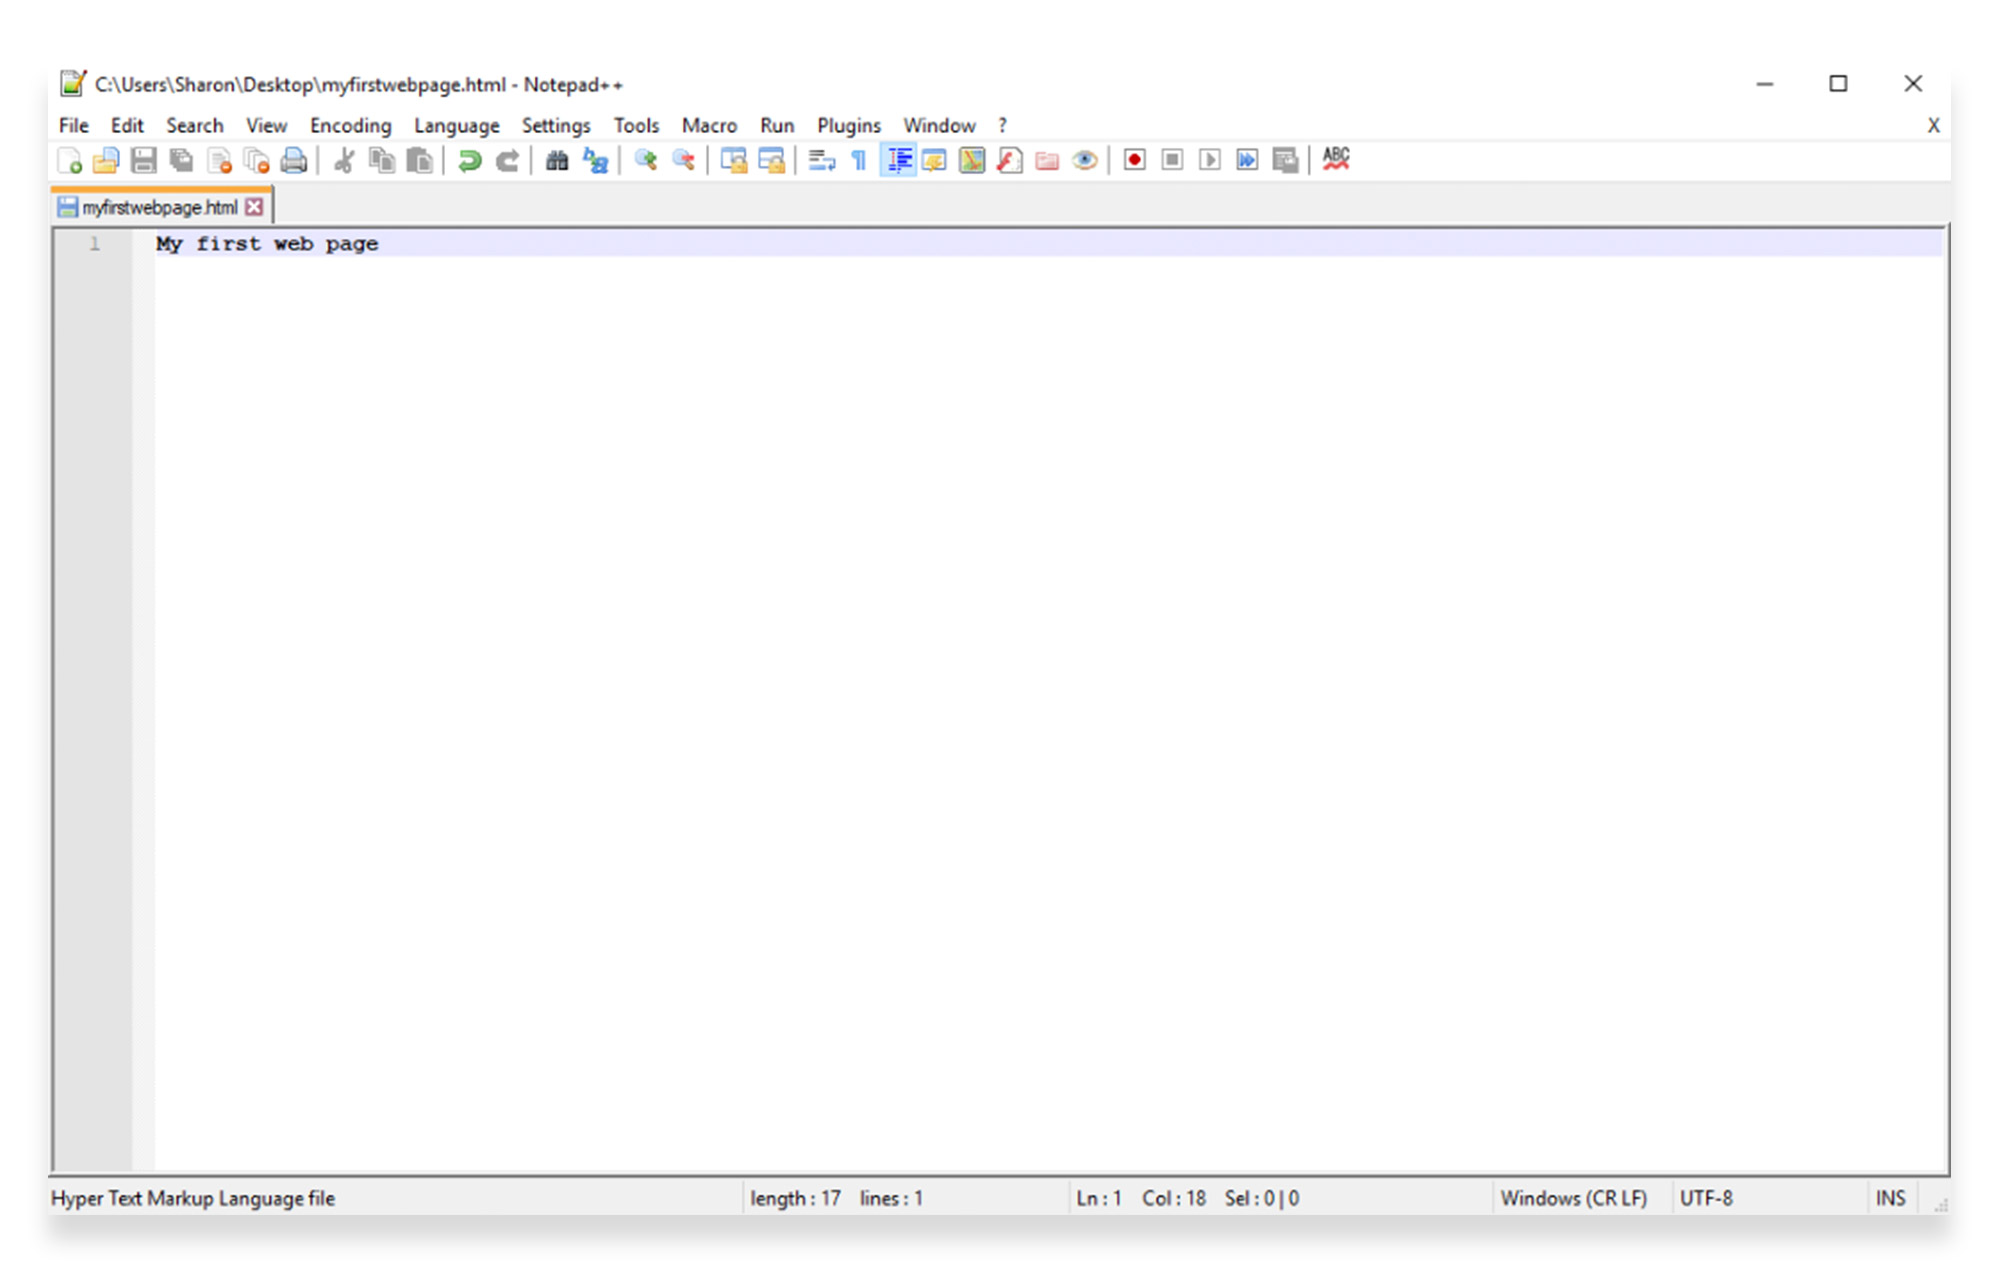
HTML files are simple text files. To write your first code in HTML, all you need is a text editor, like Notepad++ or Wordpad.
To create a basic HTML page, you need to follow these steps:
- Open a text editor and type a few words, for example “My first web page”.
- Create a folder named “html”.
- Save the file to this folder as a plain text file with html extension, for example “myfirstwebpage.html”.
- Be sure to save the file as plain text, not rich text.
- Be sure to use the “.html” extension, as some text editors will automatically save the file as “.txt” otherwise.
To view the HTML file, open your web browser and type the location of the file you just saved into the address bar. For example,“c:\html\myfirstpage.html”. Then press Enter. (You can also go to the File menu of the browser, select Open, and browse for the file you saved.)
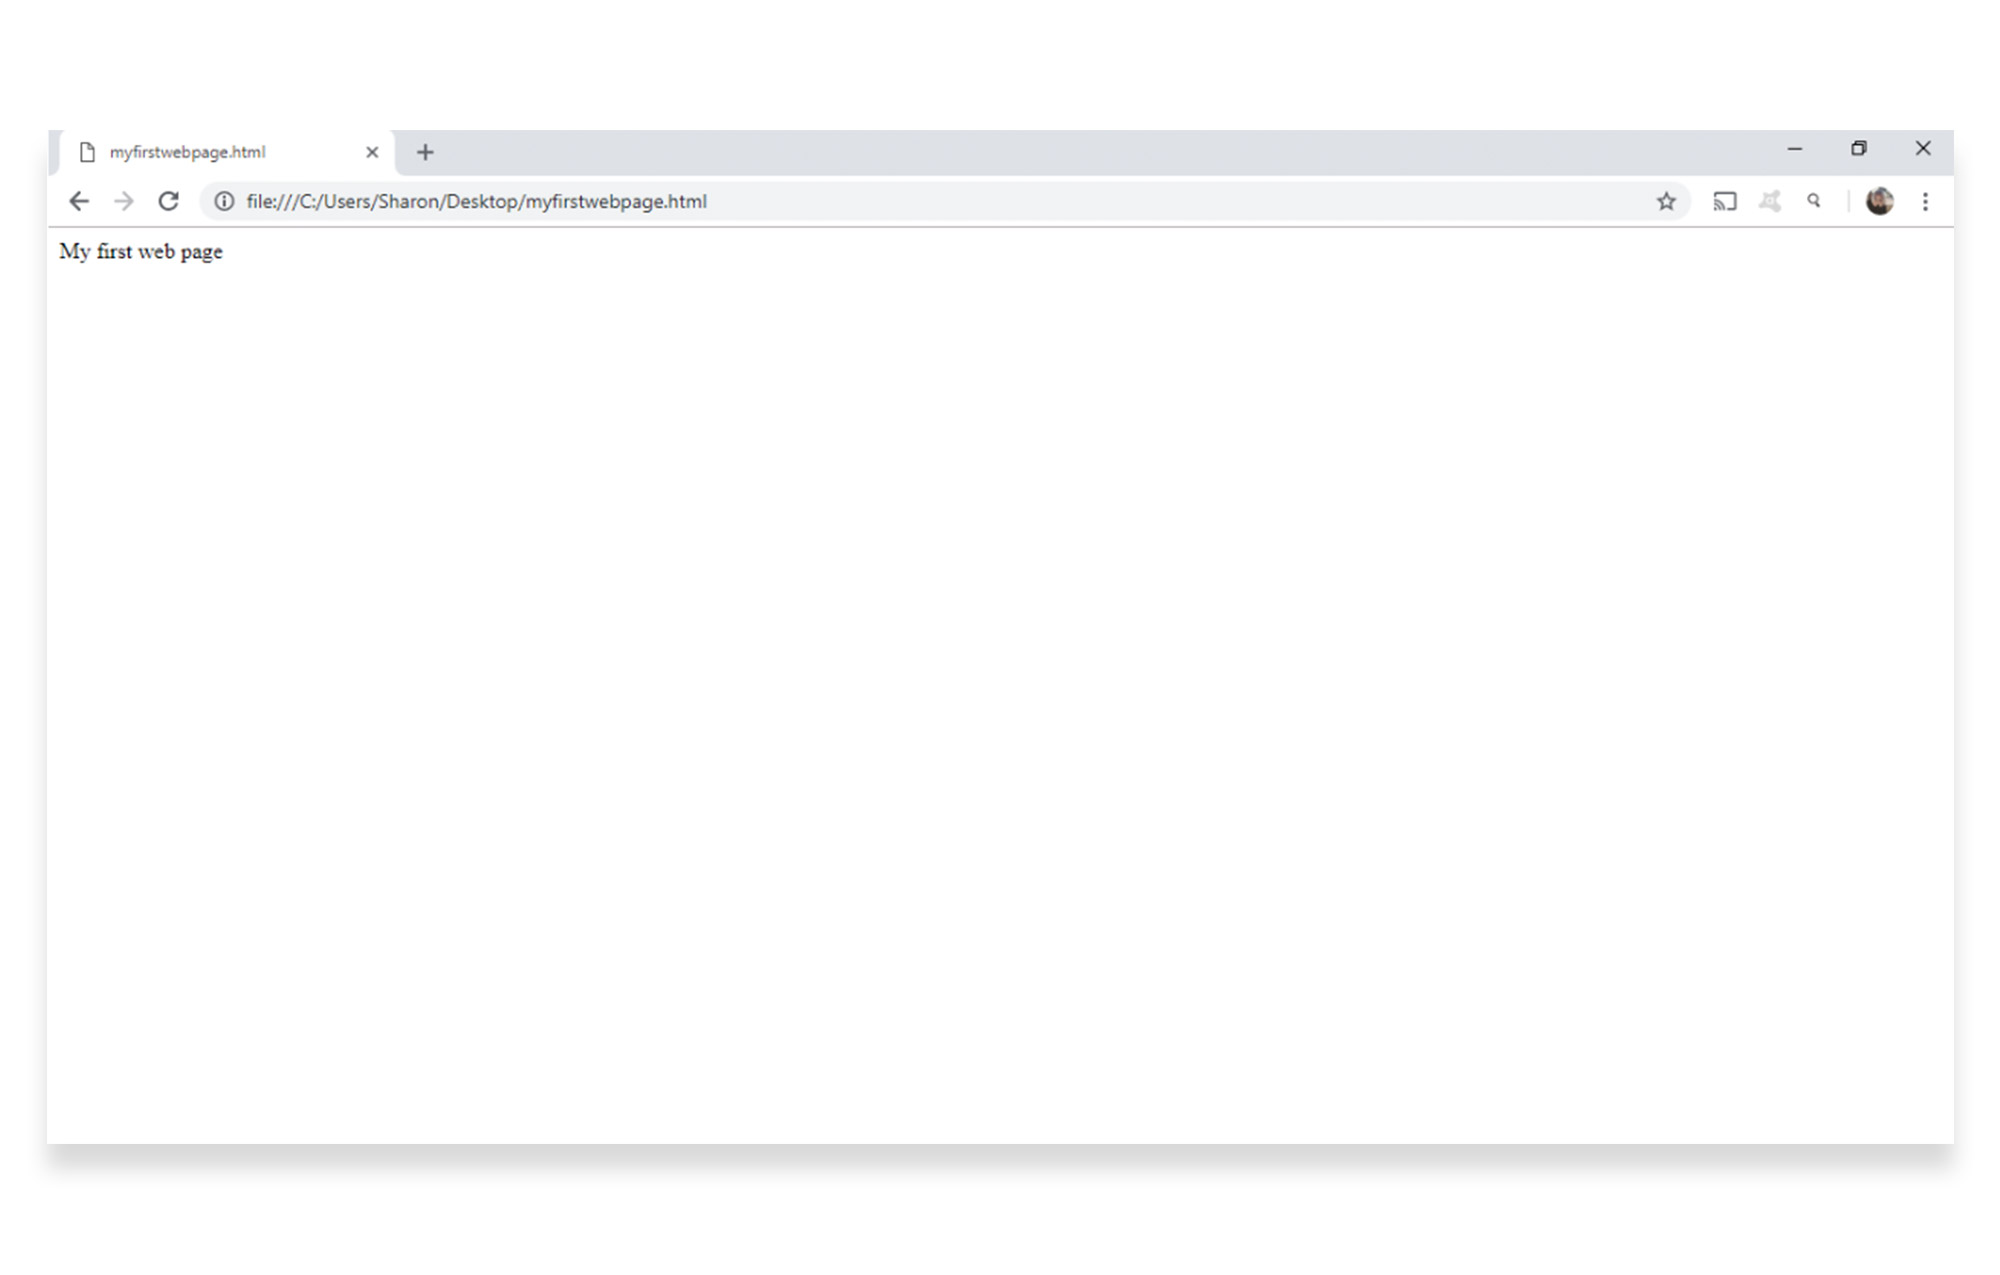
You will now be able to view the file as a web page.
The next stage of our HTML beginner tutorial will look at how to start adding structure to your web page, using tags.
HTML tags
A tag is a piece of code that helps to define the basic structure of your HTML document. Tags will surround the content in your document, and apply specific meaning to that content. For example, do you want to define a document, a heading, a sub-heading or a paragraph? You’ll use tags to show these definitions.
- An opening tag between these symbols: < >
- A closing tag appears between these symbols </ >
Tags can be used to define a few words of content, a few lines, a few paragraphs, or even an entire document.
Tags in action
To start off with a few simple tags, add this text to your document, before and after your first line of copy:
<!DOCTYPE html5>
<html>

<head>
 <title>My first web page</title>
</head>

<body>
My web page content...
</body>

</html>
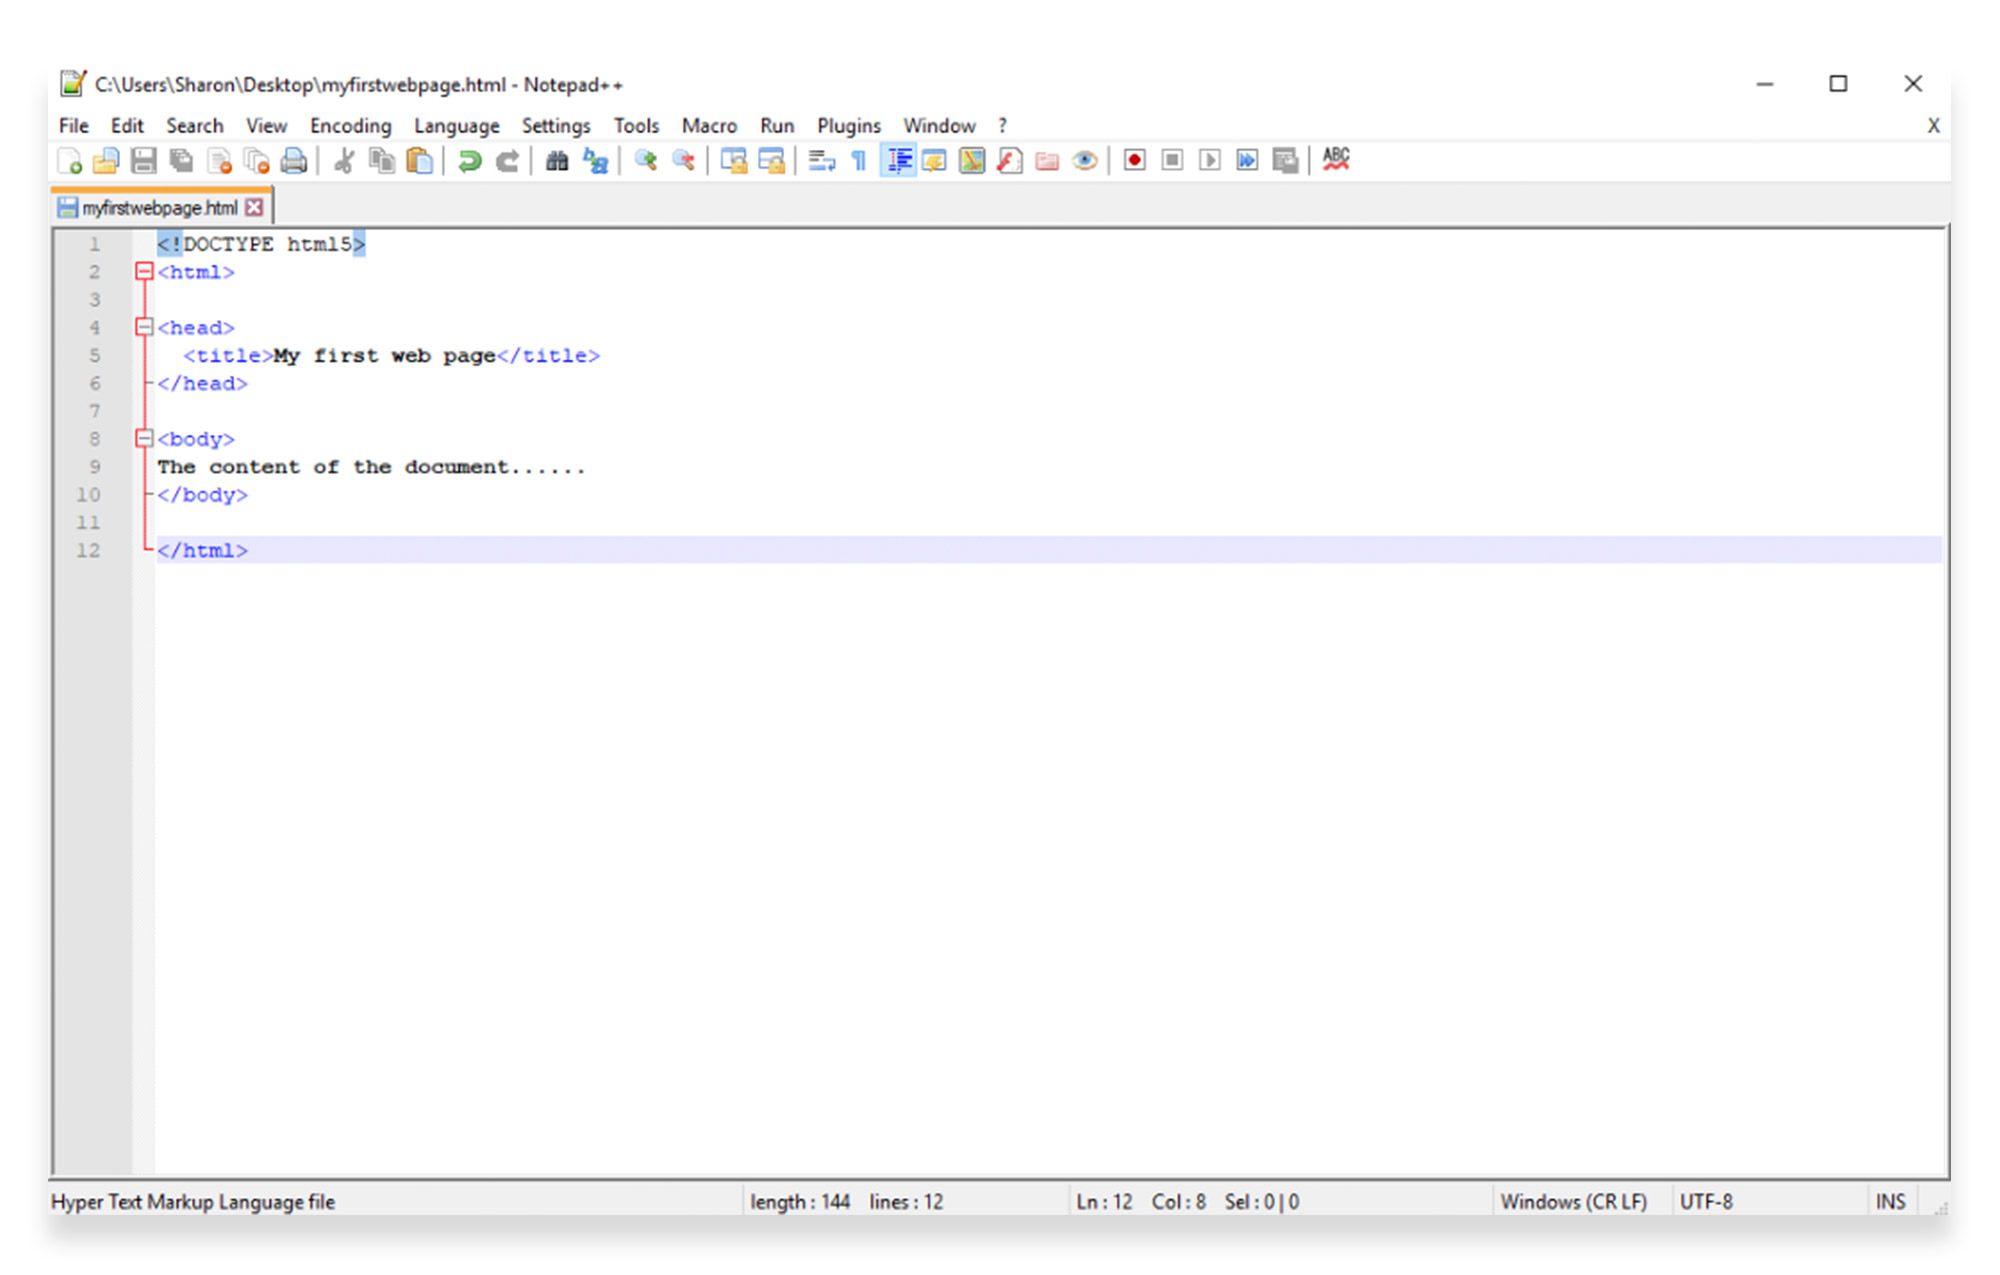
The <!DOCTYPE html> tag is a document type declaration, which tells the browser which type of HTML you’re using. HTML5 is the most updated version.
The <html> tag tells the browser that everything between that opening tag and </html> closing tag is an HTML document. You need to ensure that there is an opening tag and a closing tag, to mark the beginning and end of the code.
The <head> and <title> tags define the title of your document. Title tags are required for all HTML documents, because they determine the title that appears in the browser toolbar, and in search engine results.
The <body> tag defines the main content of the document, which will appear in the browser window and will be coded between that opening tag and the </body> closing tag.
If you save the file and reload it in your web browser, you’ll see that the title “My first web page” now appears in the browser, and the main body “My web page content…” appears on the page.

Next, you can add headings and paragraphs to your document using tags.
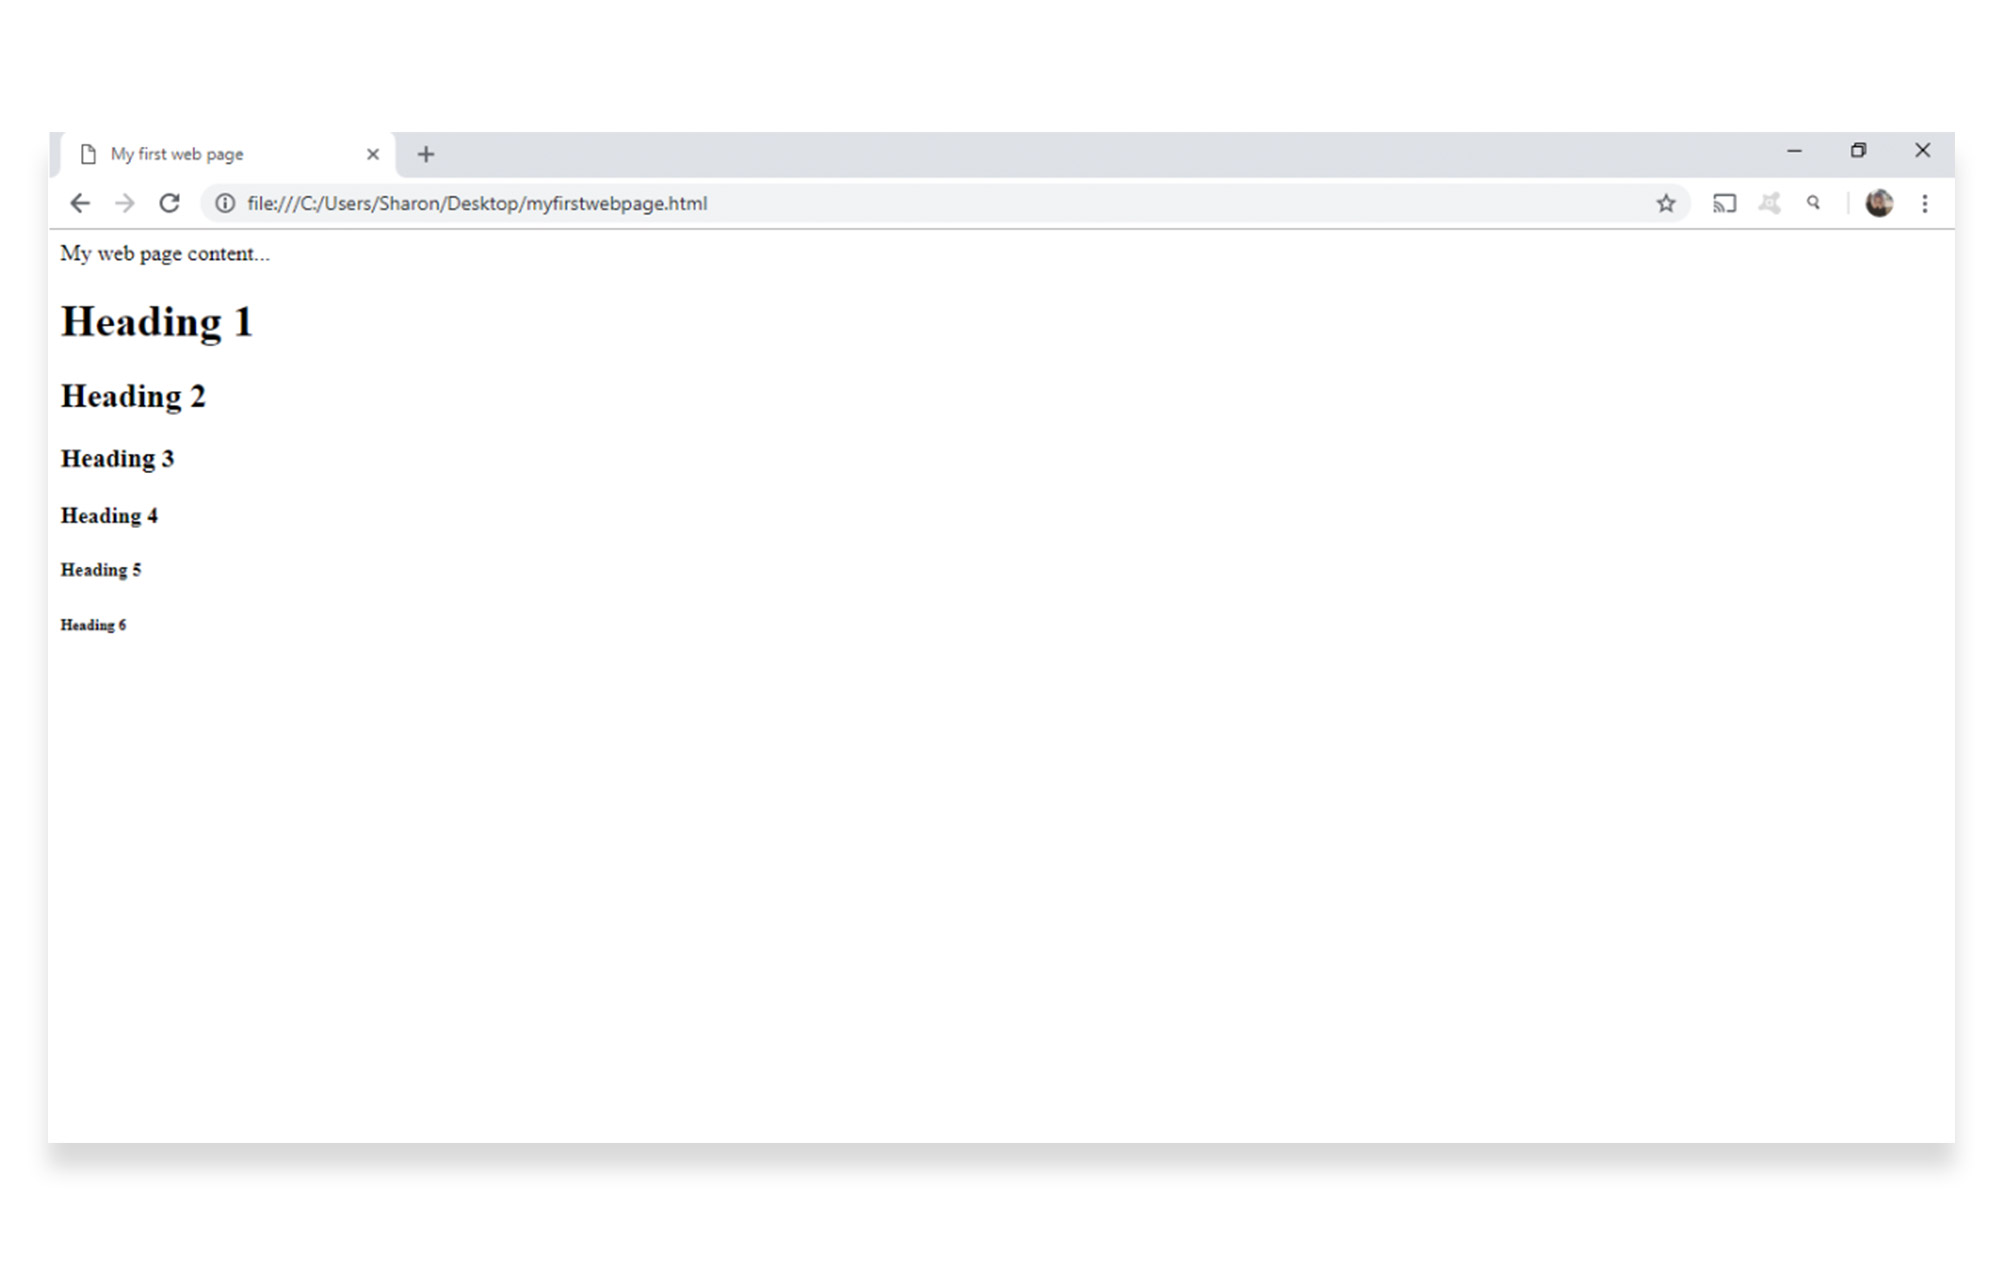
Headings are defined using <h1> to <h6> tags, with <h1> being the most important heading and <h6 > being the least important.
Add a series of heading tags as shown below, between the <body> and </body> tags. Then save your document and refresh your page.
<!DOCTYPE html5>
<html>

<head>
 <title>My first web page</title>
</head>

<body>
My web page content…

<h1>Heading 1</h1>

<h2>Heading 2</h2>

<h3>Heading 3</h3>

<h4>Heading 4</h4>

<h5>Heading 5</h5>

<h6>Heading 6</h6>
</body>

</html>
The web page will show a list of headings in different sizes, depending on their importance.
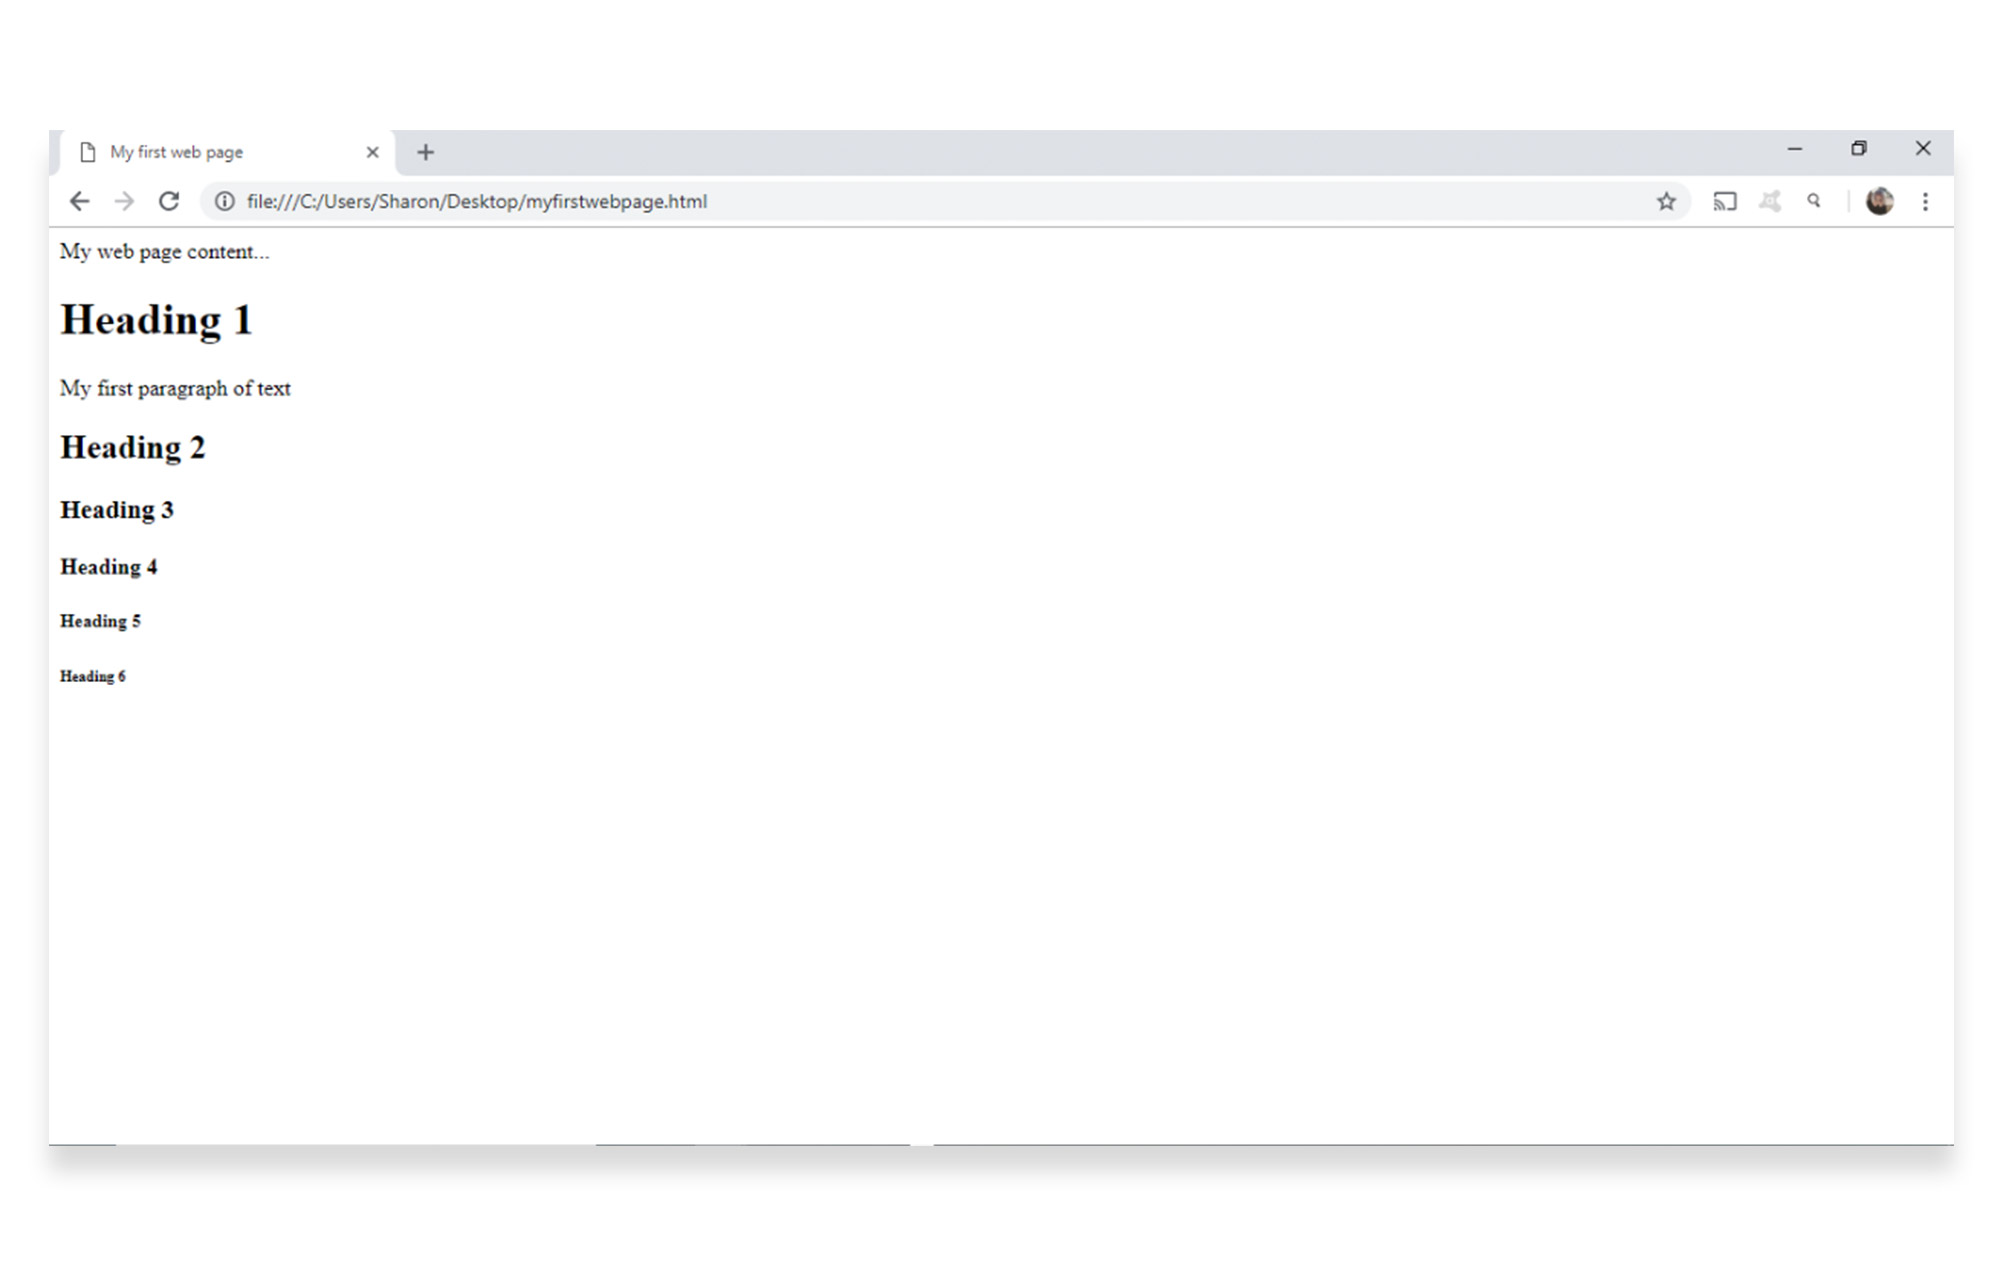
Paragraphs are defined using the <p> tag. The browser will automatically add some space before and after each paragraph.
Add a short paragraph of text with opening and closing tags under the first heading in your document. Then save and refresh.
<!DOCTYPE html5>
<html>

<head>
 <title>My first web page</title>
</head>

<body>
My web page content…

<h1>Heading 1</h1>

<p>My first paragraph of text</p>

<h2>Heading 2</h2>

<h3>Heading 3</h3>

<h4>Heading 4</h4>

<h5>Heading 5</h5>

<h6>Heading 6</h6>
</body>

</html>
The paragraph will appear under the first heading, with space (margins) before and after the text.
These are the essential tags you will need to set up the basic structure of a web page. Have a look at some other common HTML tags here.
HTML attributes
Attributes are extra bits of information, which appear inside opening tags inside quotation marks. They usually come in name and value pairs, for example: name=”value”.
Tags with attributes are written in a format as follows: <tag attribute=”value”>Text</tag>.
Attributes in action
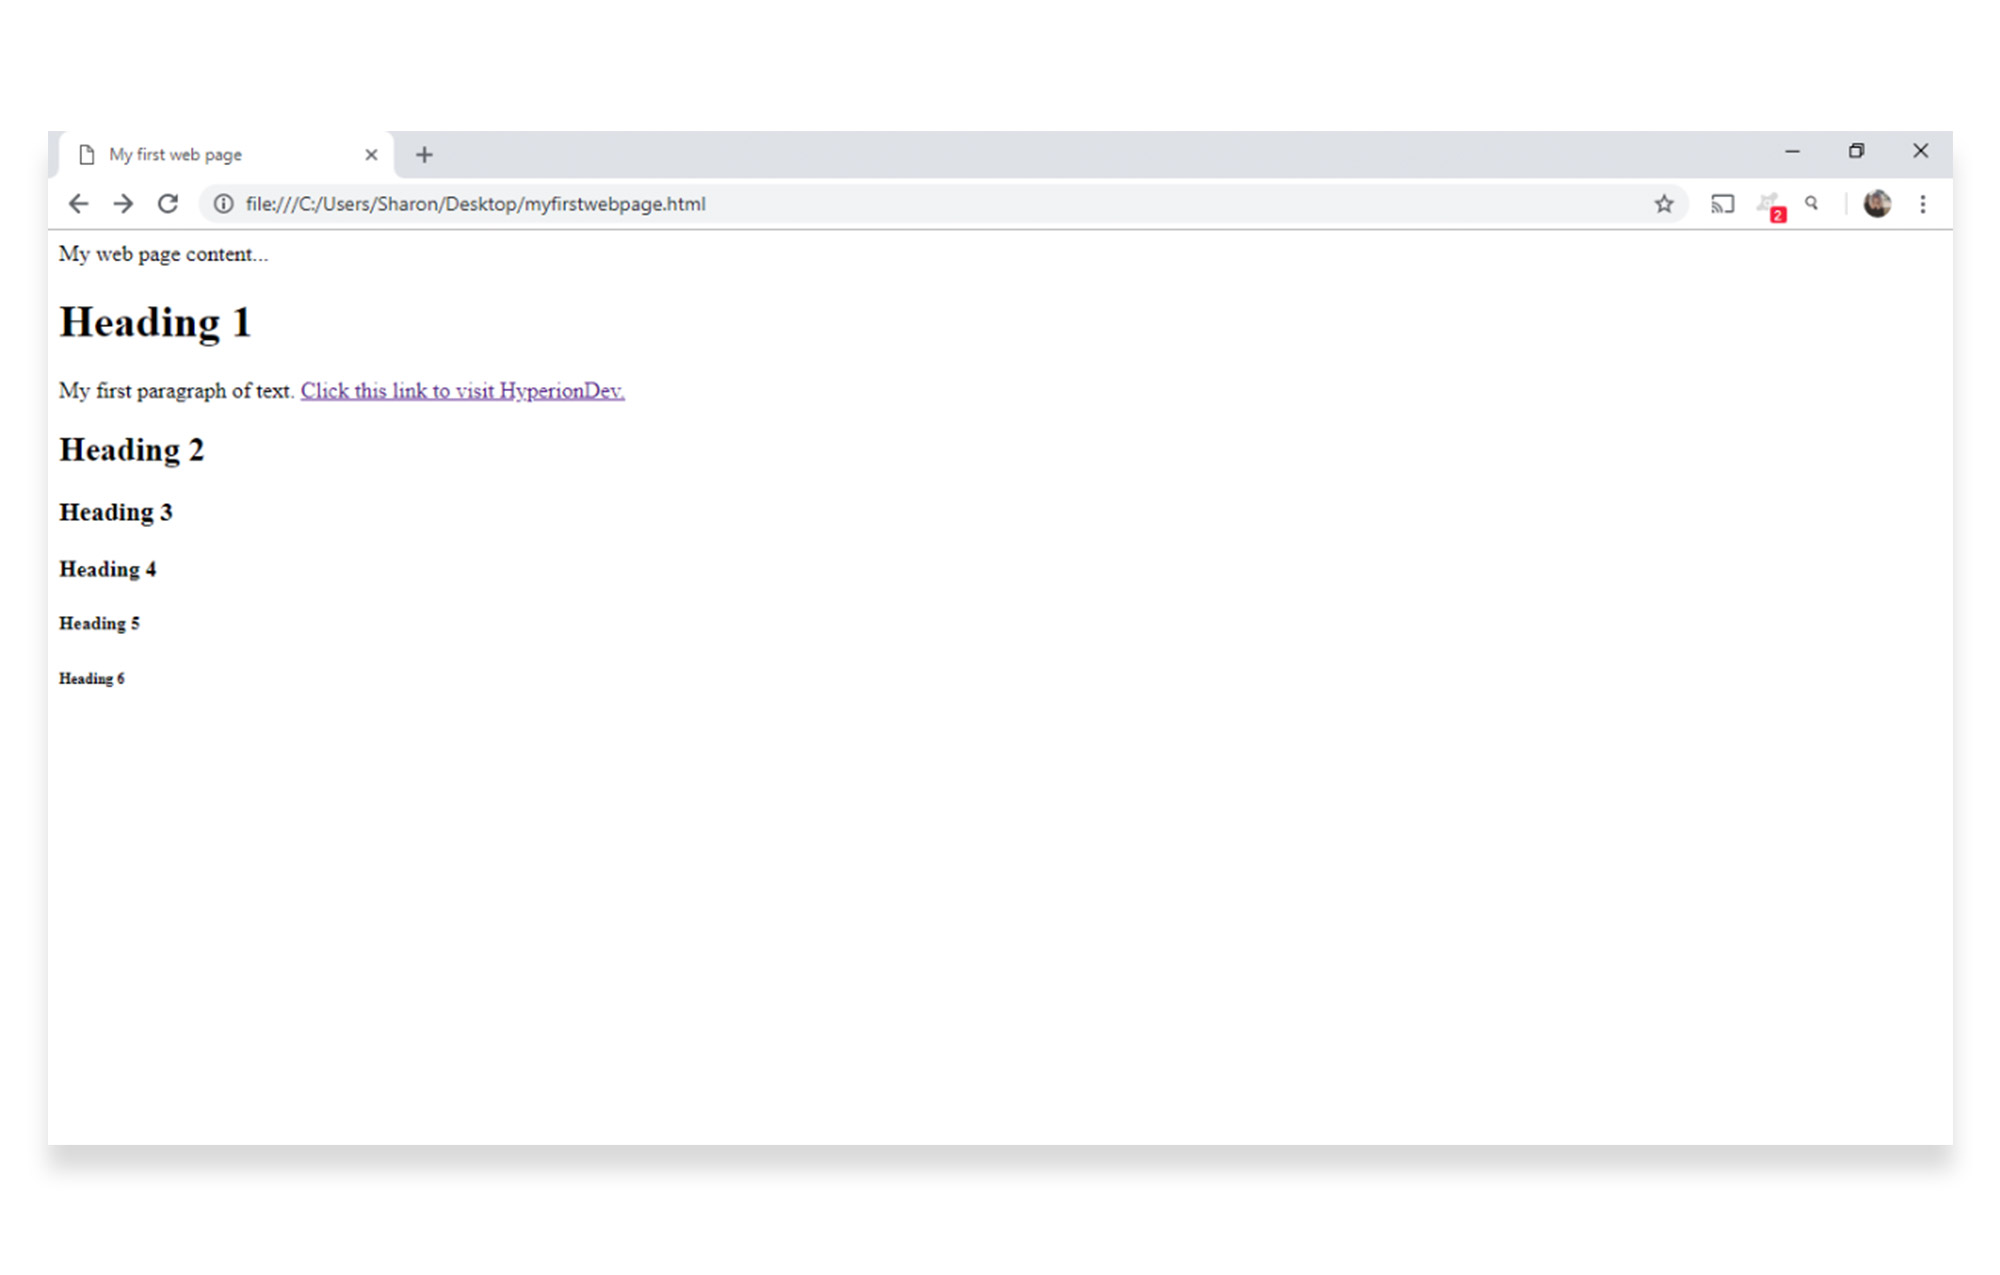
Links: HTML links are written using the tag <a>, and the actual URL (link address) is specified using an attribute called the href attribute.
For example, you can add a link to your first paragraph using the following tag and attribute:
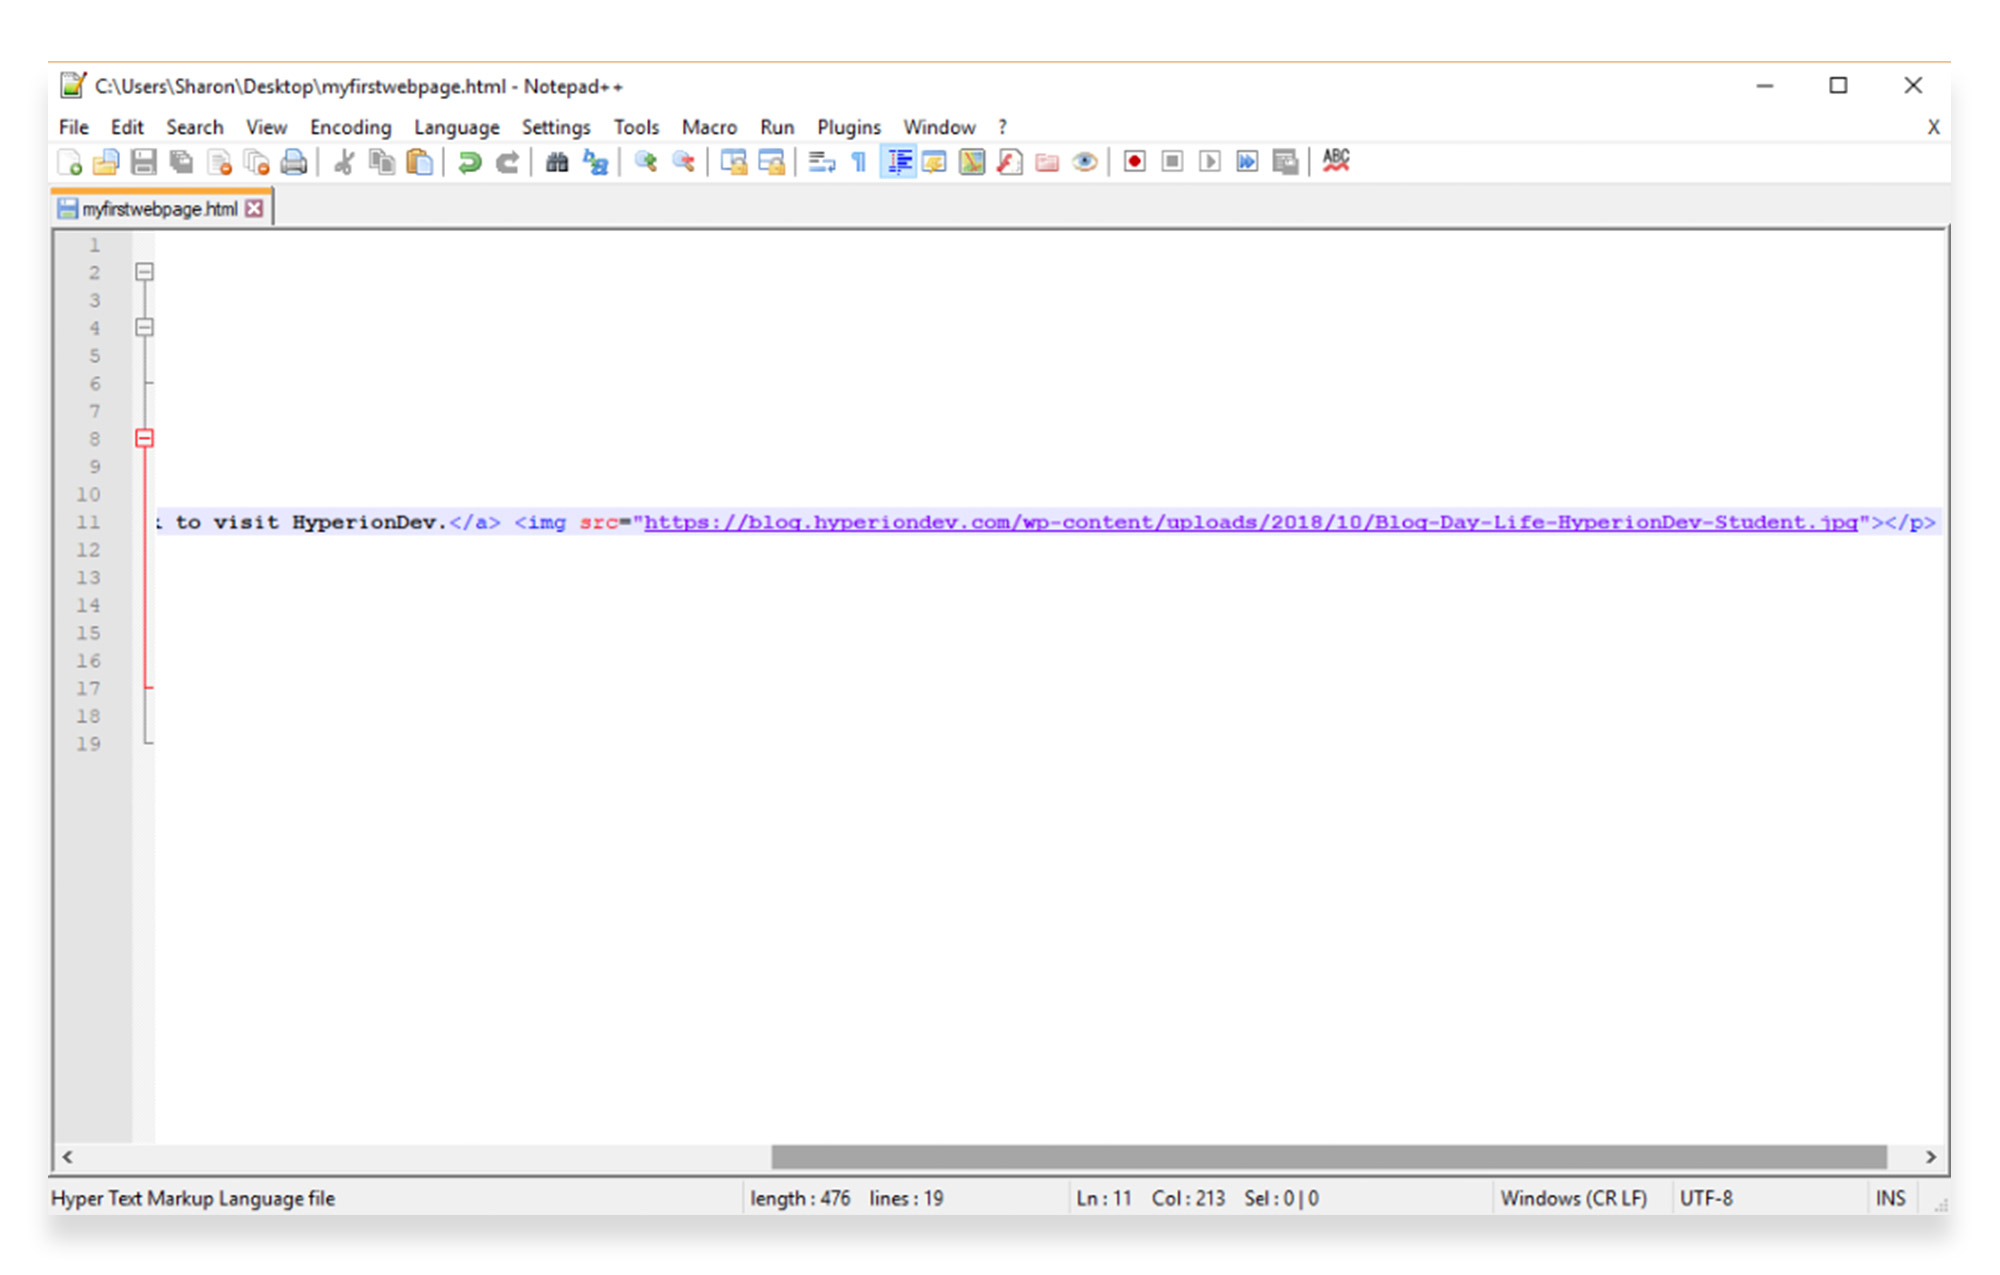
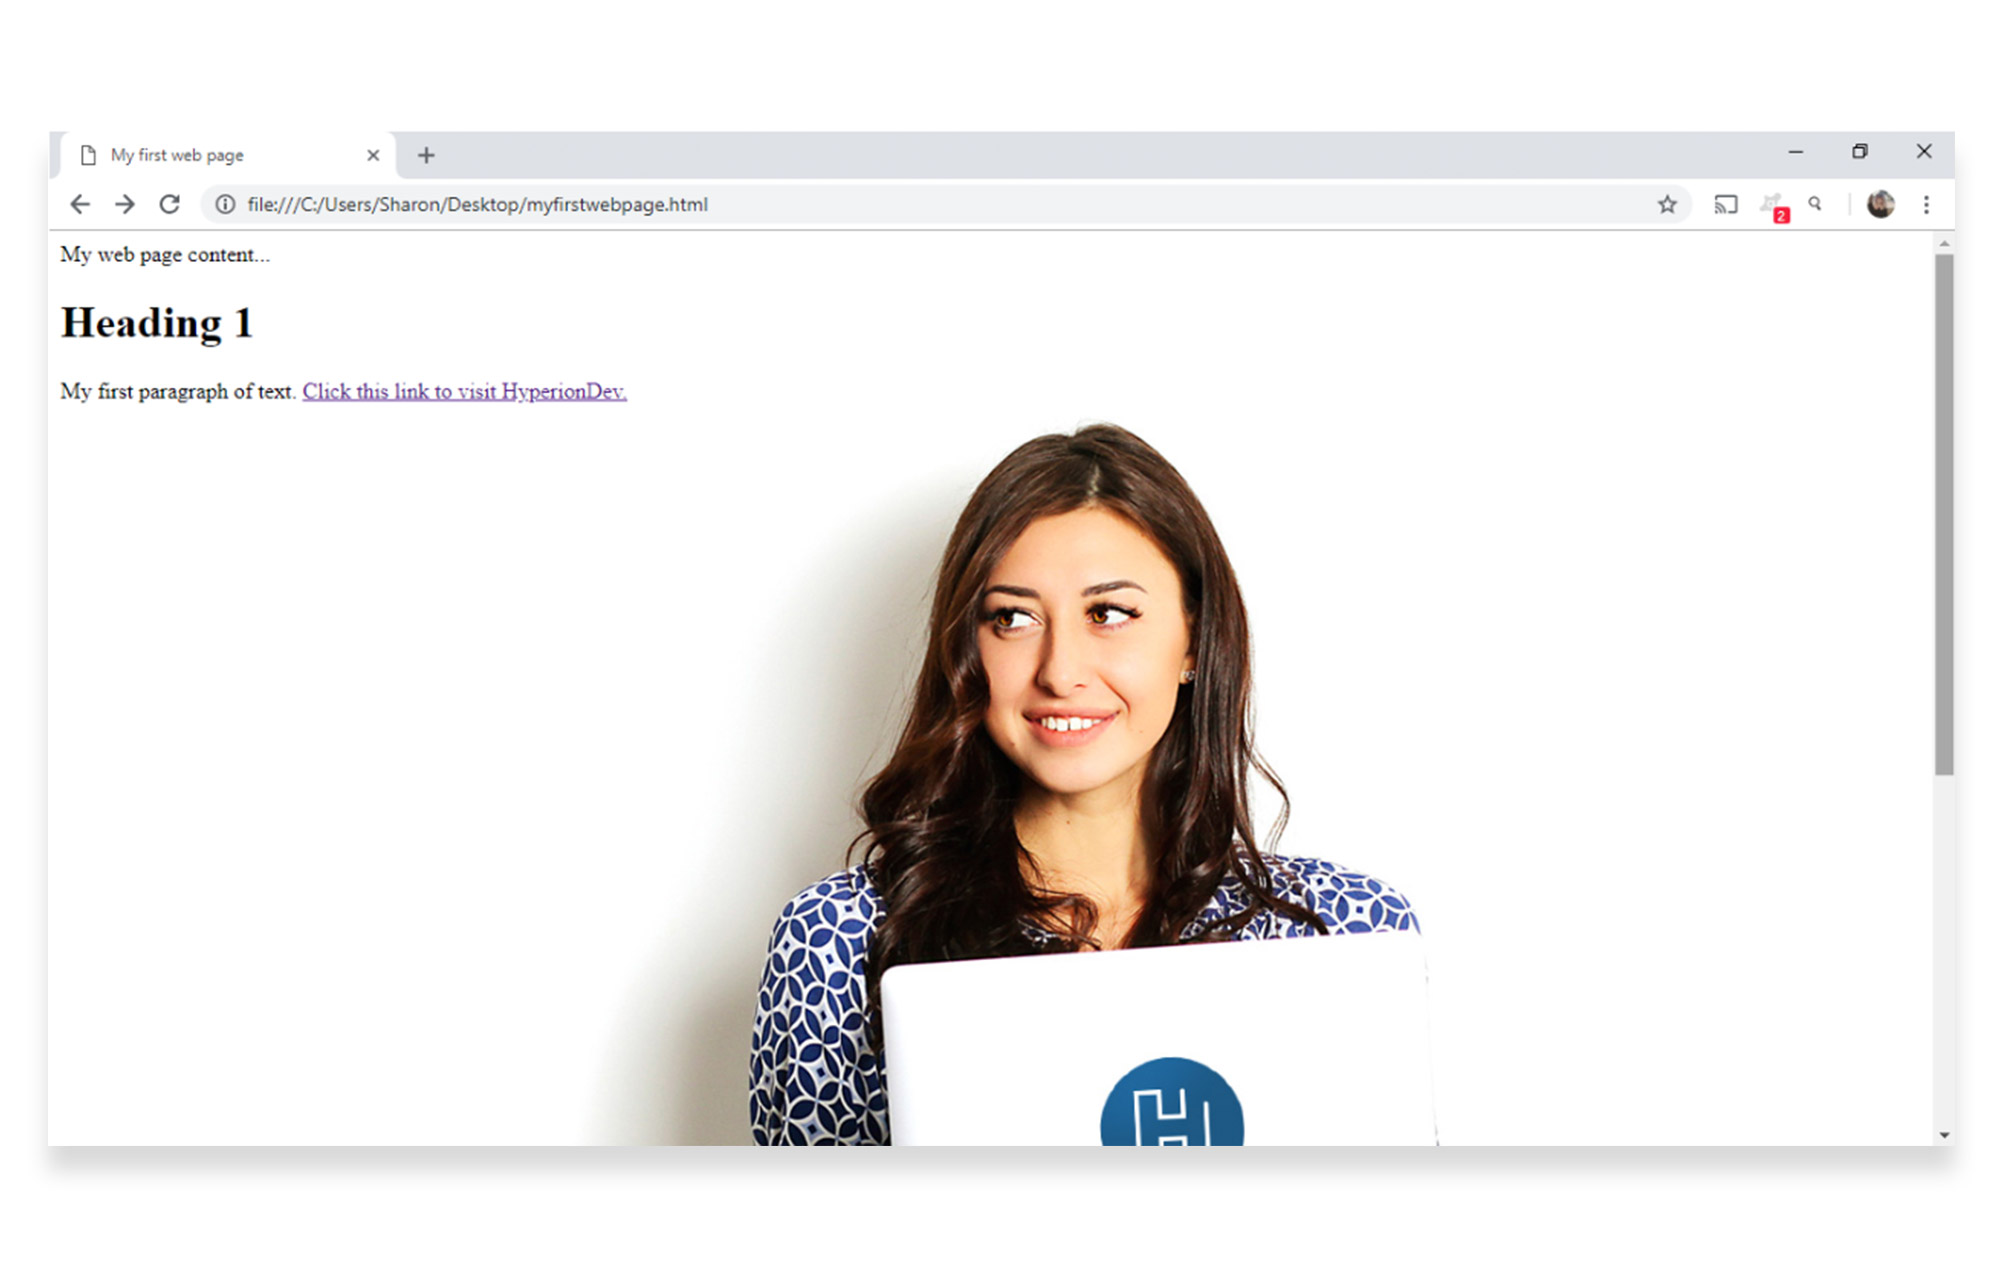
<a href="https://www.hyperiondev.com/">Click this link to visit HyperionDev</a>
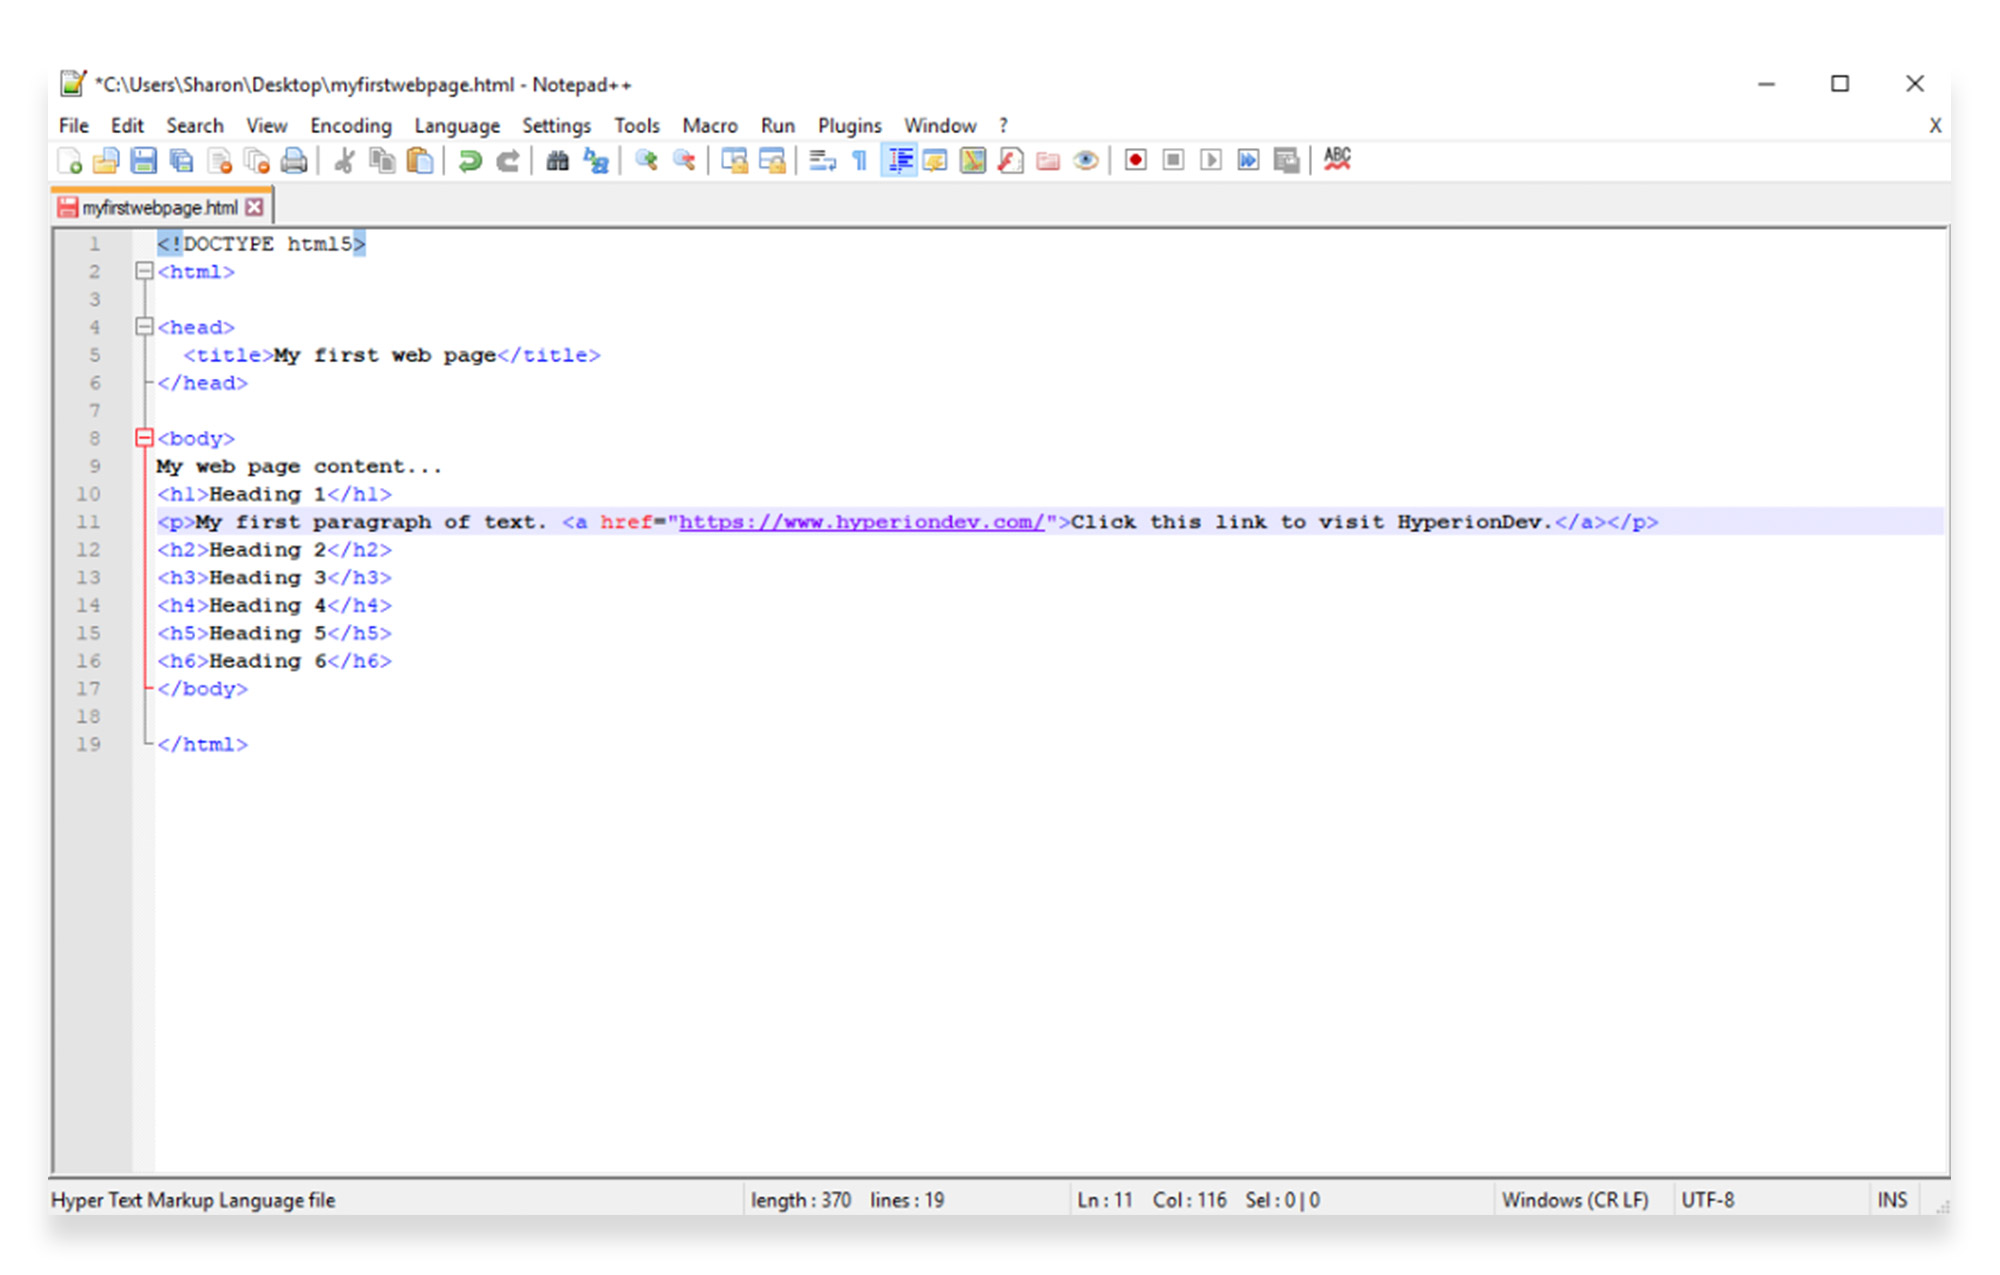
When you save and refresh, there will be a clickable link on your web page.
Images: HTML images are coded using the tag <img>, and the image source filename is specified using an attribute called the src attribute. Note that the image URL must be written inside quotation marks.
The image must be stored on an HTML page online – not on a local computer. Note that the <img src> tag doesn’t require a closing tag.
For example, you can add an image to your first paragraph using this code:
<img src="https://blog.hyperiondev.com/wp-content/uploads/2018/10/Blog-Day-Life-HyperionDev-Student.jpg">
When you save and refresh, the image will display.
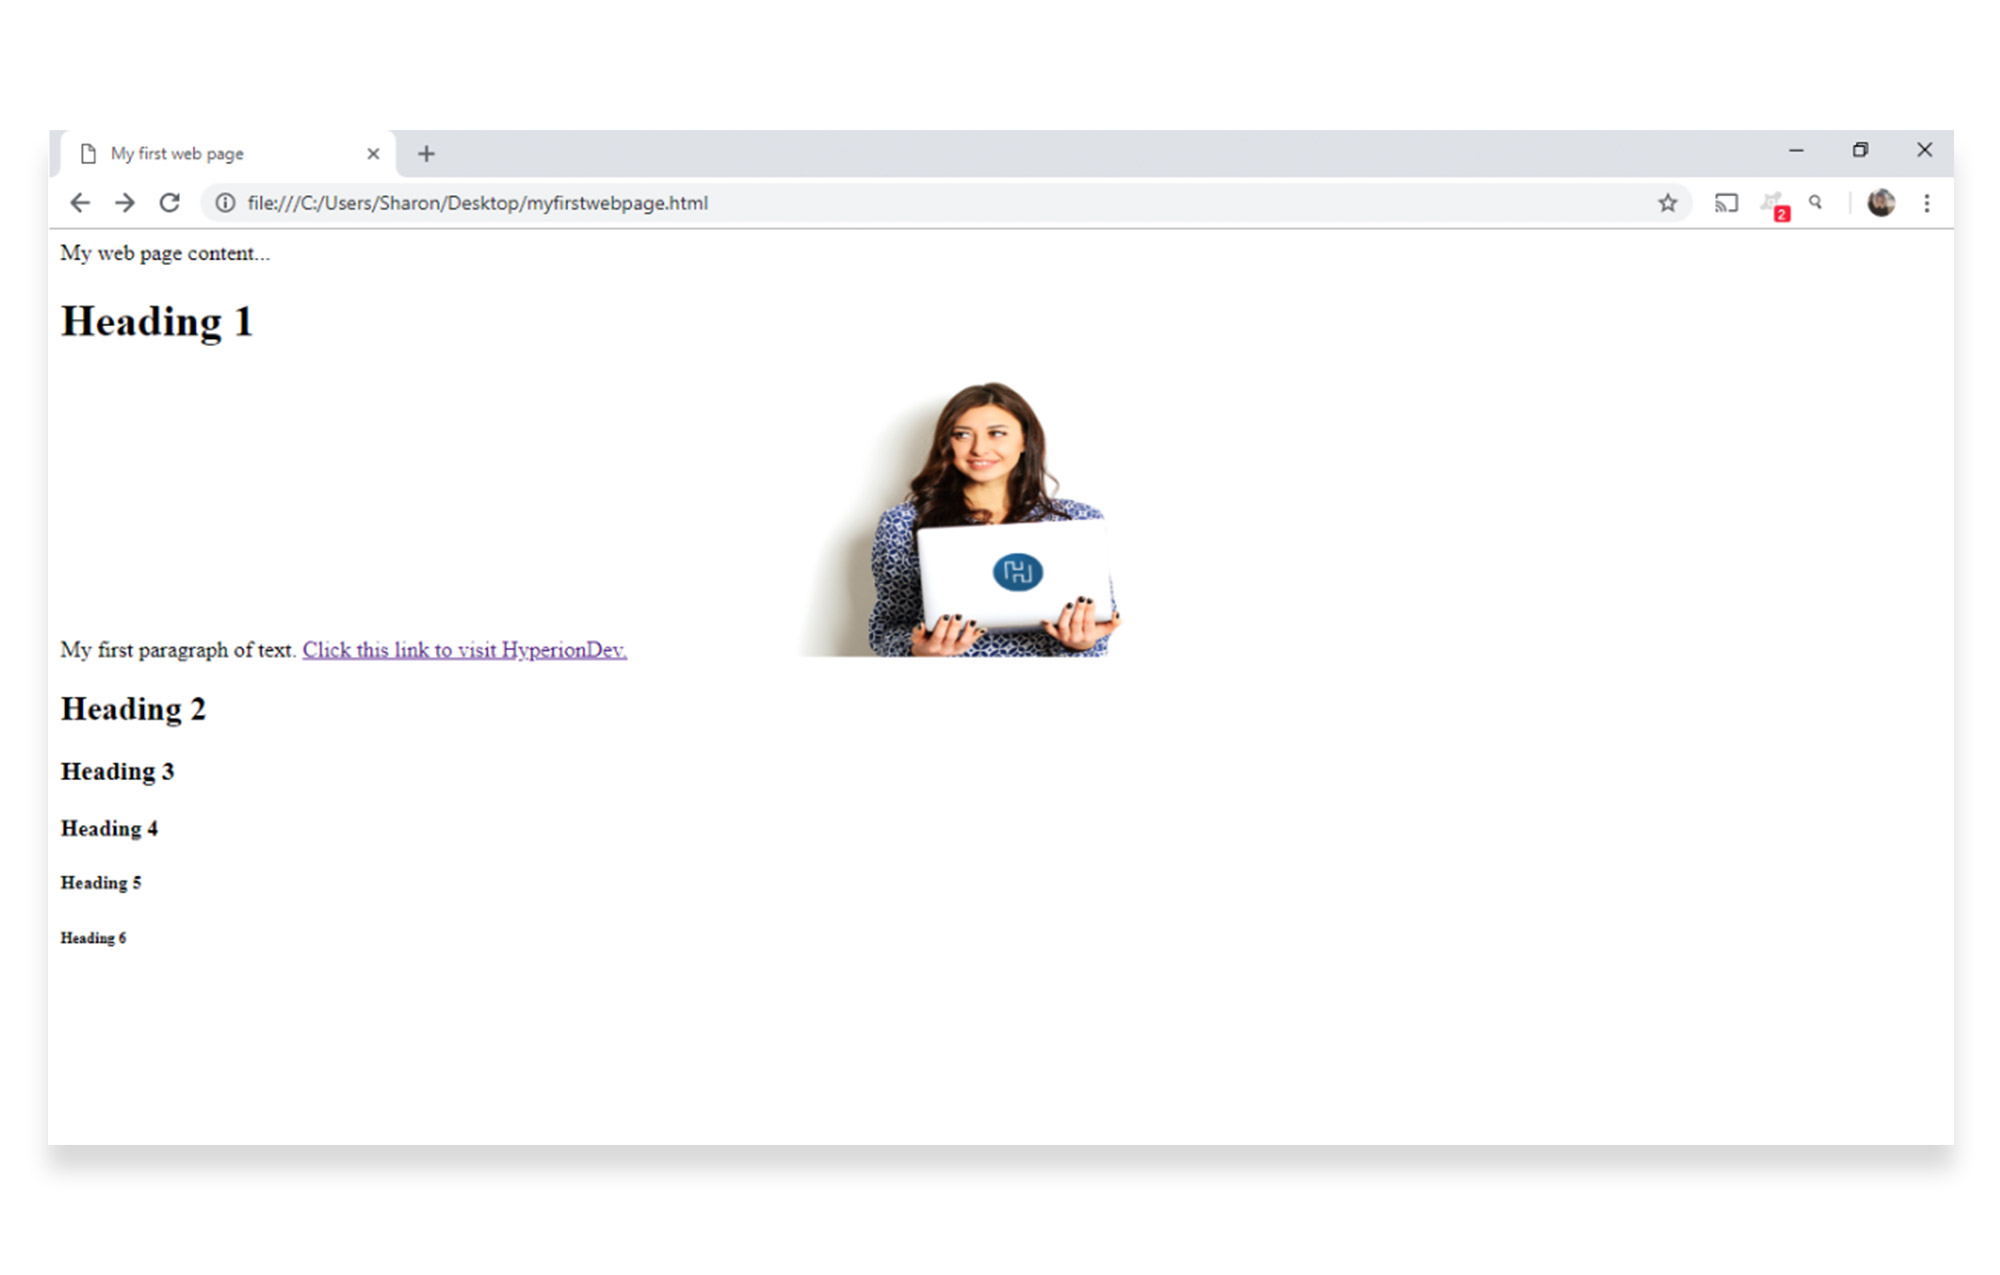
Dimensions: You can set the height and width of an image in HTML using size attributes. The dimensions are specified in pixels. Note that the pixel number must always be written inside quotation marks.
For example, you can resize the image in your first paragraph by using the following code:
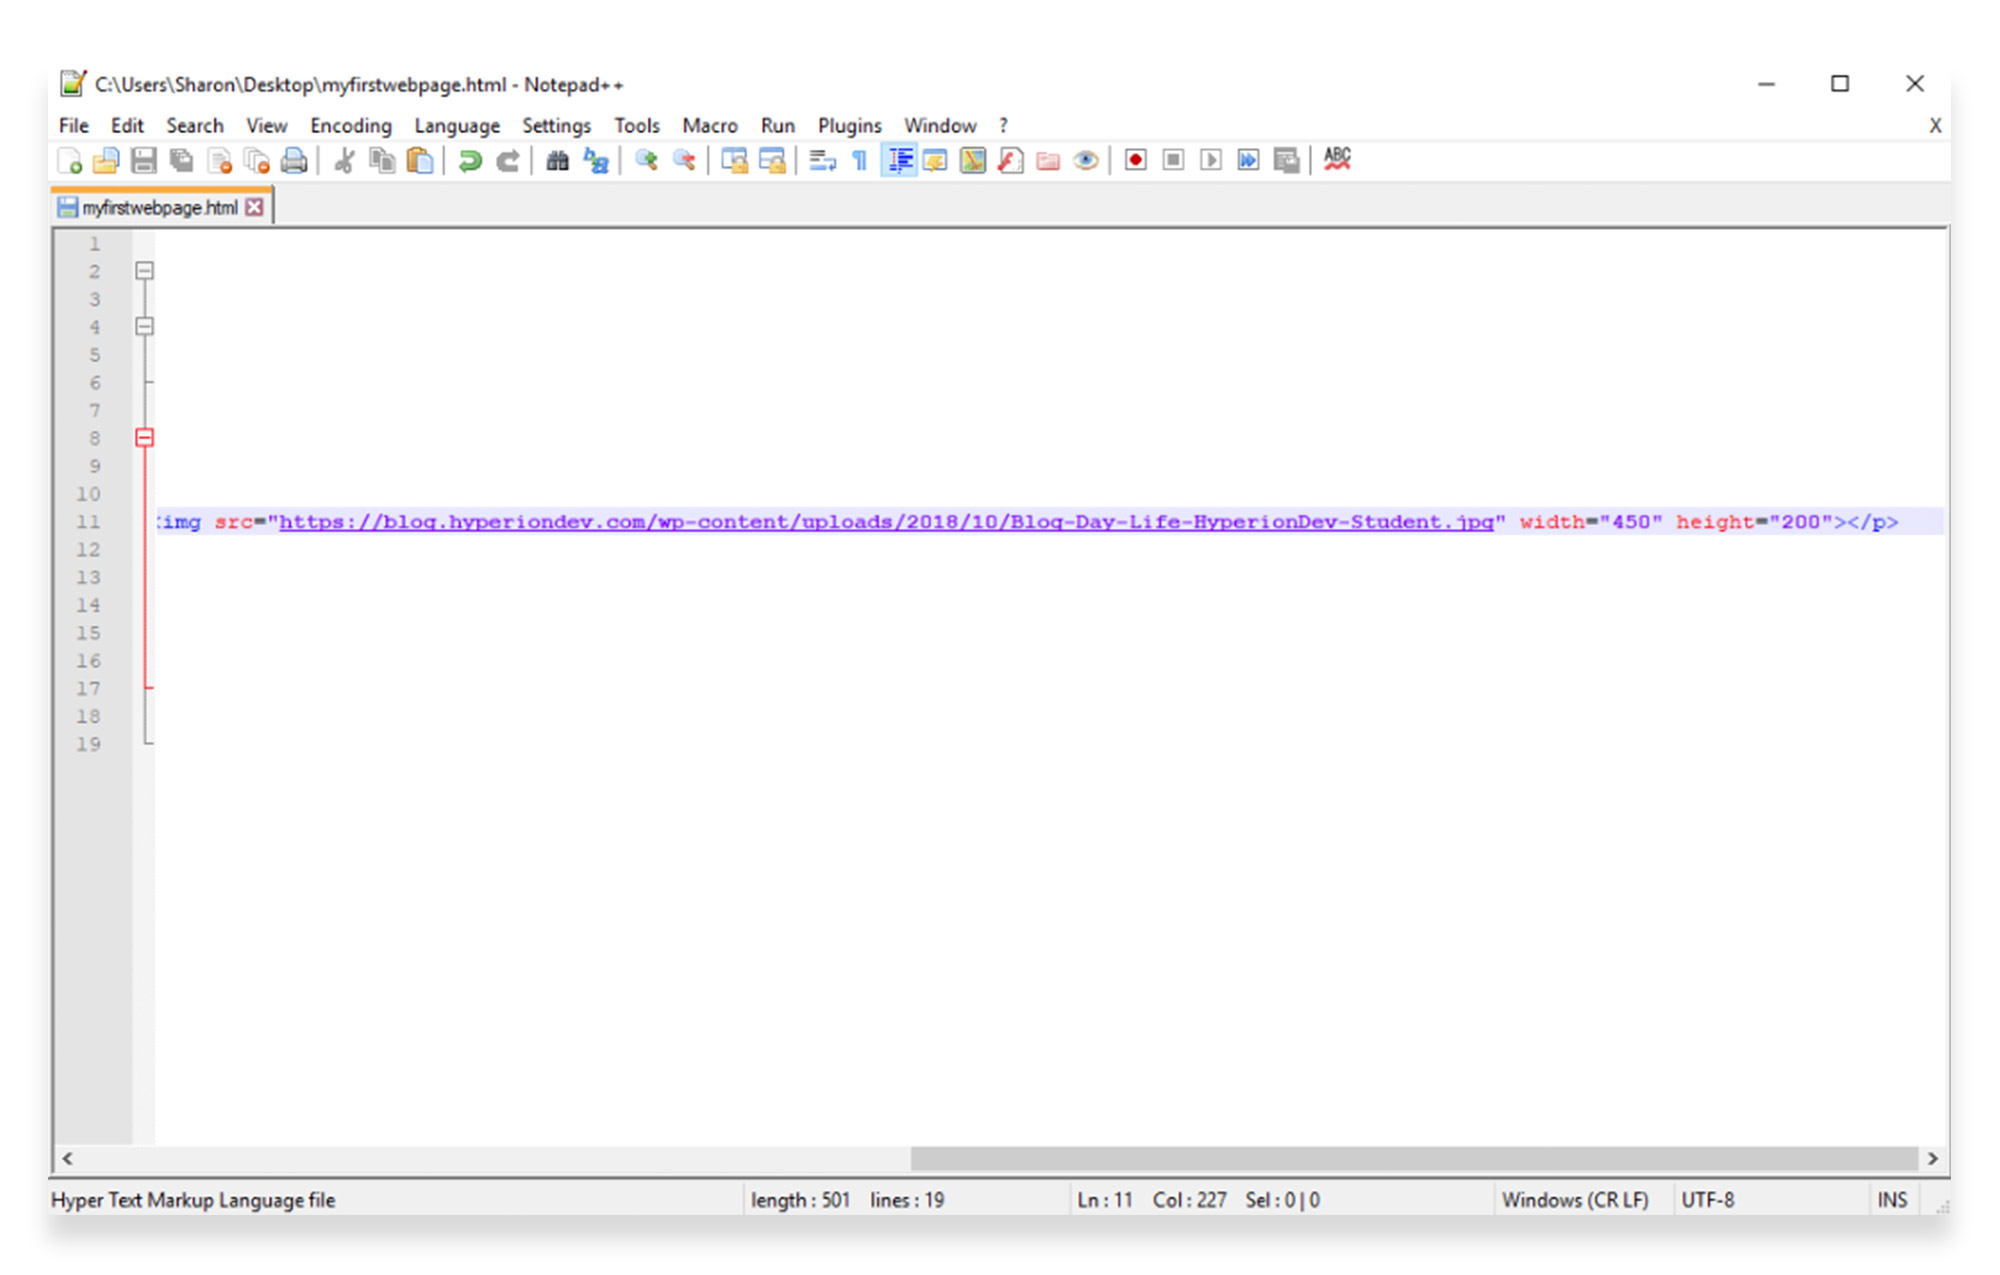
<img src="https://blog.hyperiondev.com/wp-content/uploads/2018/10/Blog-Day-Life-HyperionDev-Student.jpg" width=”450” height=”200”>
When you save and refresh, the resized image will display.
HTML elements
When we talk about elements, we’re referring to the individual parts that make up a web page. Your HTML tags mark the beginning and end of each element.
For example, the content that appears between the <body> and </body> tags is the body element. And the text that appears between the “<title>” and “</title>” tags, “<title>My Page Title</title>” would be called the title element.
Part 2 of our HTML beginner tutorial will show you how to set up lists, links and images. In the meantime, if you’re interested in learning more about HTML code, check out our mentor-led online coding courses.
