
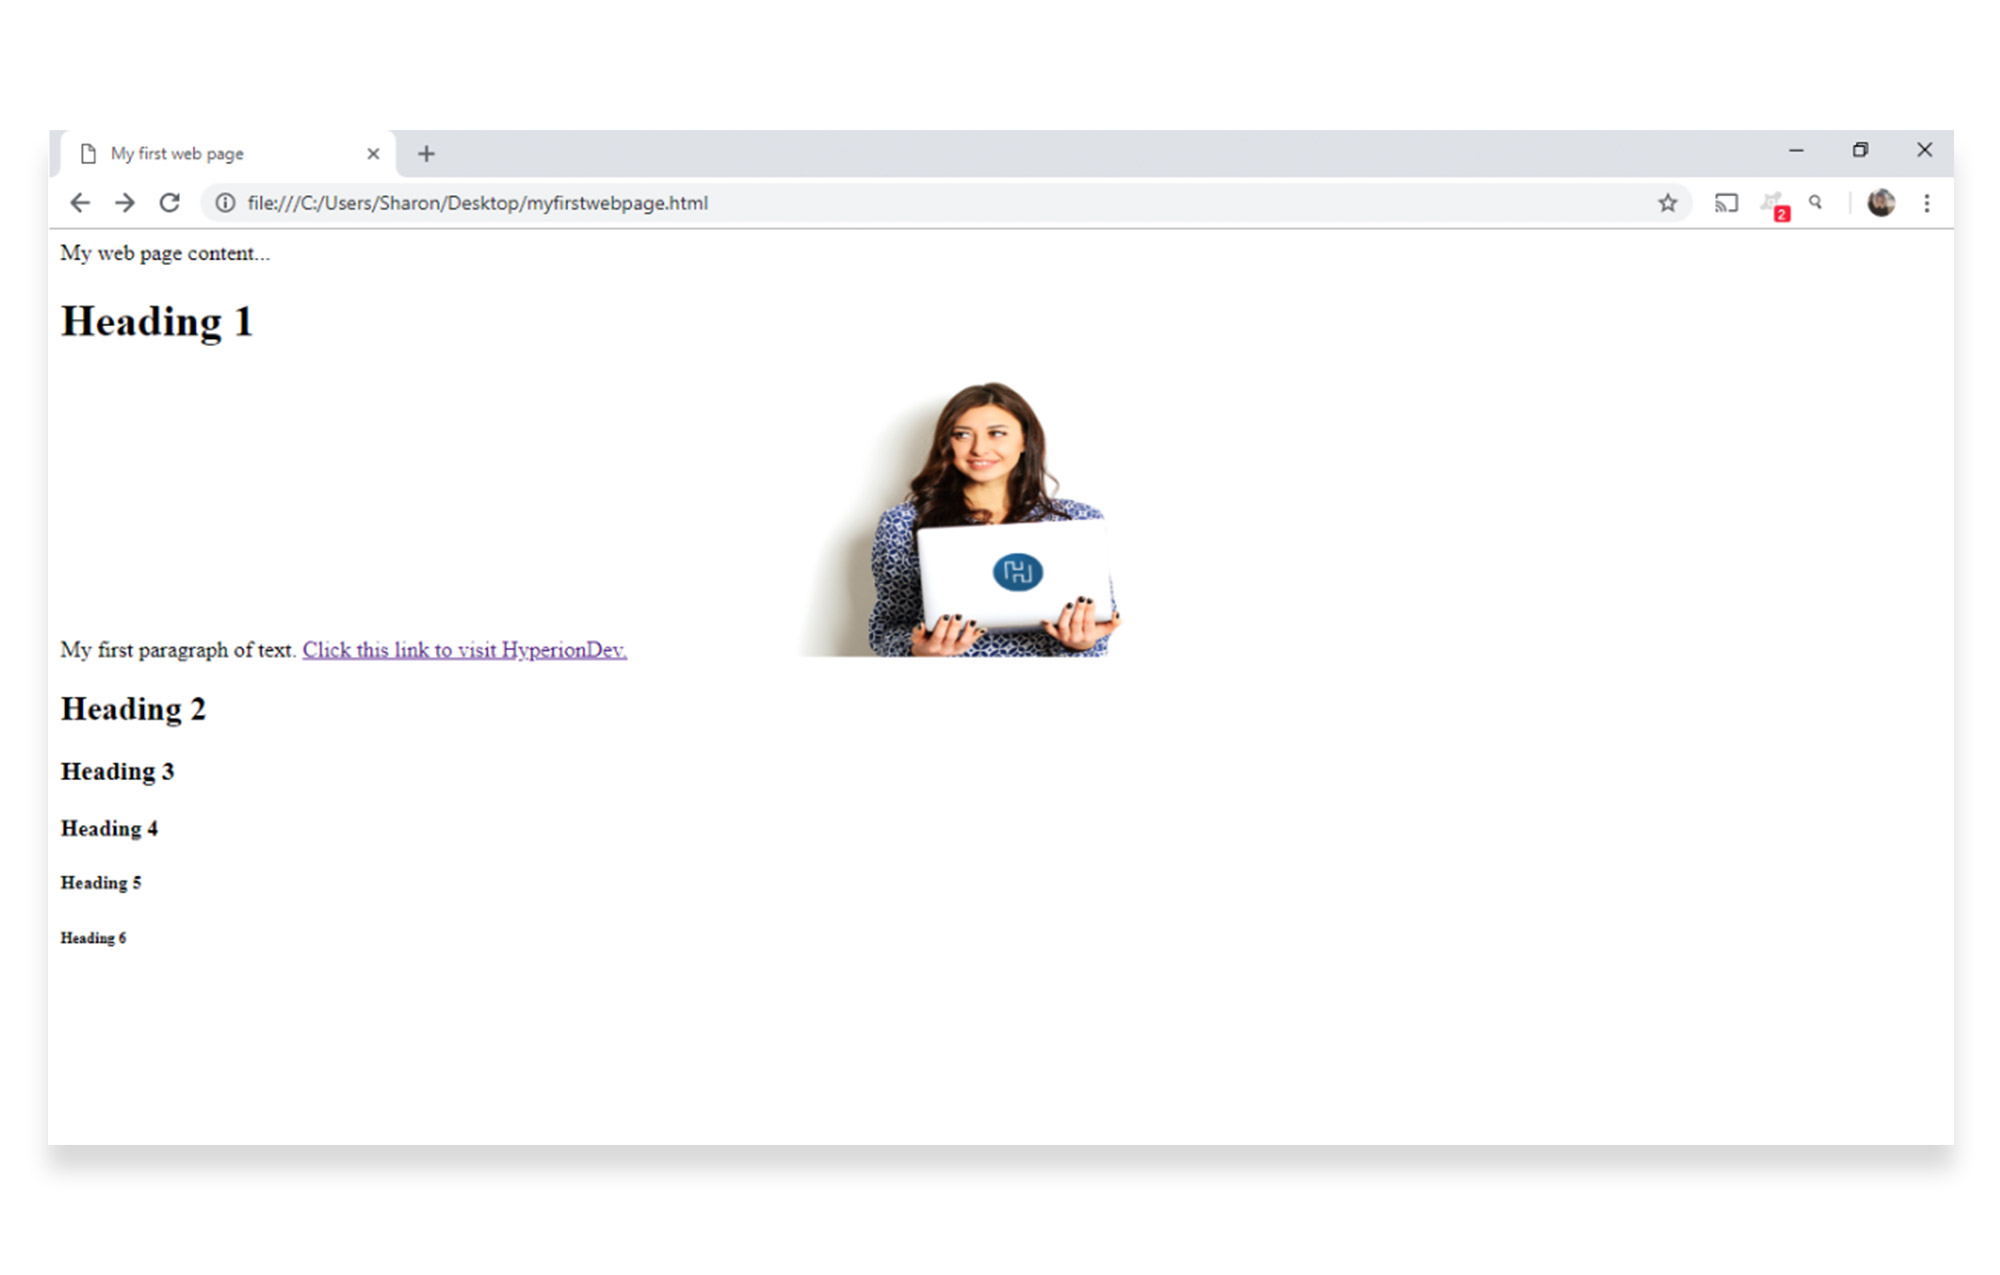
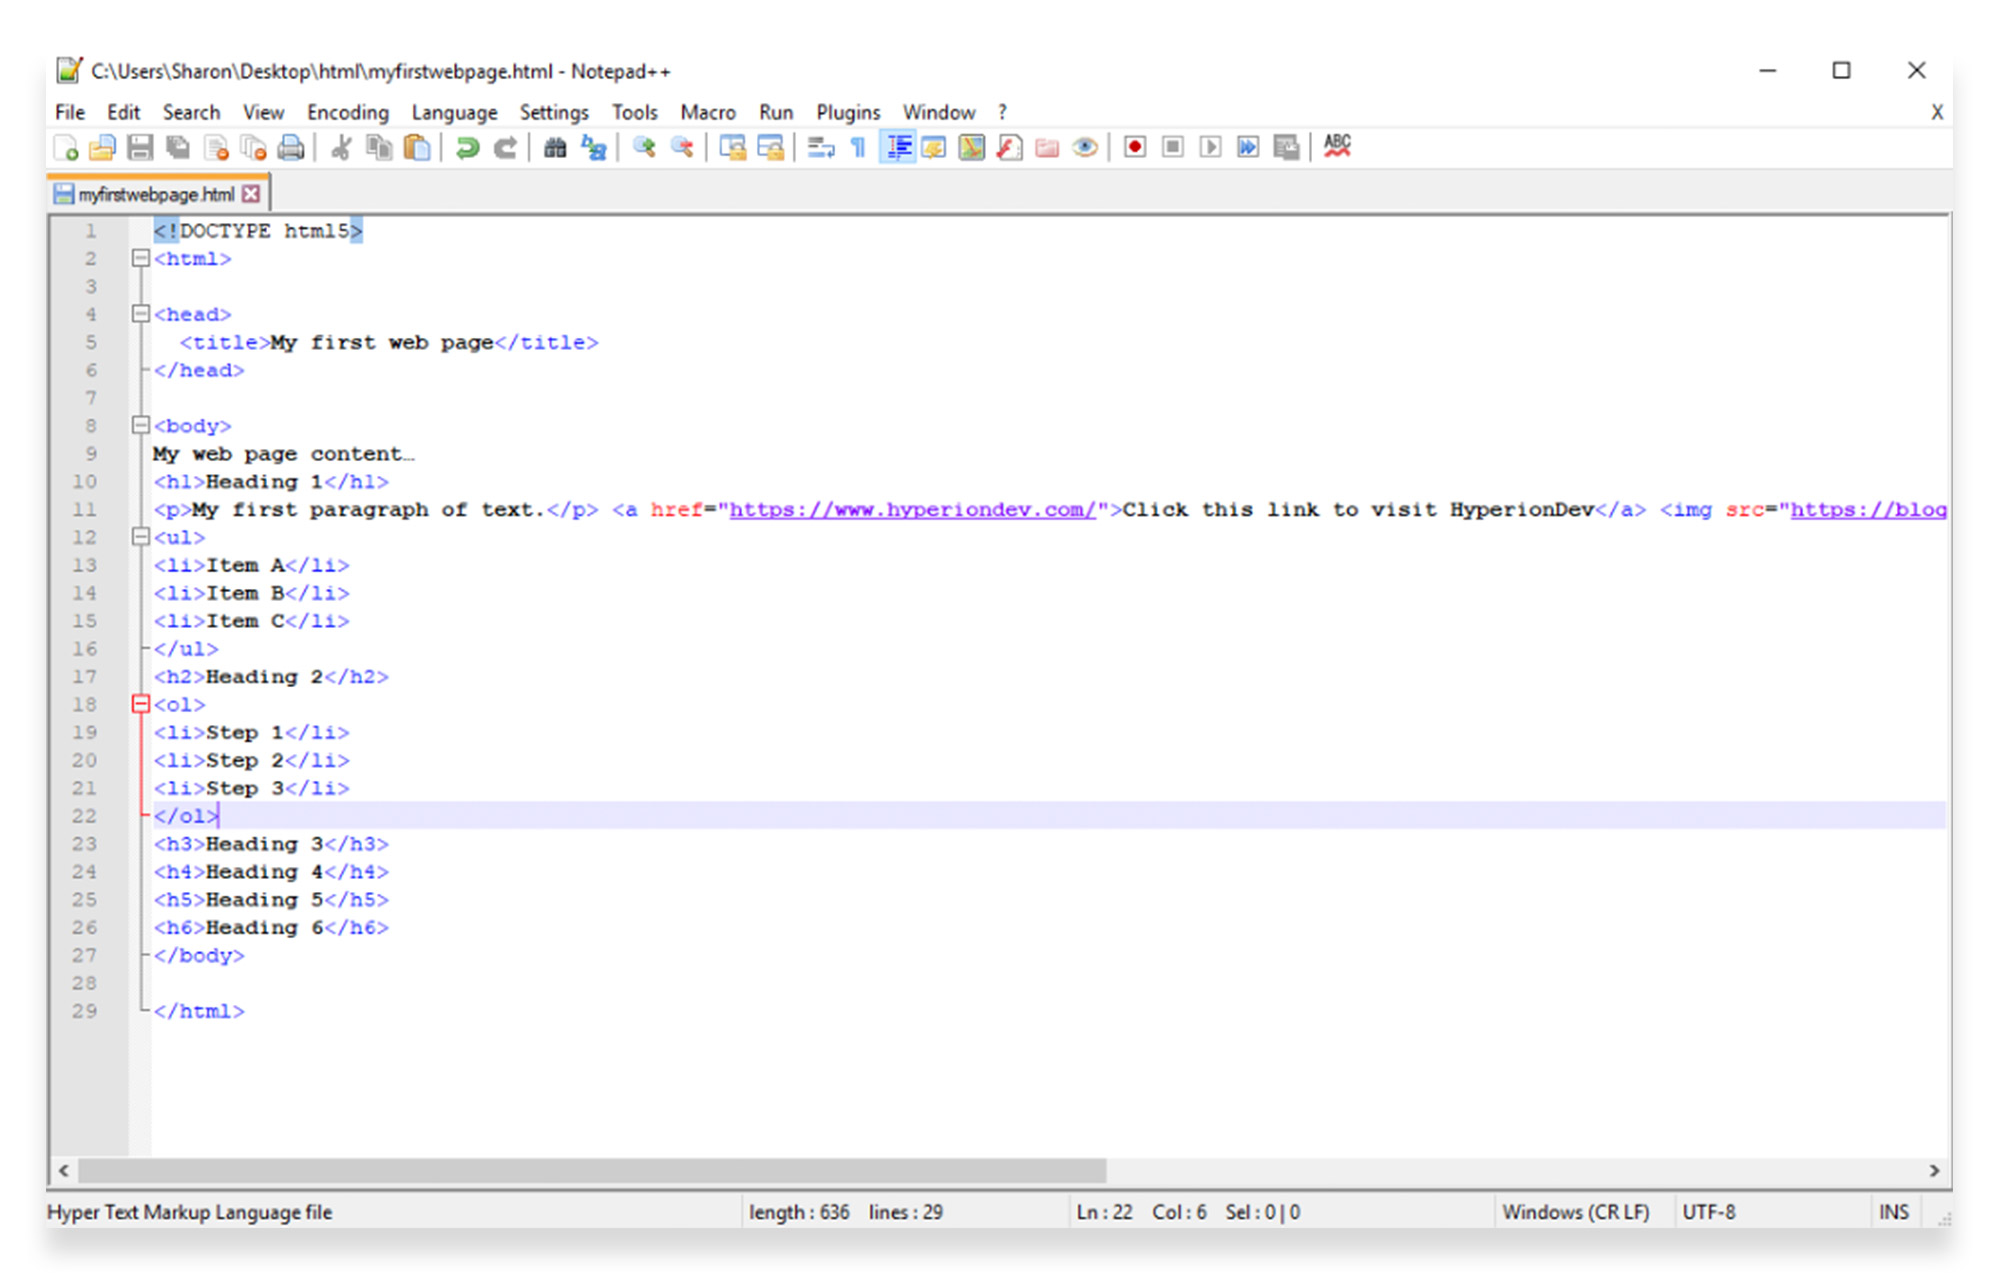
Welcome to part 2 of a 4-part series by HyperionDev showcasing an HTML tutorial for beginners. We hope you enjoy this upcoming tutorial, focusing on lists, links and images. By the end of our first HTML tutorial, your document in Notepad++ should be displaying as follows:
In this next tutorial, you’ll be adding to the code to create lists, links and images in HTML.
HTML lists
Lists are very common in web pages. They’re used in online articles, navigation menus, and product features on e-commerce websites.
There are a few different types of lists you can use, depending on the content you want to display.
Unordered list:
An unordered list is a simple HTML list that you can use when the order of the items you’re listing isn’t important, and rearranging the order wouldn’t cause confusion or change the hierarchy of the list.
The <ul> and </ul> tags define the beginning and end of an unordered list. The <li> and </li> tags are list item tags, which contain the items or points you are listing.
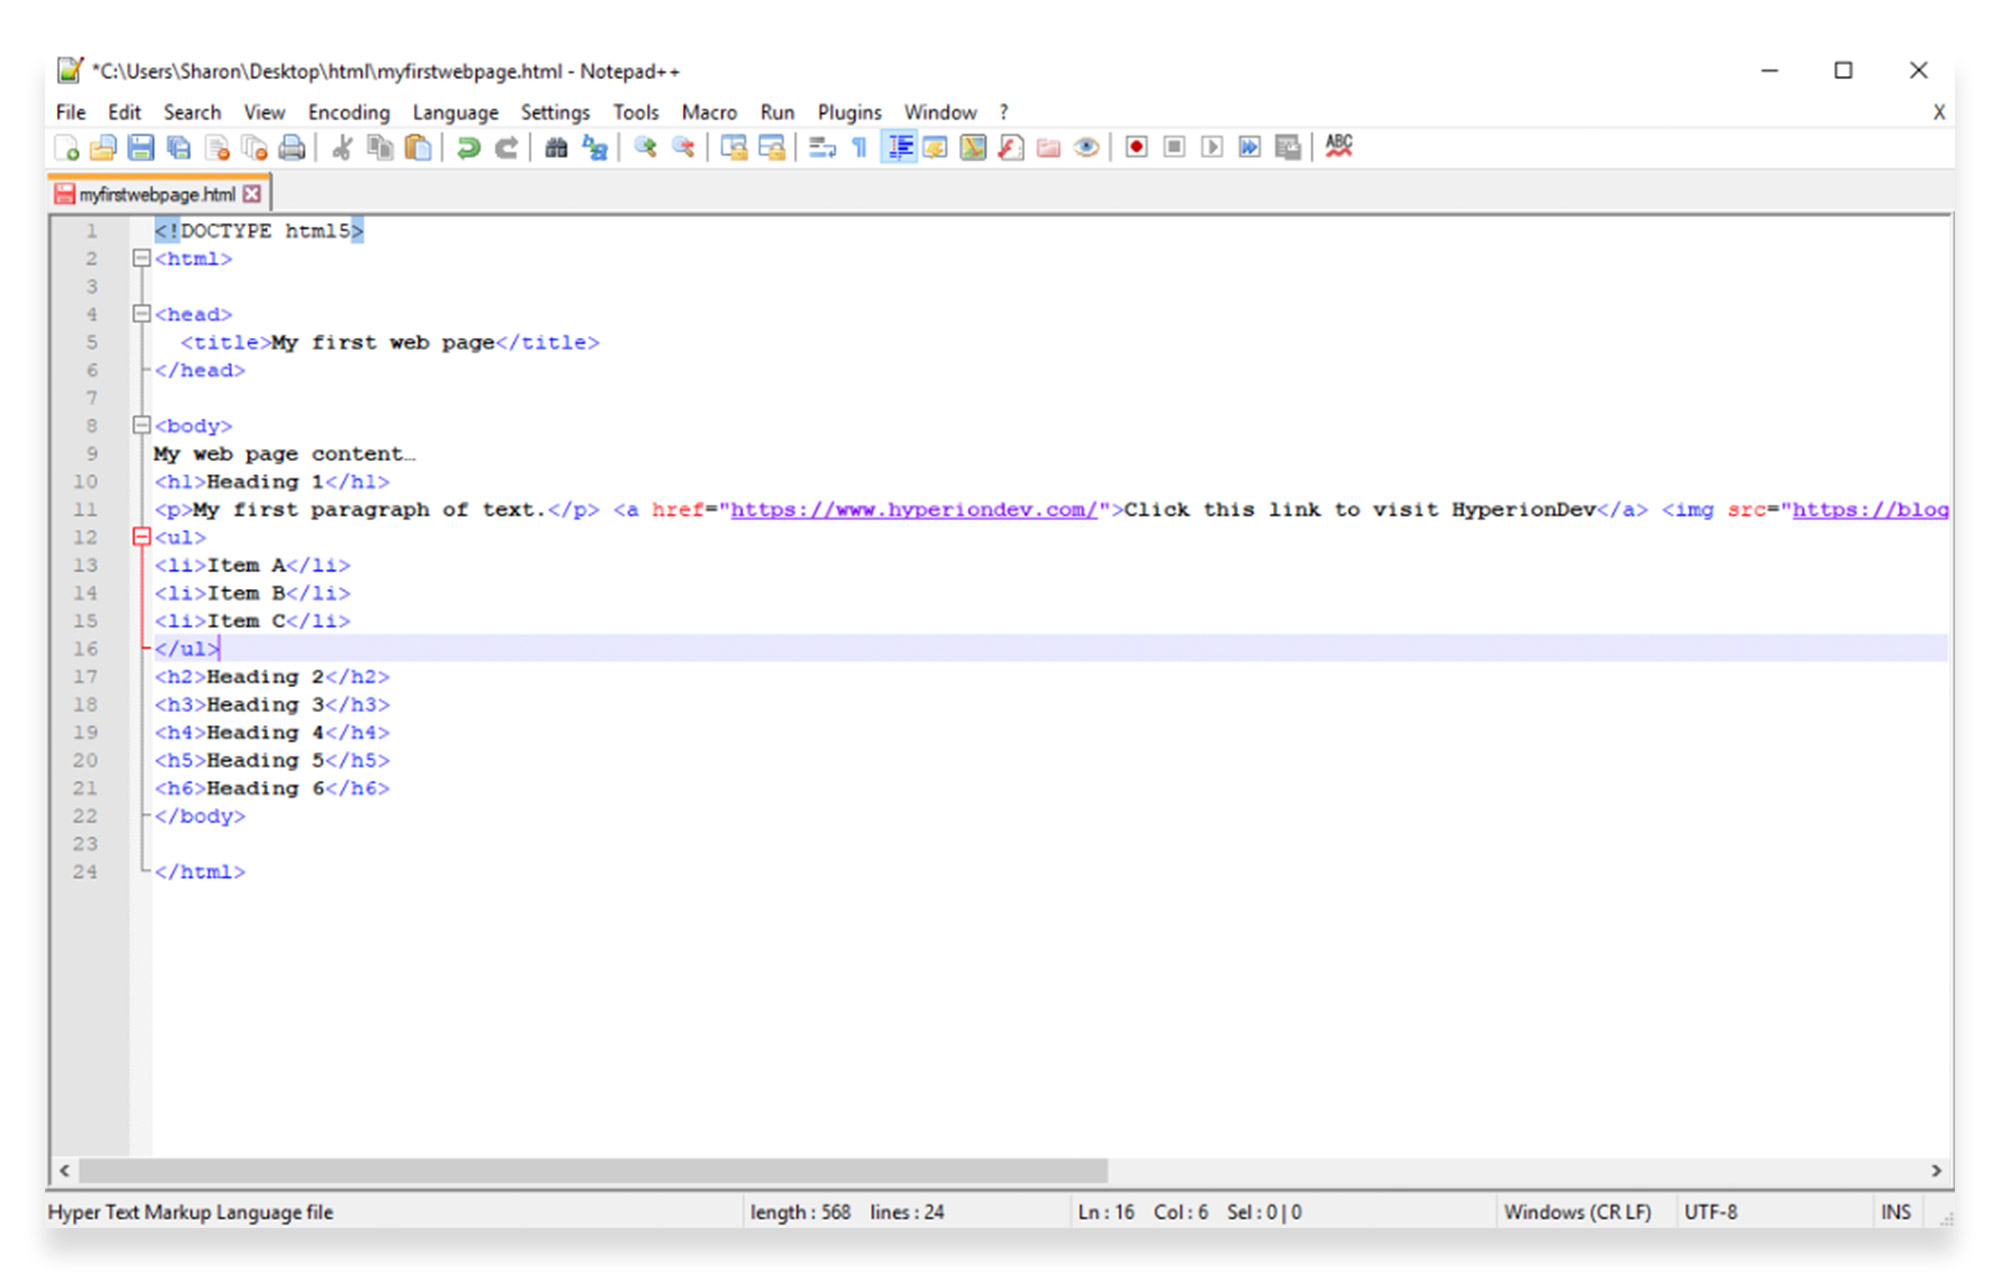
Add an unordered list to your document, by inserting the following code underneath the “My first paragraph” code.
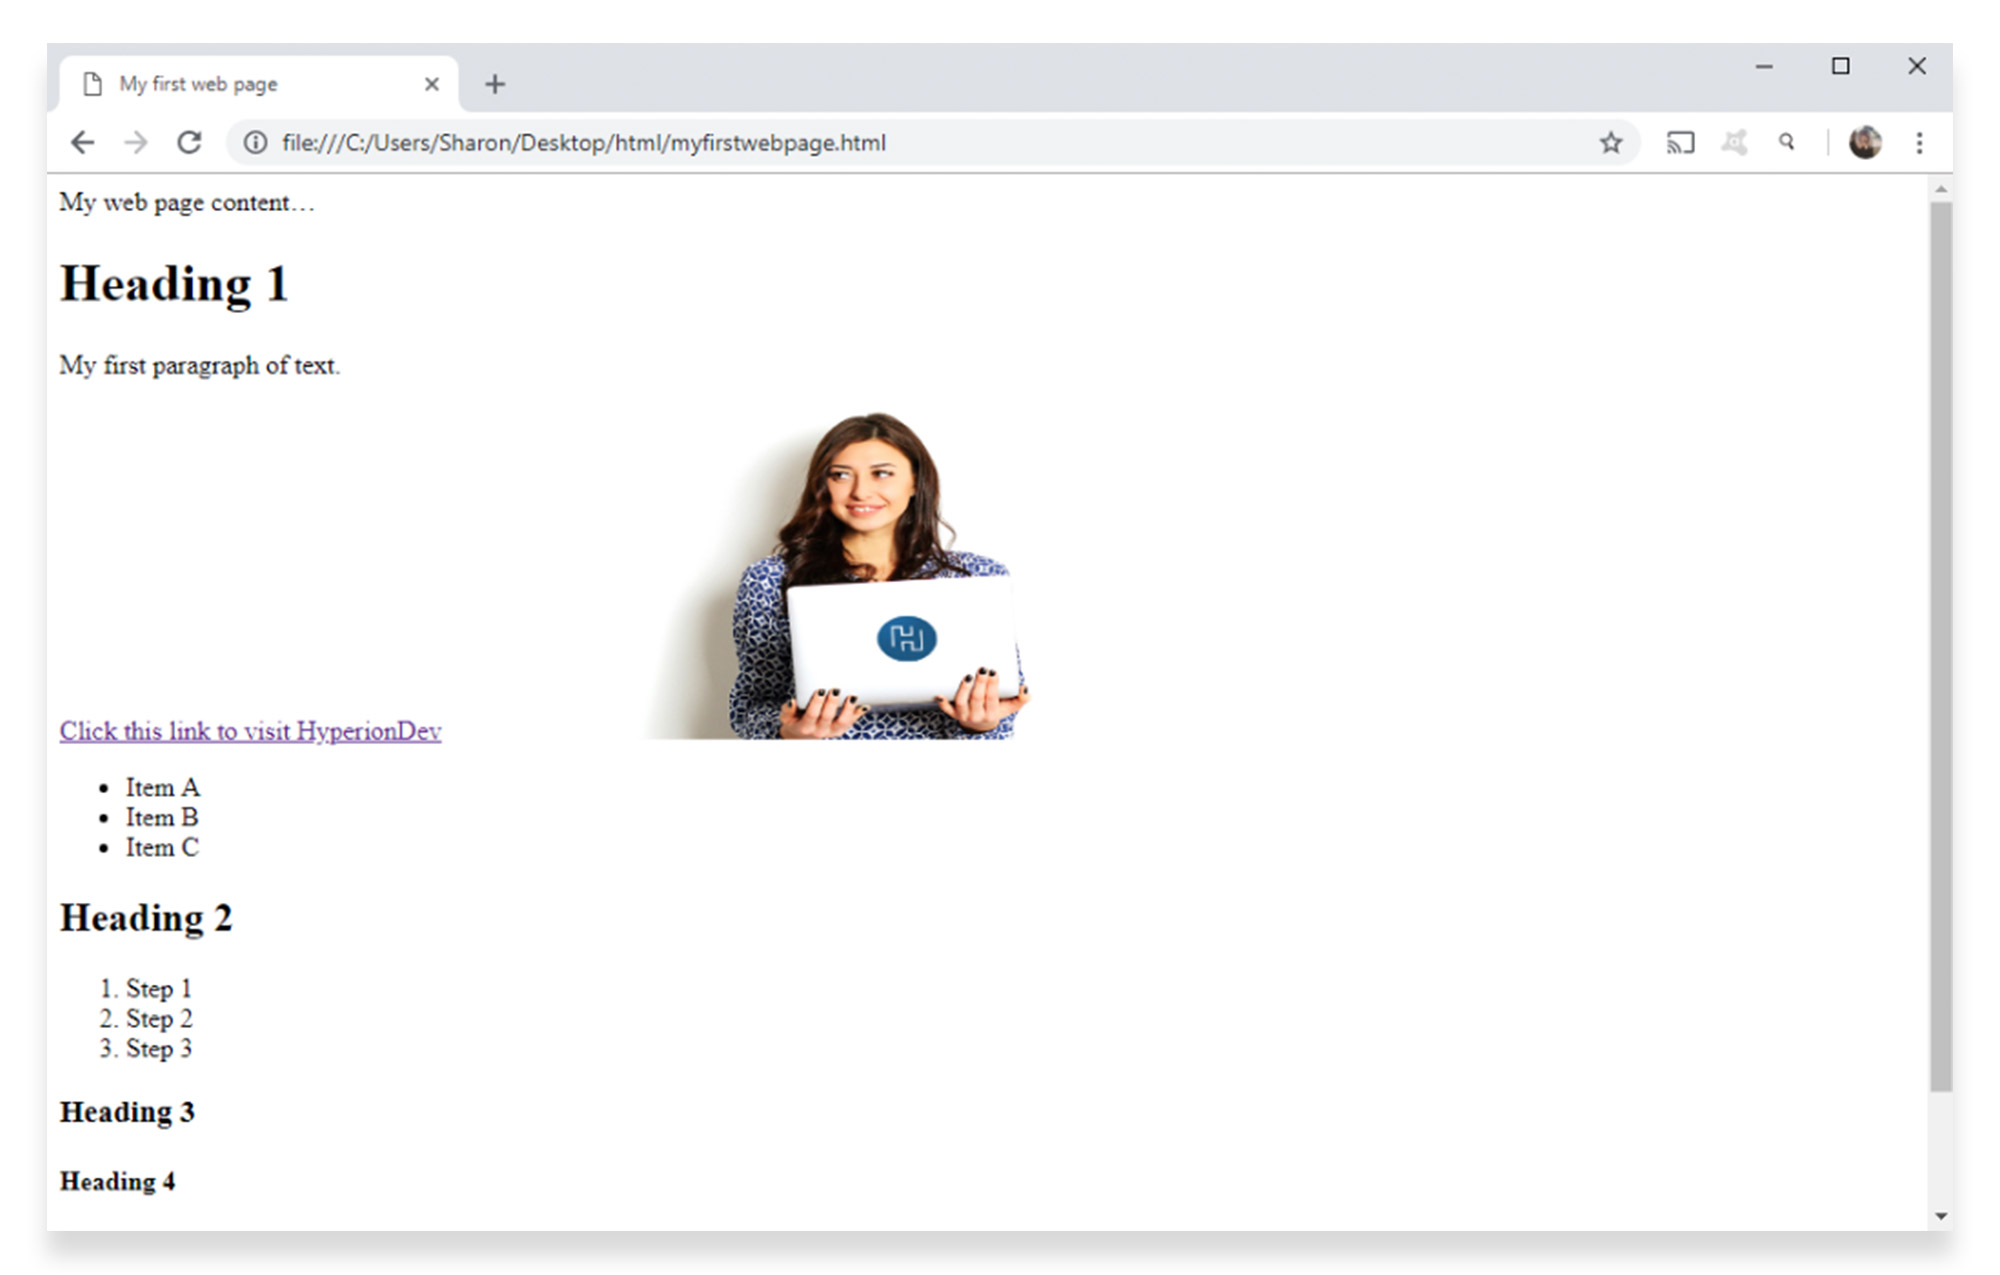
<ul>

<li>Item A</li>

<li>Item B</li>

<li>Item C</li>

</ul>
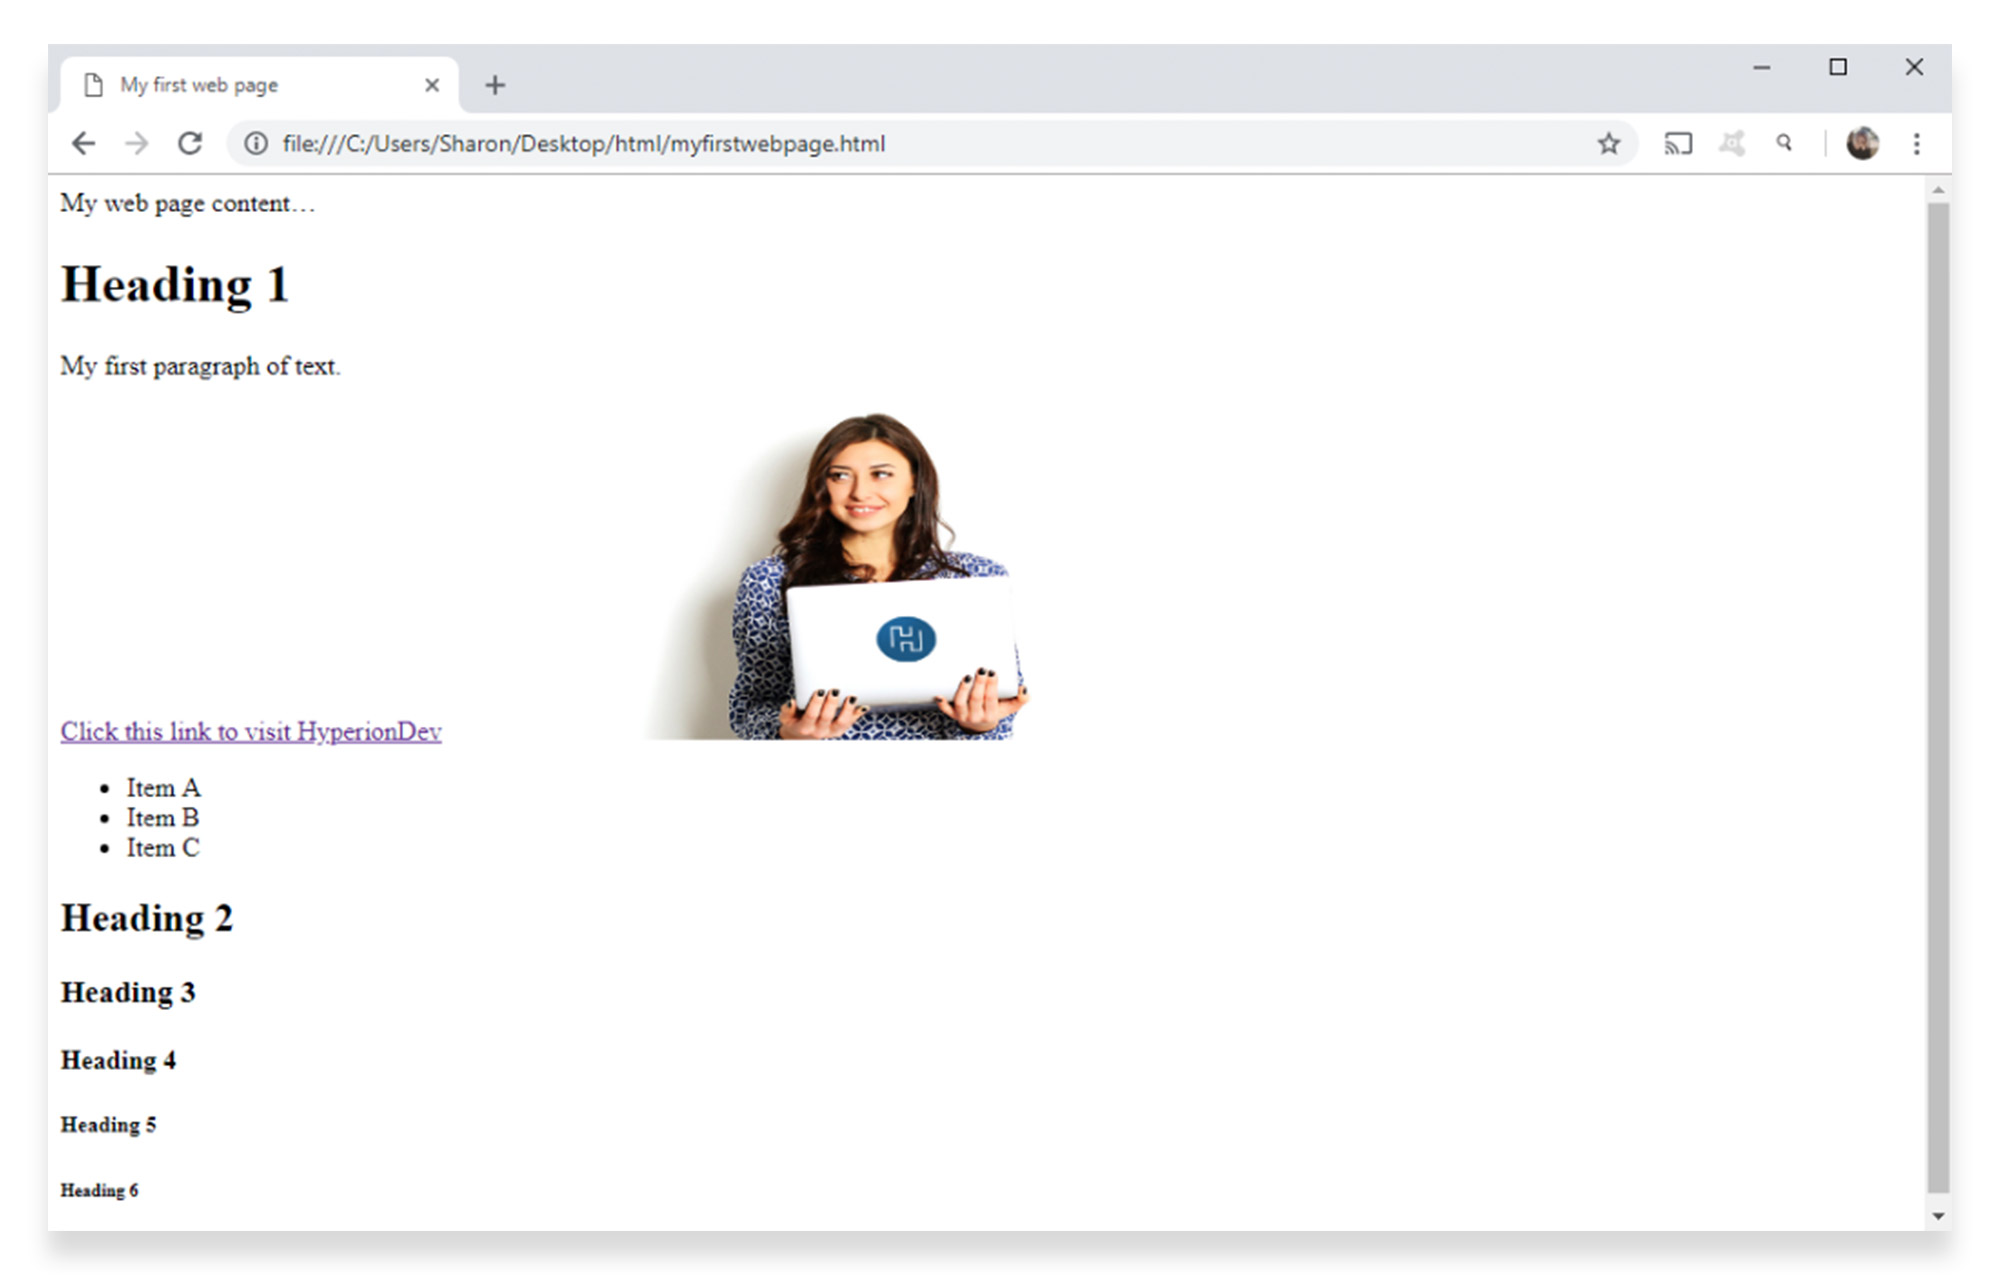
When you save and refresh, the list will appear as follows:
Ordered list:
Ordered lists are used when the order of the items is important, for example, a list of instructions that must be followed in order. The syntax is the same as for unordered lists, except that the <ol> and </ol> tags are used to define the beginning and end of the list, instead of the <ul> and </ul> tags which are used for unordered lists.
Add an ordered list to your document, by inserting the following code underneath the “Heading 2” code.
<ol>

<li>Step 1</li>

<li>Step 2</li>

<li>Step 3</li>

</ol>
When you save your document and refresh your browser, you’ll see the list appear as follows:
Nested list:
A nested list is a little more complex, because it’s essentially a “list within a list” with a variety of different indentations and bullet point types used to denote points and sub-points.
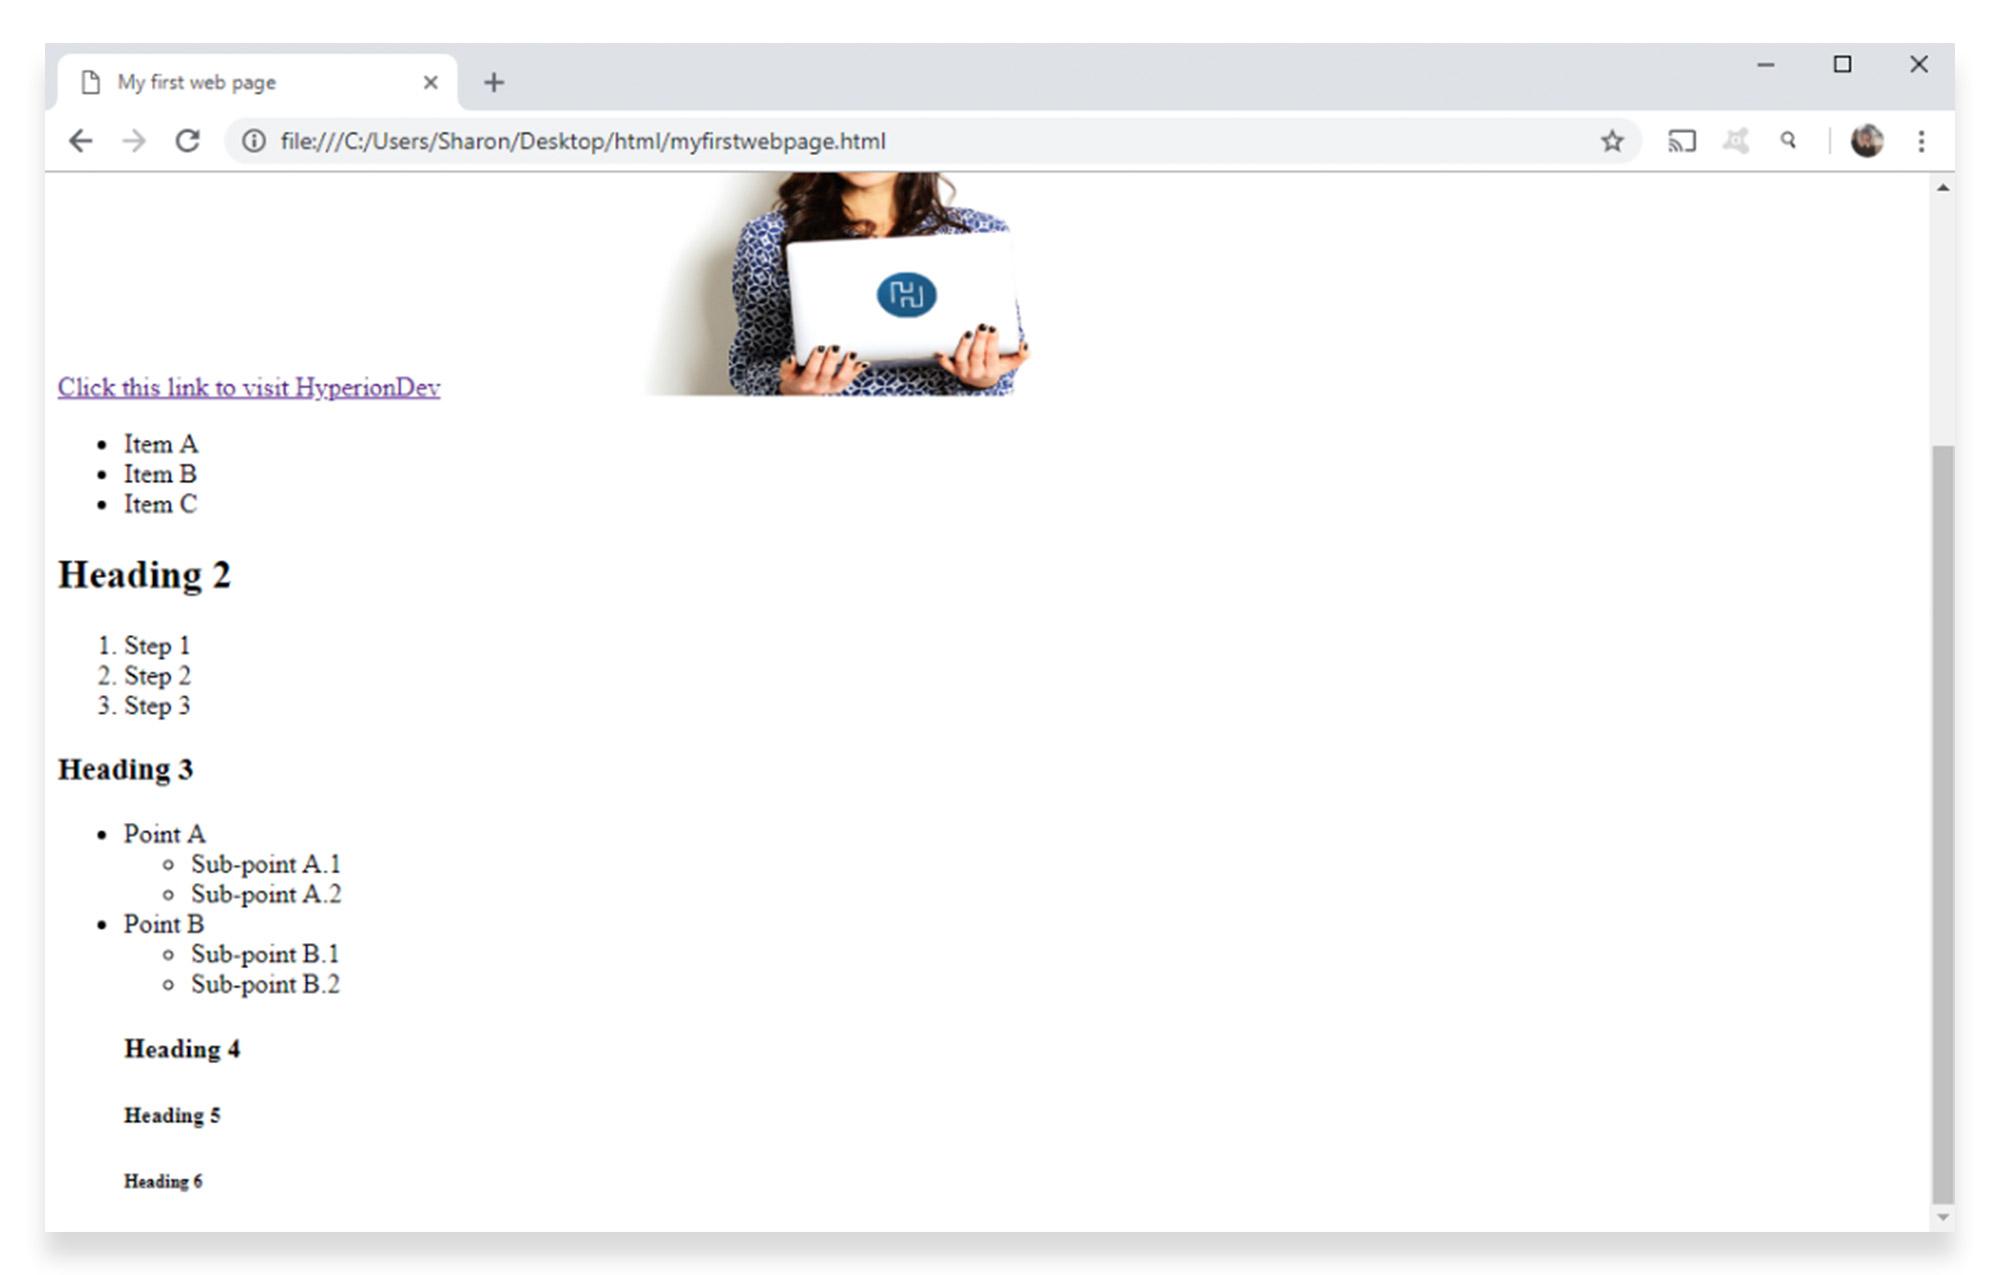
Add a nested list by typing this code into your document, under Heading 3.
<ul>

<li>Point A</li>

<ul>

<li>Sub-point A.1</li>

<li>Sub-point A.2</li>

</ul>

<li>Point B</li>

<ul>

<li>Sub-point B.1</li>

<li>Sub-point B.2</li>

</ul>
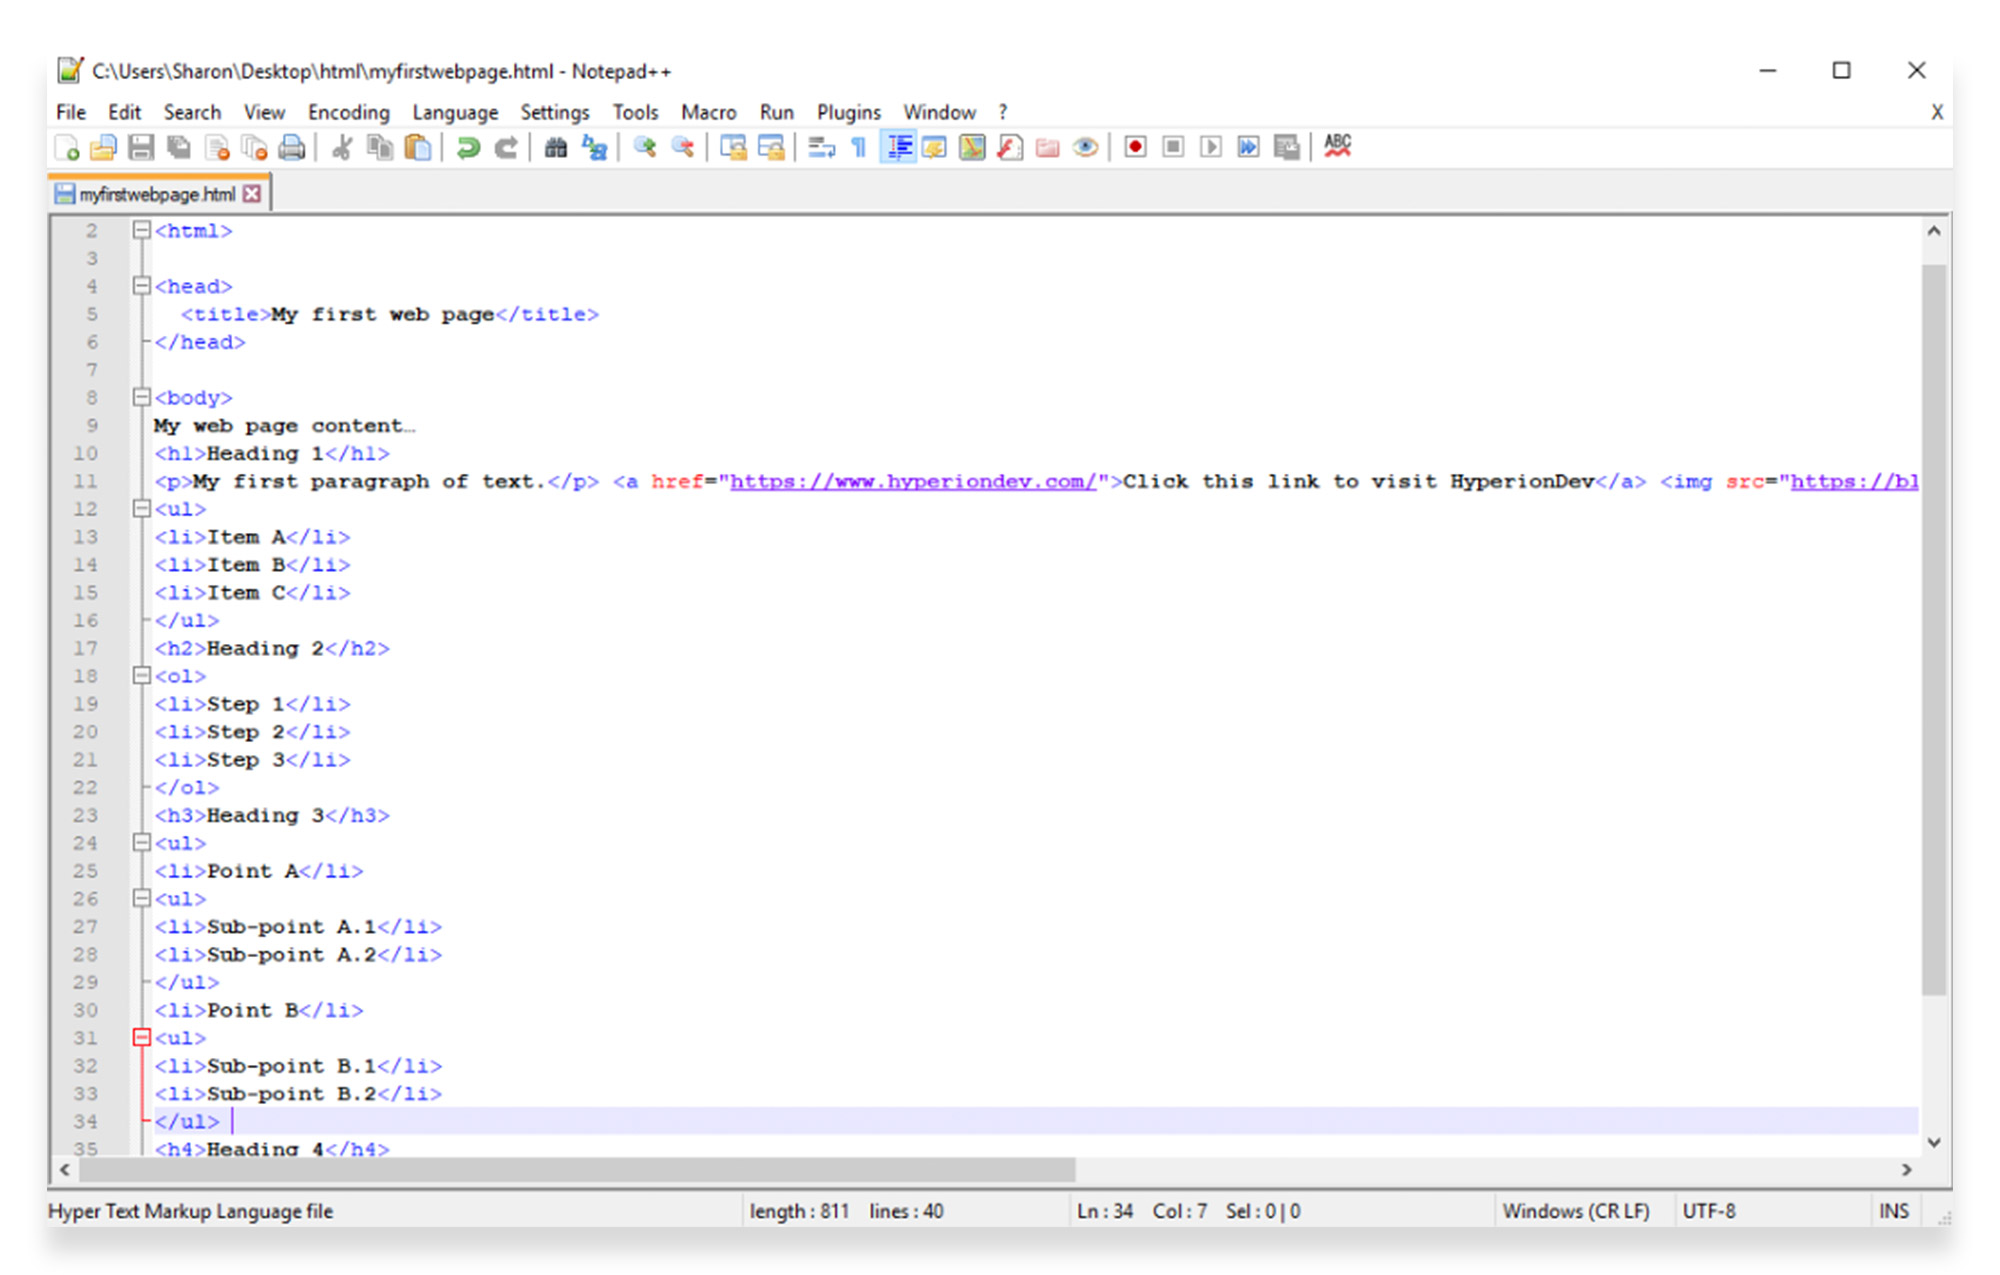
Your updated web page will appear as follows:
A real-world example of this would be something like a gym or exercise studio listing their daily schedule. The points would be the days of the week, and the sub-points would be the classes taking place each day.
If you want to see this real-world example on your web page, you can edit the text as follows:
<ul>

<li>Monday Schedule:</li>

<ul>

<li>9am - Hatha Yoga</li>

<li>1pm - Spinning</li>

</ul>

<li>Tuesday Schedule:</li>

<ul>

<li>10am - Water Aerobics</li>

<li>2pm - Pilates</li>

</ul>
When building a real website, you would be able to add as many points and sub-points as you need, depending on the site content.
Remember that HTML isn’t presentational, and in order to add styling to your lists (e.g. defining the font used for the list), you will need to use Cascading Style Sheets (CSS).
HTML links
HTML links are hyperlinks which allow the user to click and navigate to another page or document. When a piece of text is hyperlinked, a mouse cursor will turn into a hand icon to show the user that it is clickable.
In our first HTML beginner tutorial, we covered how to insert a simple HTML link using the <a> and </a> tags and the href attribute, as follows:
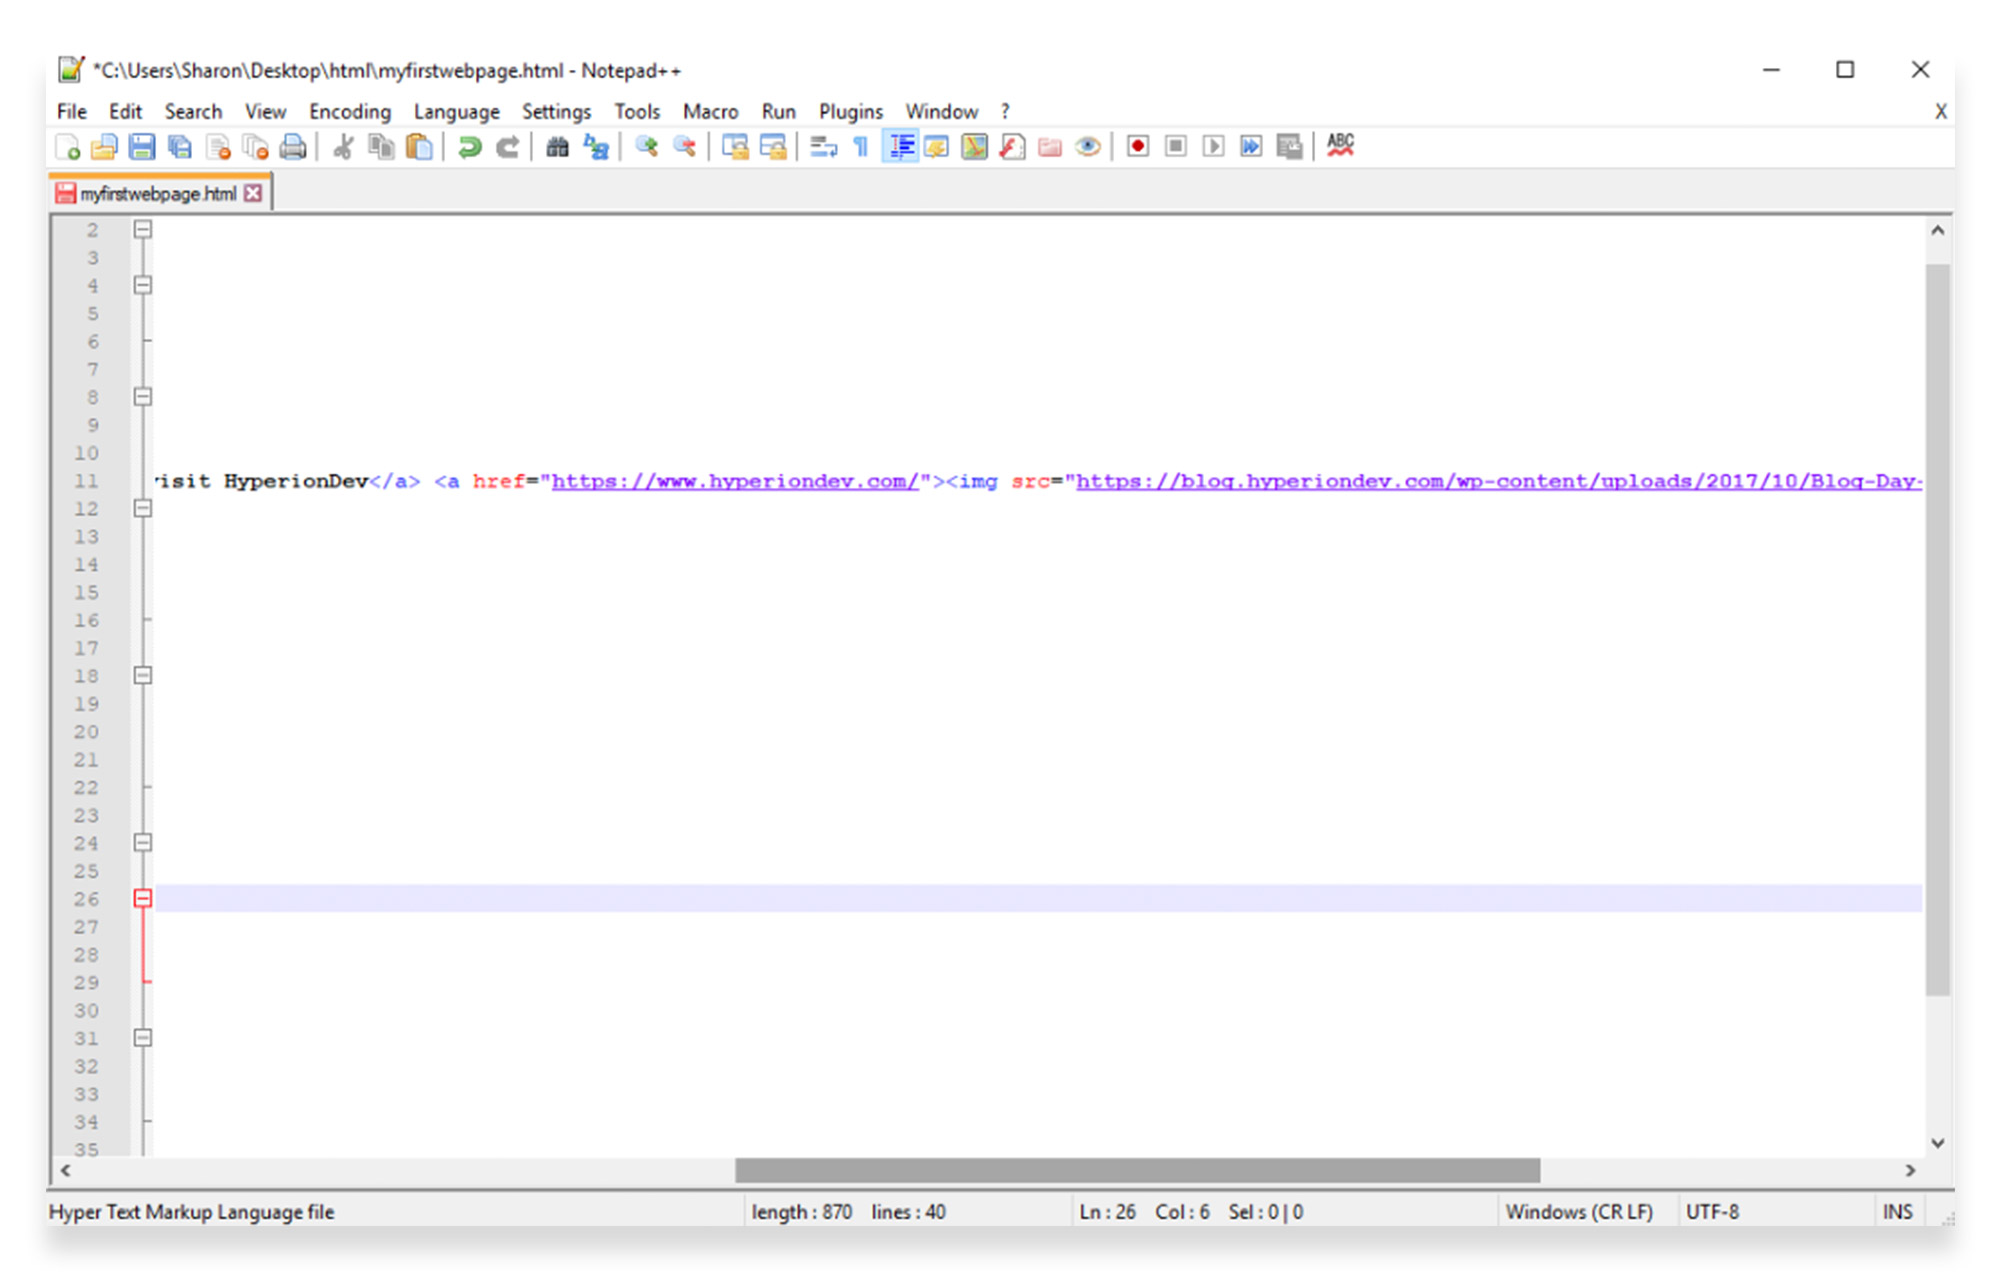
<a href="https://www.hyperiondev.com/">Click this link to visit HyperionDev</a>
HTML also allows you to define the behaviour of your links in a bit more detail, such as creating targets and linking images.
Targets:
You can use a target attribute to specify where to open the link. You can do this by adding a target attribute to your link code and applying one of the following values:
- _self opens the link in the same window or tab as it was clicked
- _blank opens the link in a new window or tab.
- _parent opens the link in the parent frame
- _top opens the link in the body of the window
- framename opens the link in a named frame
Go back to the link in your document, and edit it as follows:
<a href="https://www.hyperiondev.com/" target="_blank">Click this link to visit HyperionDev</a>
This example will open your link in a new browser window or tab. This is useful, because it allows the user to open the link without clicking away from the original web page or site.
When you refresh your page and click the link, the content will open in a new tab.
By default, an unvisited link will be underlined and appear as blue text. A visited link will be underlined in purple text, and an active link will be underlined in red text. To change these default colours, you would need to use CSS to style them further.
Linking images:
Images can be hyperlinked as well as text.
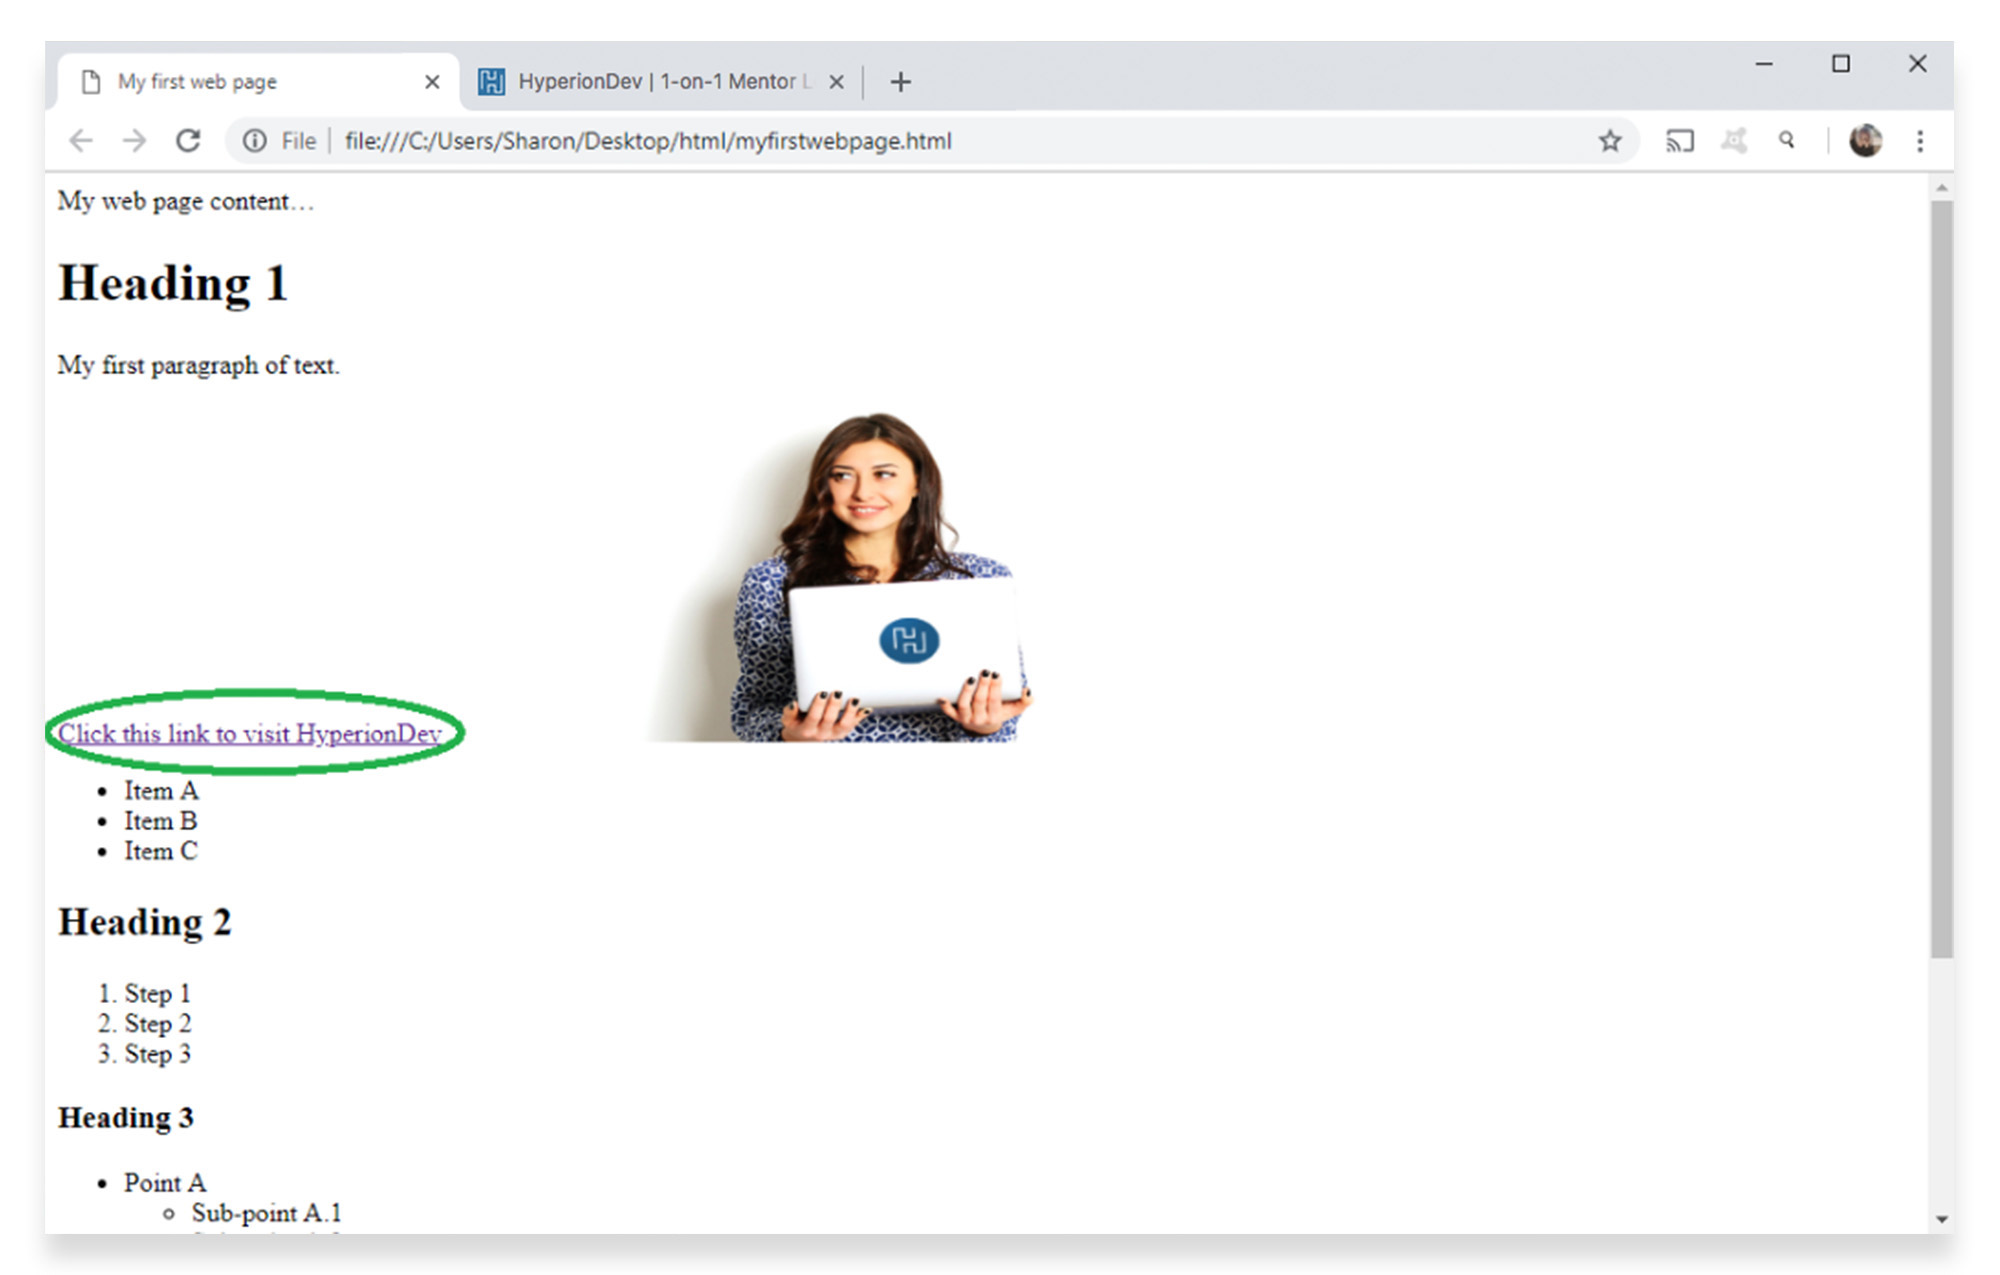
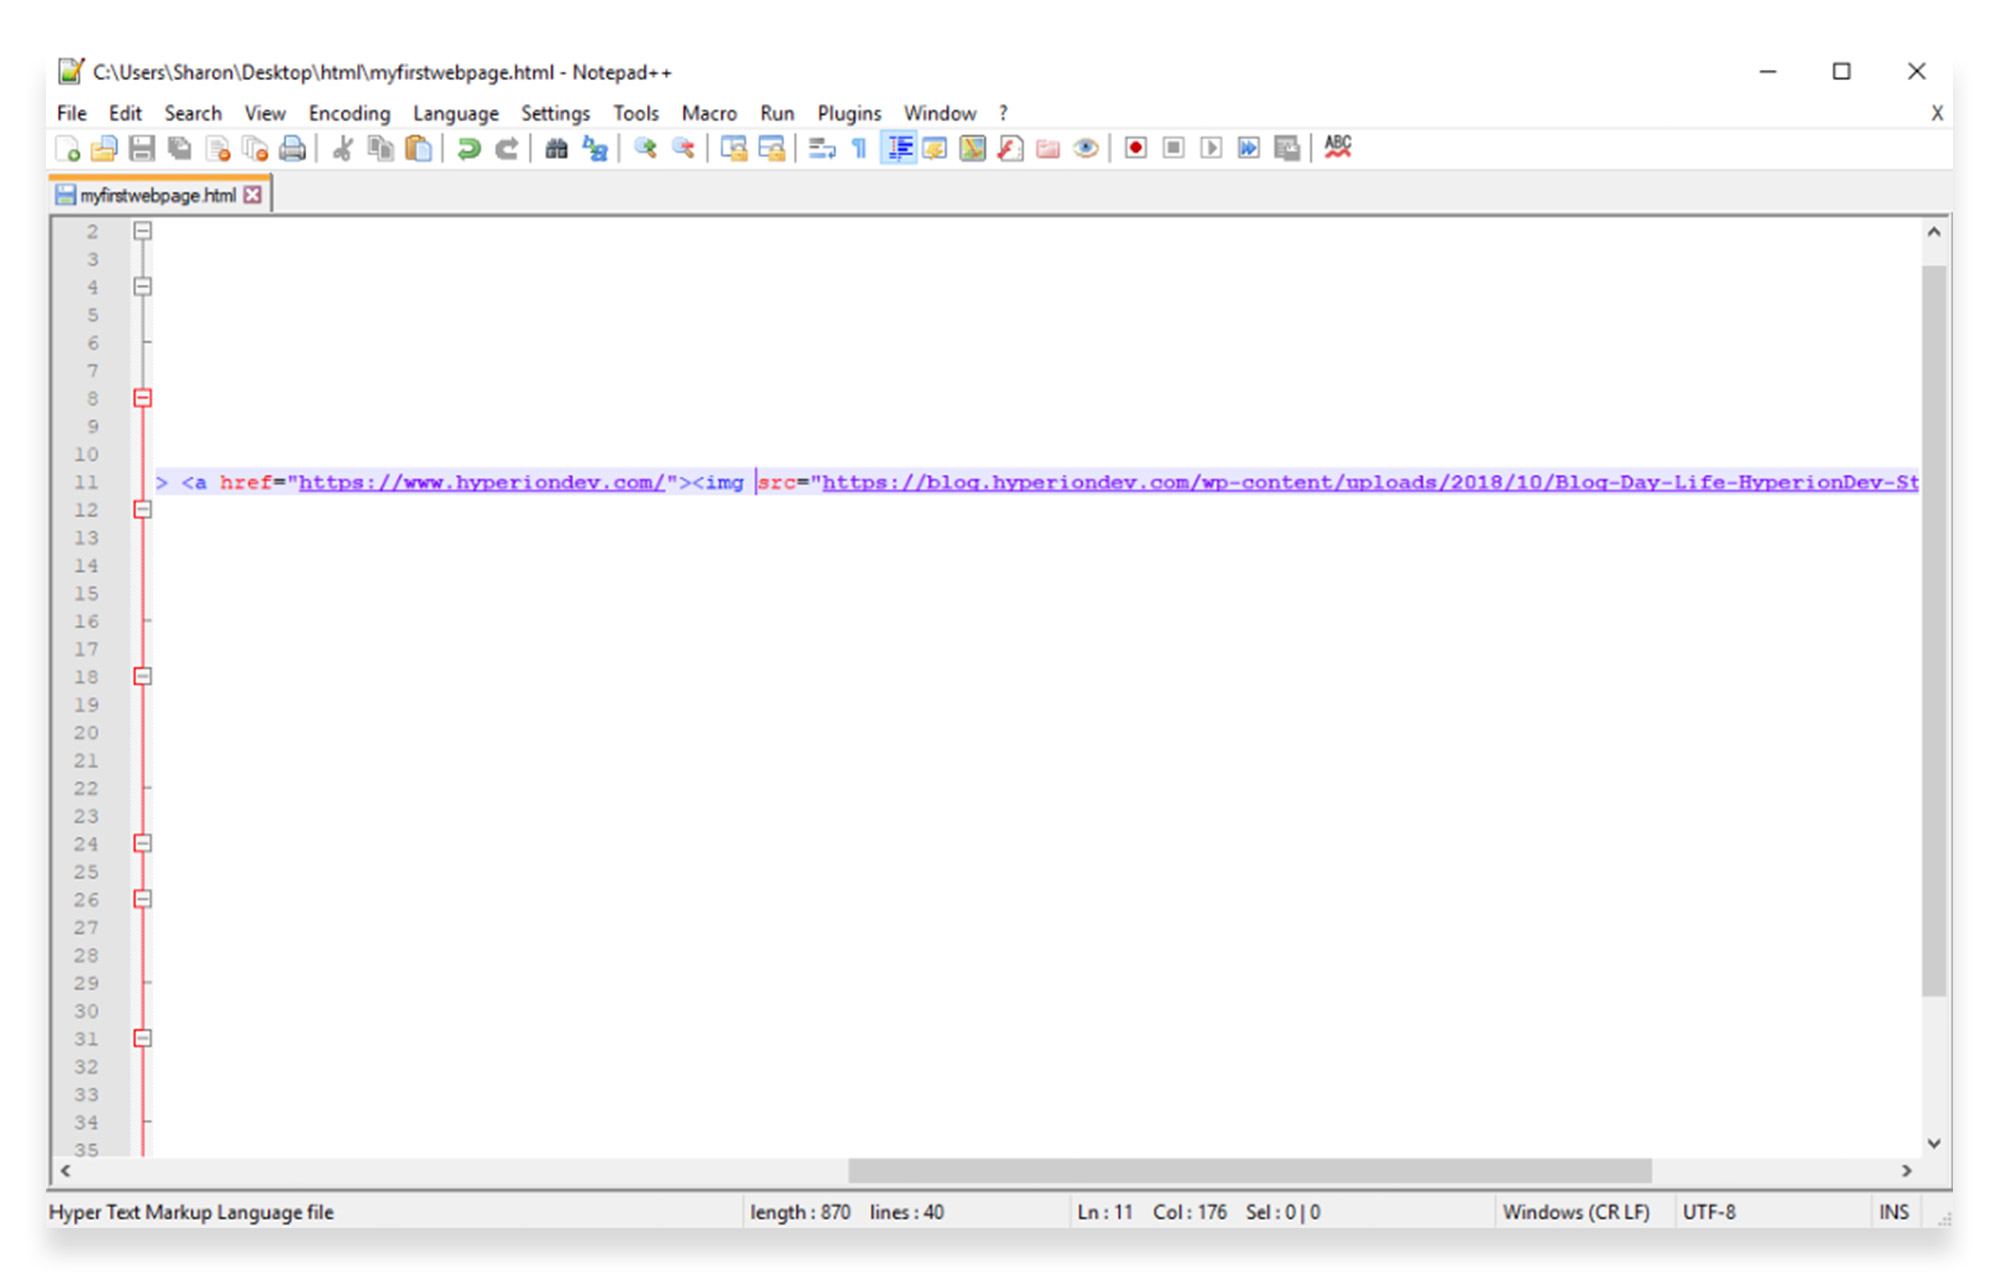
Go back to your image in your document, and add your <a> </a> tags and href attribute, as you would for a text link.
<a href="https://www.hyperiondev.com/">

<img src="https://blog.hyperiondev.com/wp-content/uploads/2018/10/Blog-Day-Life-HyperionDev-Student.jpg" width="450" height="200">

</a>
When you refresh your page, the image will look the same, but your mouse cursor will change to a hand when you hover over it – showing that the image is now clickable.
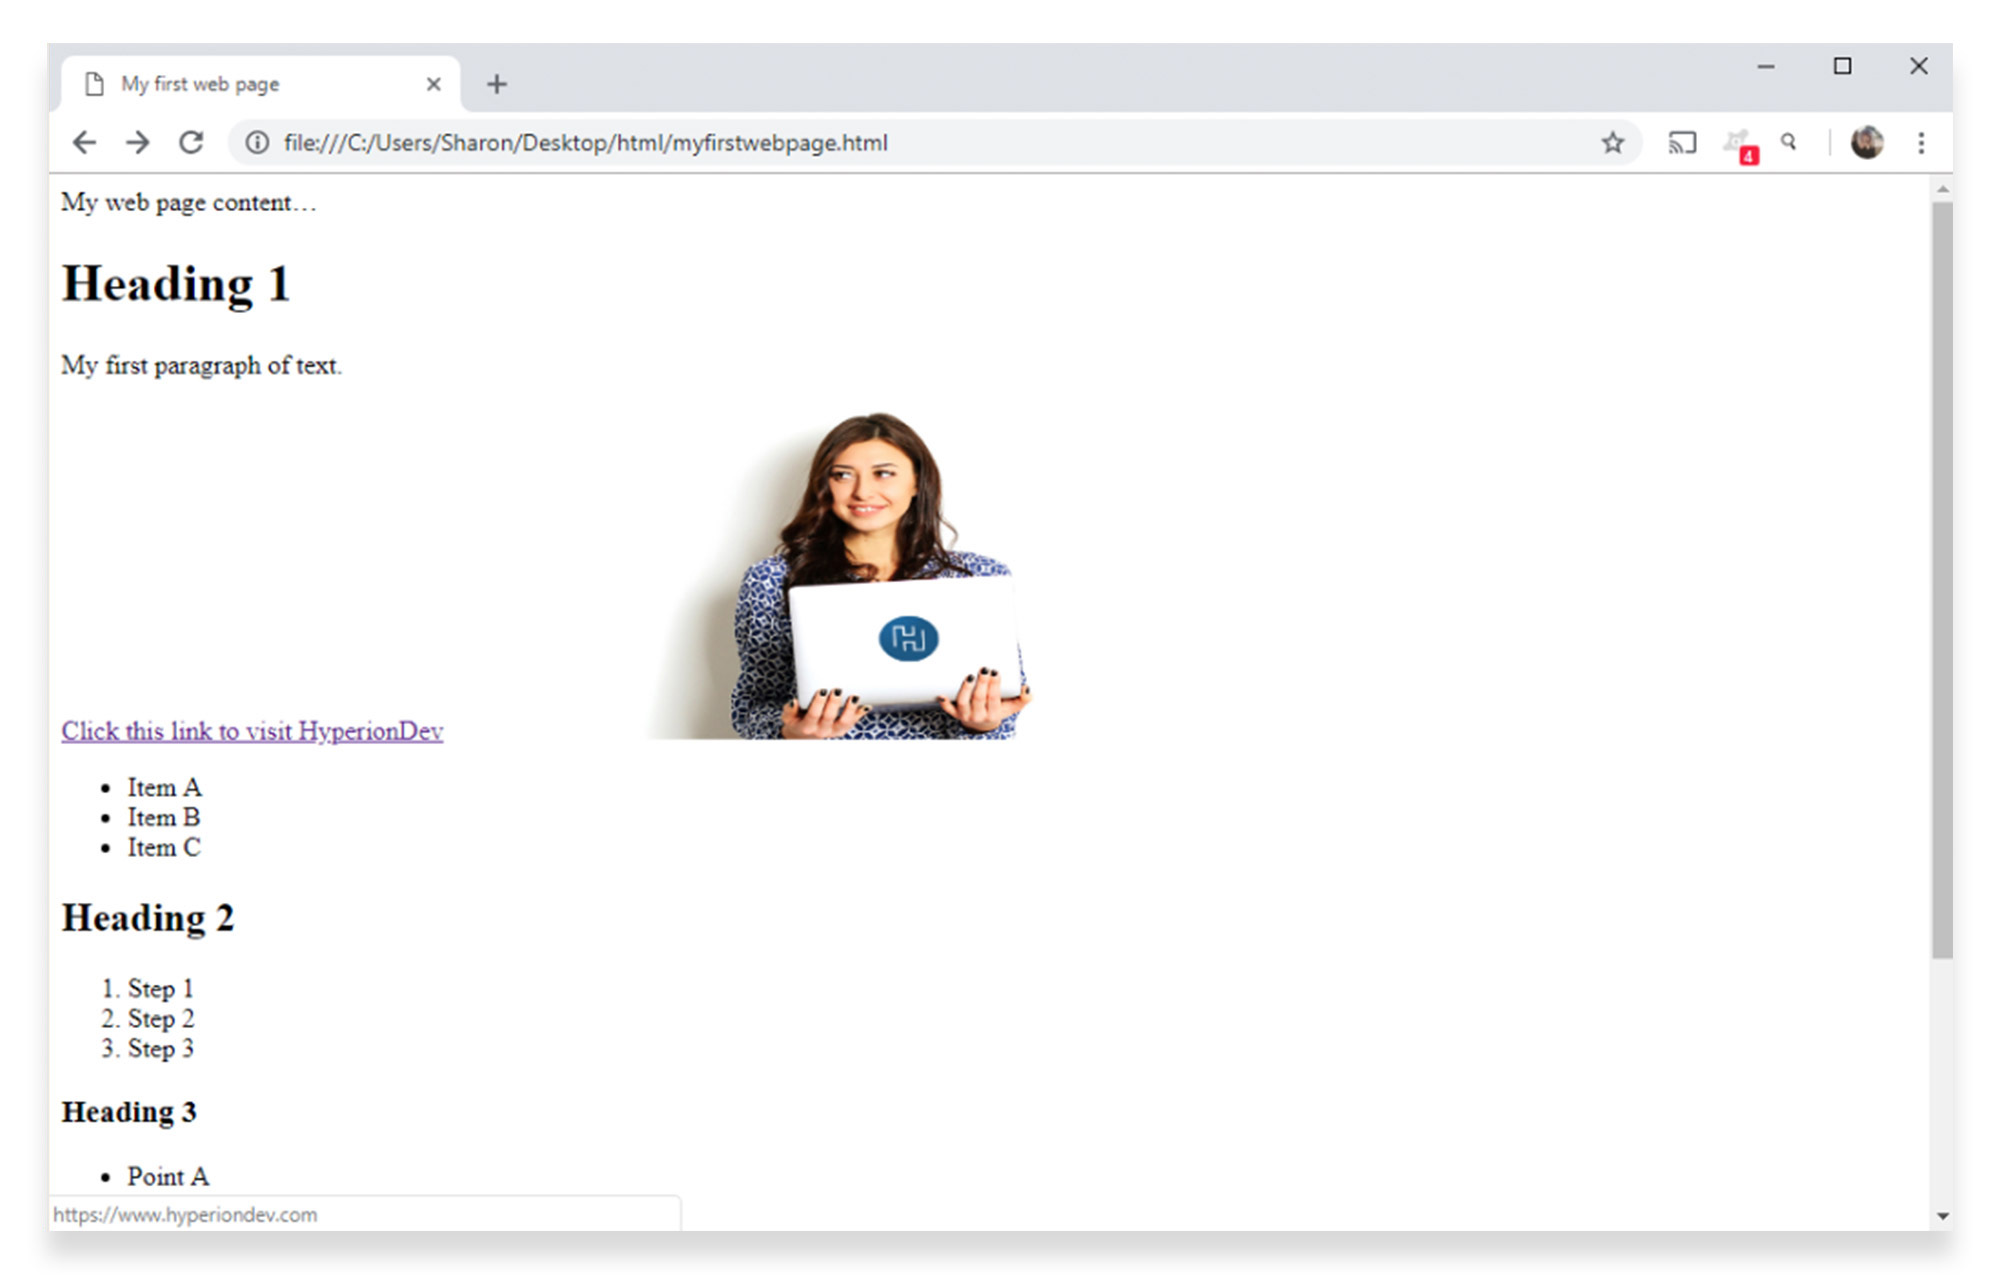
Clicking the image will open your link in the same browser tab. You can change this to open in a new tab, by using a target attribute as you would for a text link.
HTML images
In the first tutorial, you learned how to add an image to your HTML page, using the <img> tag.
The <img> tag contains attributes only, and does not have a closing tag. The src attribute, which you’ve already learned how to use, specifies the location (web address or URL) of the image.
The alt attribute provides alternate text for an image, in case the user isn’t able to view the image itself. This could be caused by a slow Internet connection or an error in the src attribute.
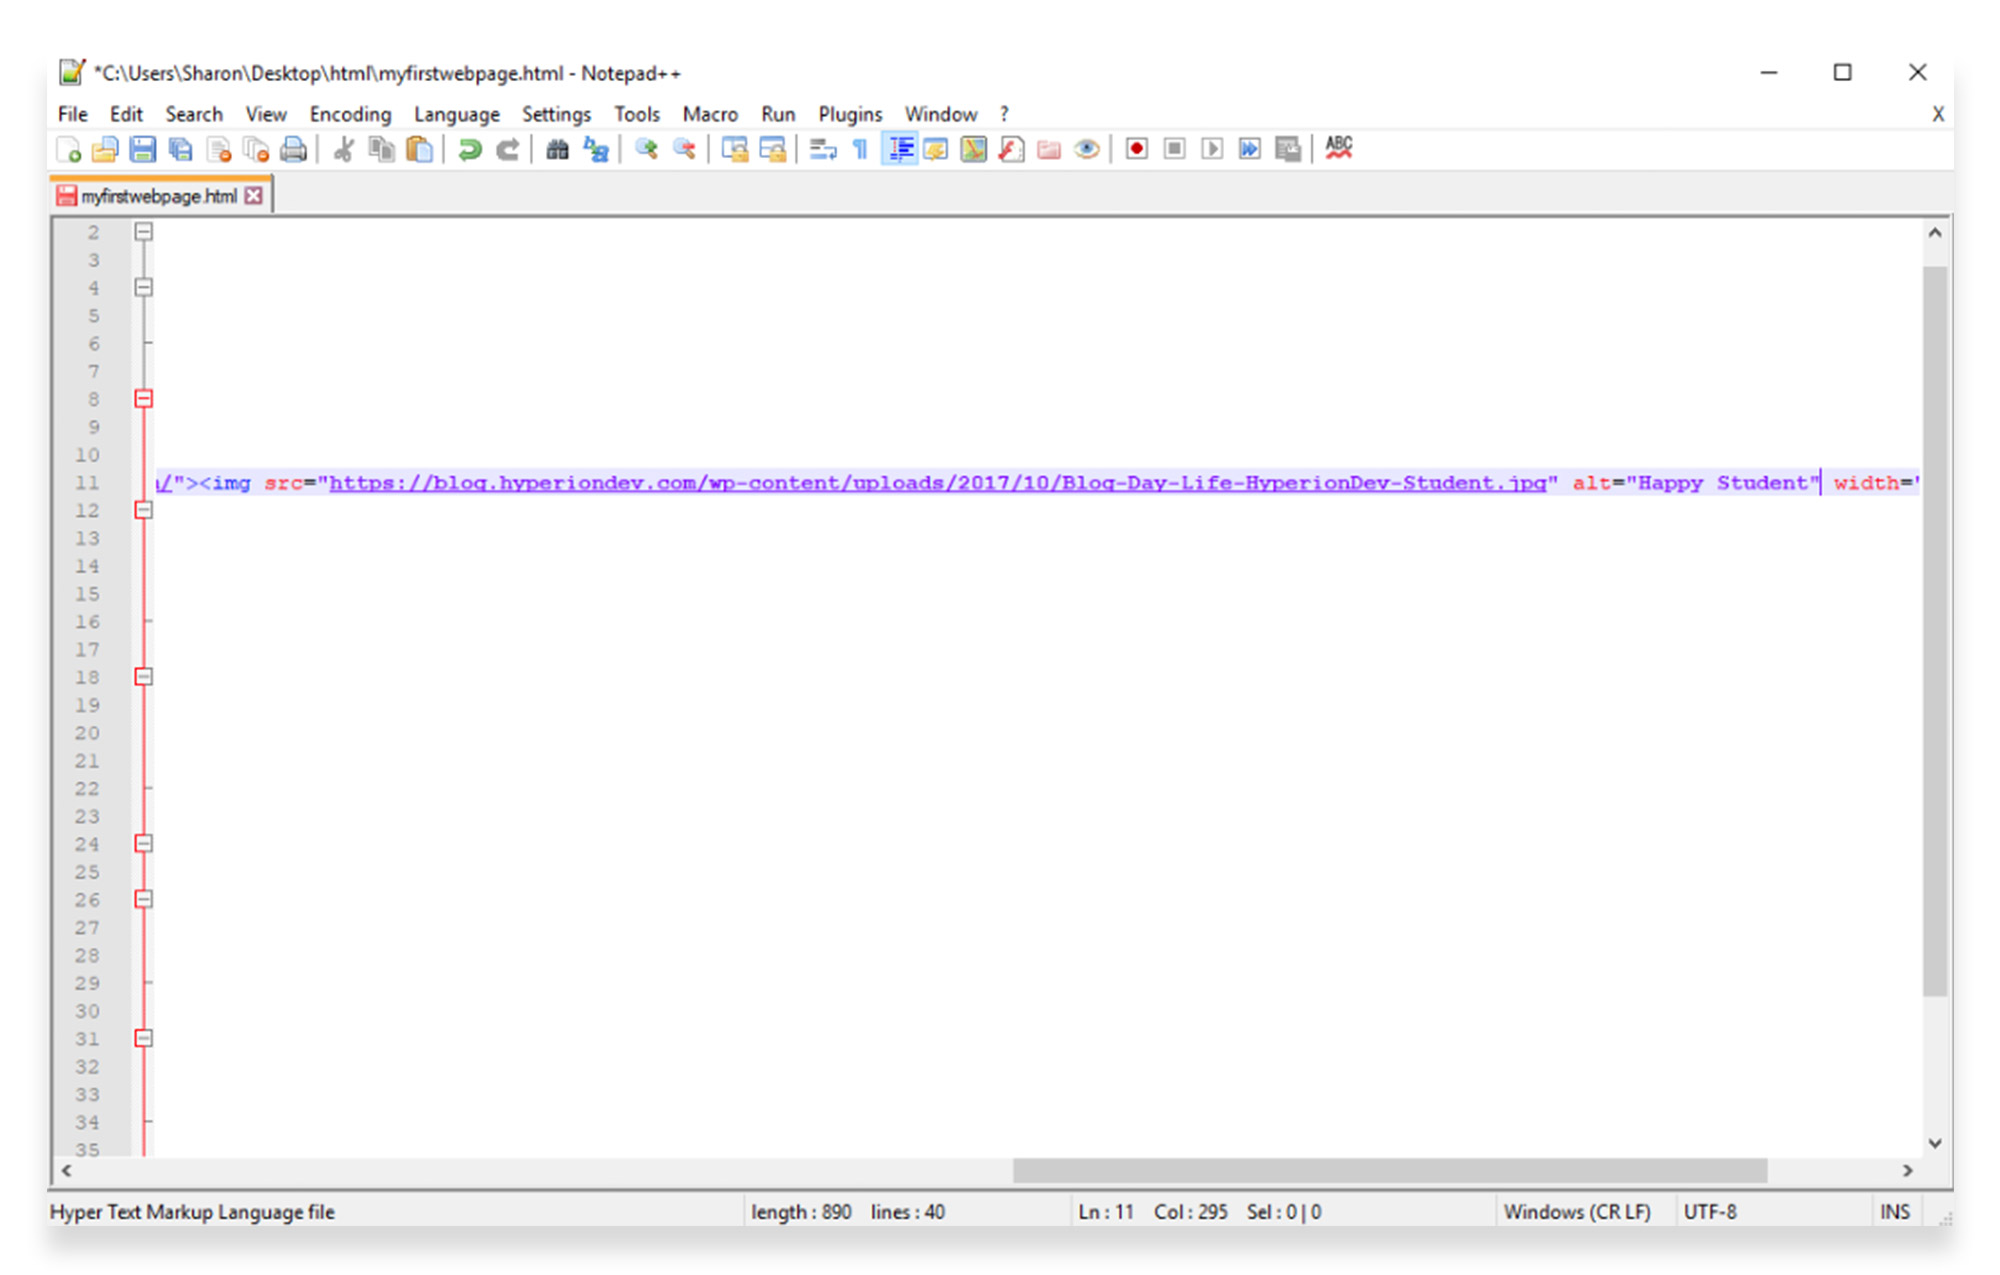
Let’s say for example the url you were using was incorrect. Go back to the image in your document, and change it to a purposely incorrect url, as follows:
<img src="https://blog.hyperiondev.com/wp-content/uploads/2017/10/Blog-Day-Life-HyperionDev-Student.jpg" width="450" height="200">
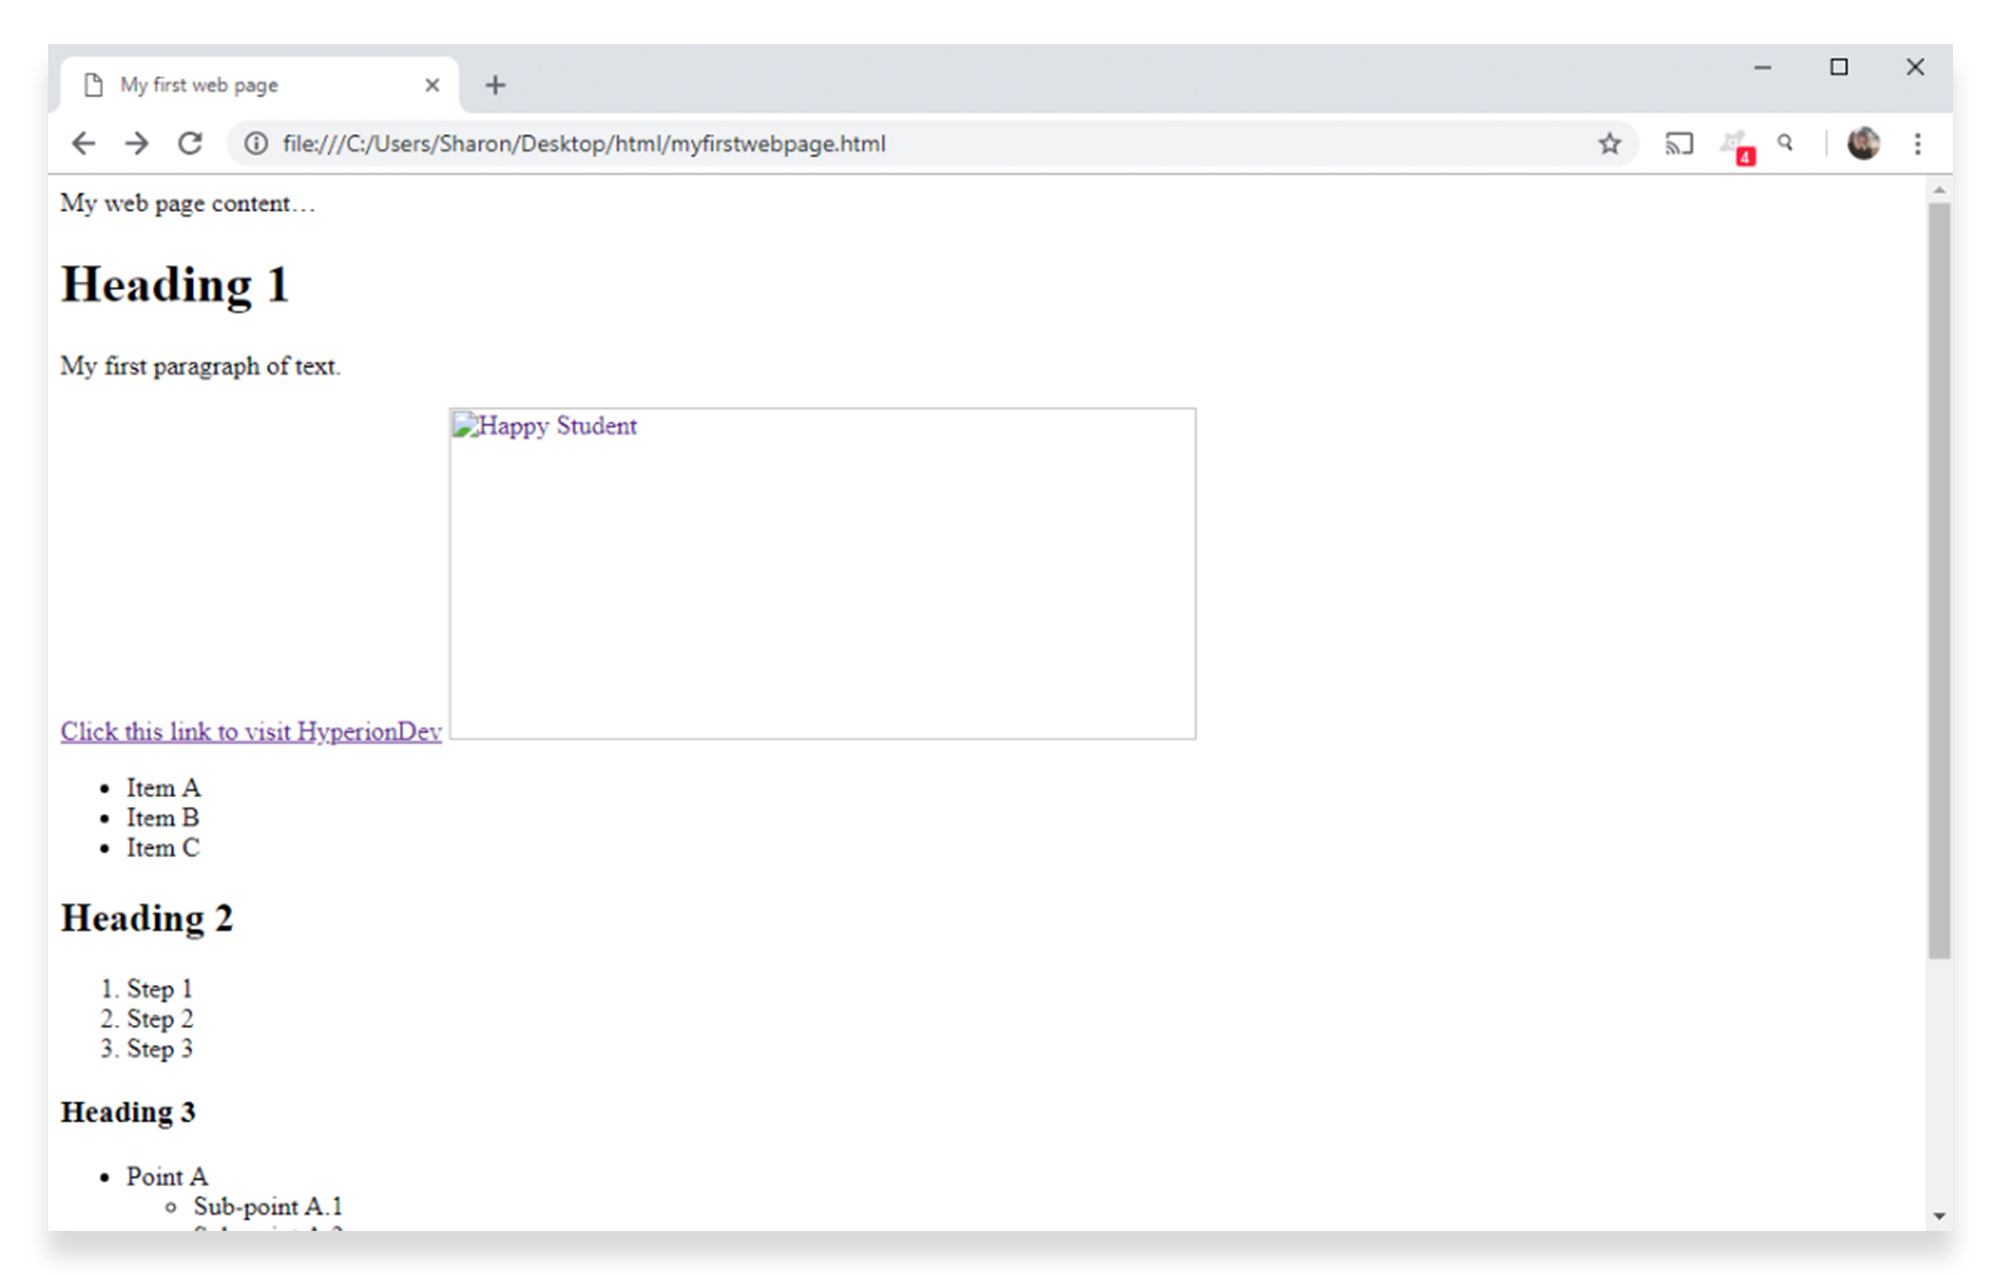
When you refresh the page, you’ll see a broken image with no description of what ought to be displaying there.
Putting alt attributes in place for your images ensures that your users (and search engines) can see what’s meant to be there, even if there is a problem with loading the image.
Add an alt attribute to your image using the following text:
<img src="https://blog.hyperiondev.com/wp-content/uploads/2017/10/Blog-Day-Life-HyperionDev-Student.jpg" alt="Happy Student" width="450" height="200">
When you reload the page, the alt attribute value will display where the image should be:
Note: Be sure to fix your image url before continuing. Ideally, the images should display, and alt attributes should be in place as a back-up.
Part 3 of our HTML tutorial will show you how to set up tables and forms.
This tutorial will give you a simple introduction to the popular web language, but if you want to learn more about HTML code in-depth, why not sign up for a mentor-led full stack web development course?
