
The previous tutorial focused on basic file management commands that were useful in the Unix terminal. If you haven’t read the first tutorial, we’d recommend you do so now. Now we’ll look into some more advanced commands to accomplish administrative tasks on your PC from the Unix terminal.
Linux also includes some nifty tools and packages to get information about your computer, install updates and change settings. We’ll look at ifconfig, sudo and apt-get.
ifconfig is the Linux equivalent of ipconfig in Windows. It lets you see the IP address of your computer (if it’s connected to a network) and will helpfully throw a list of all your connected (or otherwise) network adapters on-screen. ifconfig without flags will show every adapter, whilst typing it as above with “eth0” (for Ethernet) and “wlan0” (for WiFi) will show only those adapter’s details.
1. Let’s try with all adapters. In a terminal window type ifconfig -a and press enter.
You’ll notice the details for the Ethernet port (including IP addresses and data usage) but also a “lo”. This is the loopback address, the “return to sender” localhost address. It’s a special address (127.0.0.1) that always maps to the computer itself.

The terminal output of the command ifconfig
To get details about running programs, memory usage and to see how much CPU each app is hogging, we’ll use top.
3. In any terminal window, just type top and press enter. you’ll see system resource usage similar to Task Manager in Windows (although Resource Monitor in Ubuntu is the GUI version of top).

The output of the “top” command
System Administration and Package Installation
If you’re familiar with Windows, you’ll remember the nag screen that got all up in your face every time you’d want to rummage around in Windows system settings. In Linux, you’ve got the same sort of thing in sudo. Every time you sniff near a terminal command that might muck about with system files, you’ll probably get denied. Prepend sudo in front of a command to “elevate” it and gain superuser access as you would in Windows by clicking “Yes” to a UAC prompt.
We’ll demonstrate the behaviour by combining it with another command: apt-get. The latter is the package manager which allows you to easily install apps, packages, and other dependencies. The Ubuntu software centre runs these commands too, just wrapped in a friendly GUI.
For this example, let’s install files to let our Ubuntu machine talk to Windows-networked PC’s. For this we need a package called samba.
4. Start by typing apt-get install samba and pressing enter. You’ll notice an error – because you don’t have permission to access the directory!
5. Let’s try again, with sudo. Type sudo apt-get install samba. You’ll be asked for your password; type it in. It may not show up as if you’ve typed anything, but that’s for security, so keep typing and press enter to confirm.
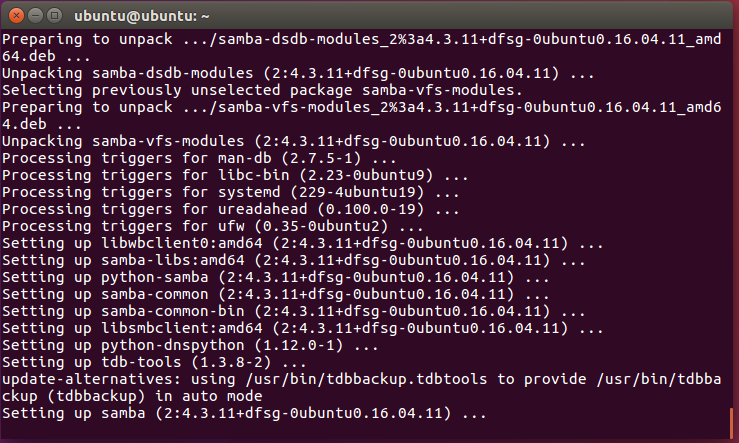
The progress of installing samba with apt-get
6. You’ll see it automatically run through everything it needs to, and will inform you how much space the operation will take. Once it’s done, it’ll automatically return to the terminal prompt, and our tools will have installed correctly. To remove them later, just use sudo apt-get remove samba.
Thought of any other useful commands that would be good for a Linux starter? Comment with your views on this article in the comments section below, and follow Hyperion Hub developments in the future if you’d like to see more articles like these for the South African market.
